Part II: Shooting the Konica Big Mini BM-201 [Review with Sample Shots]
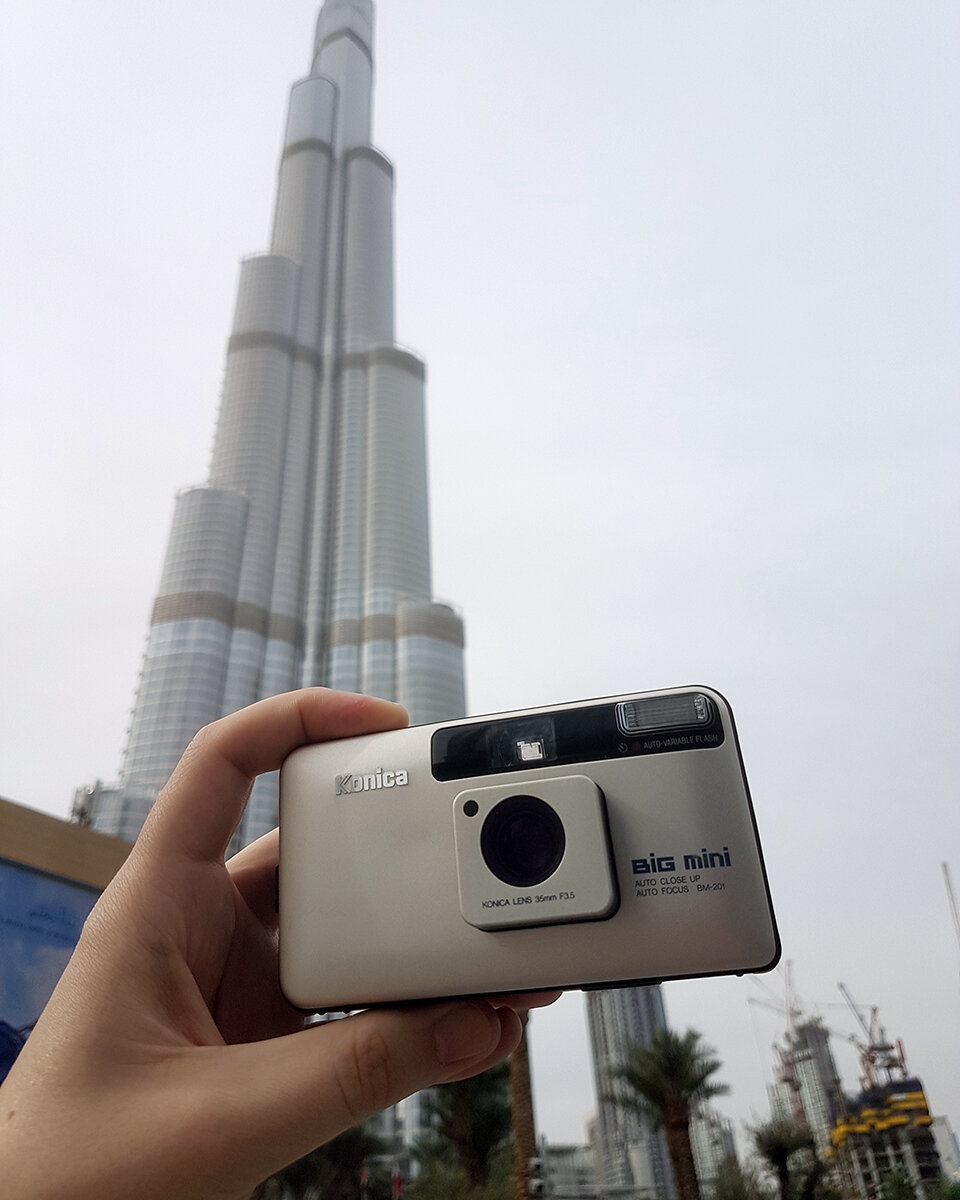
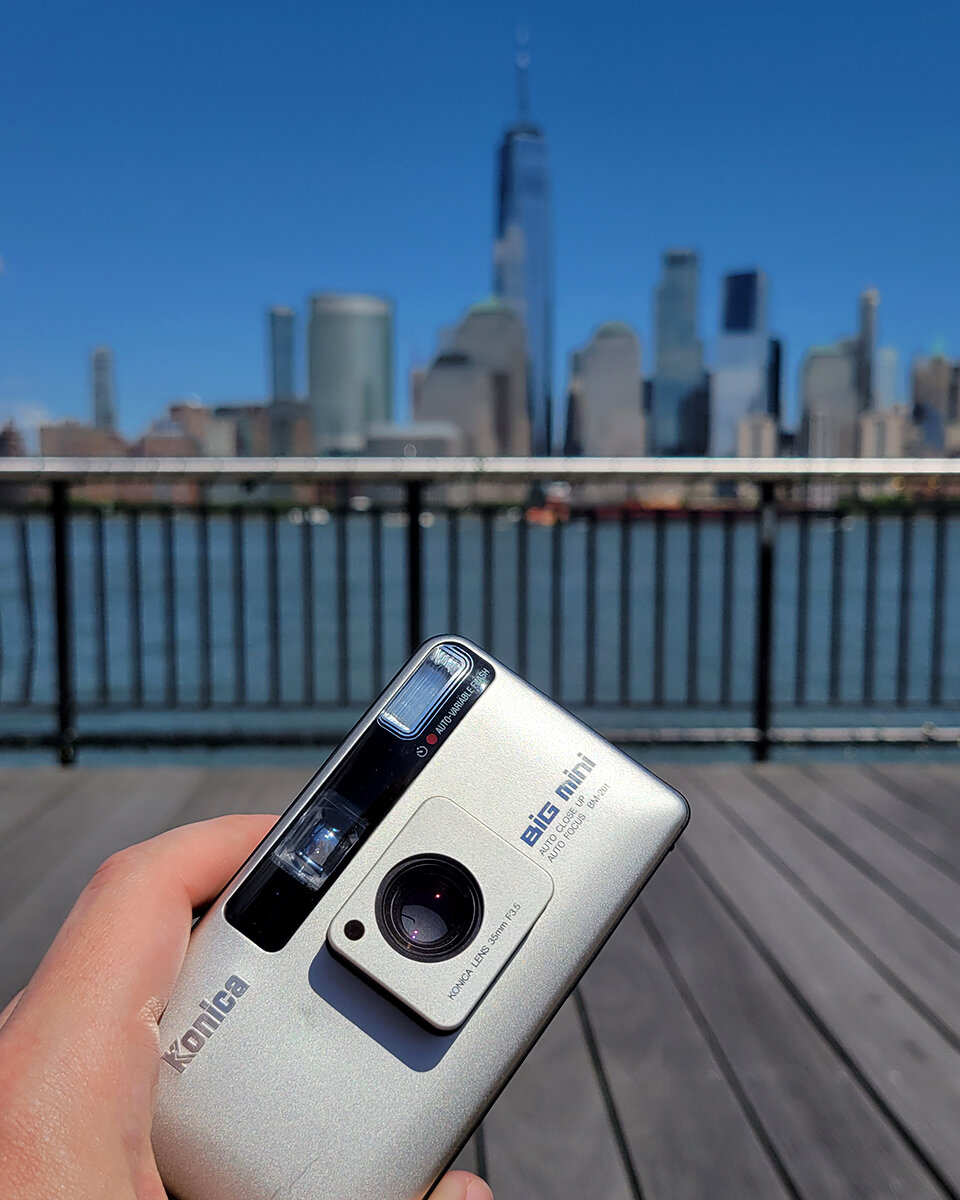
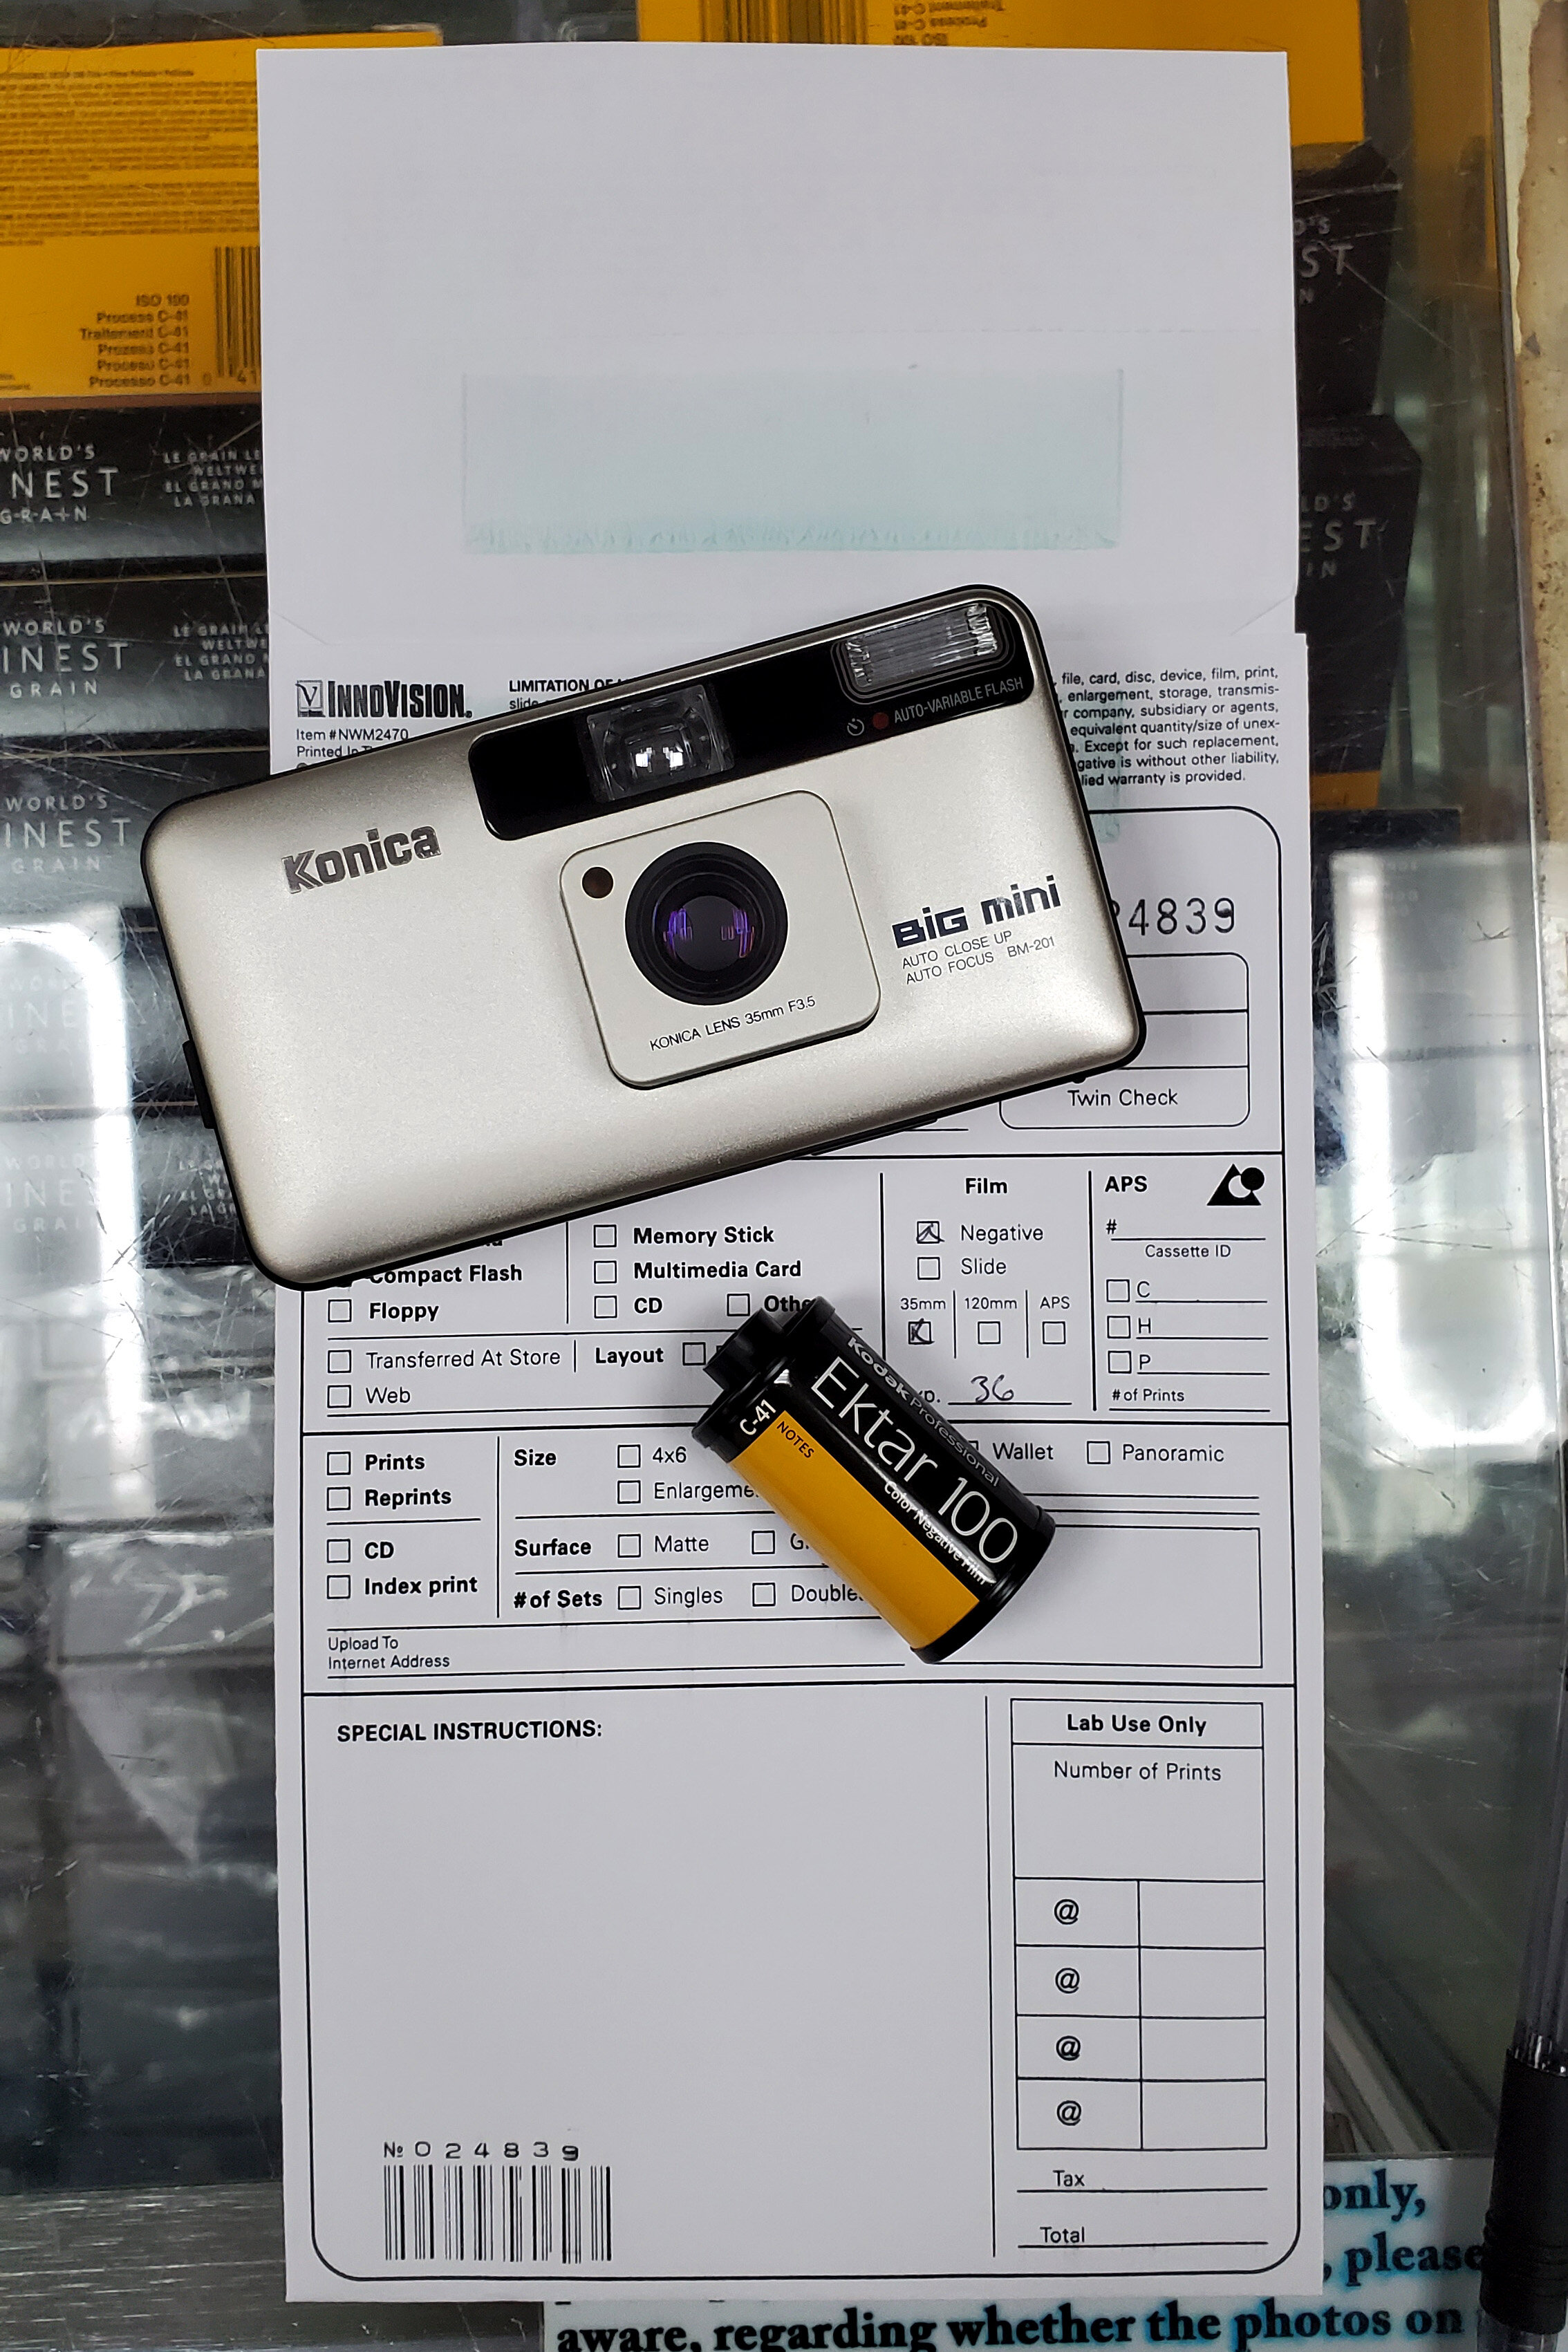
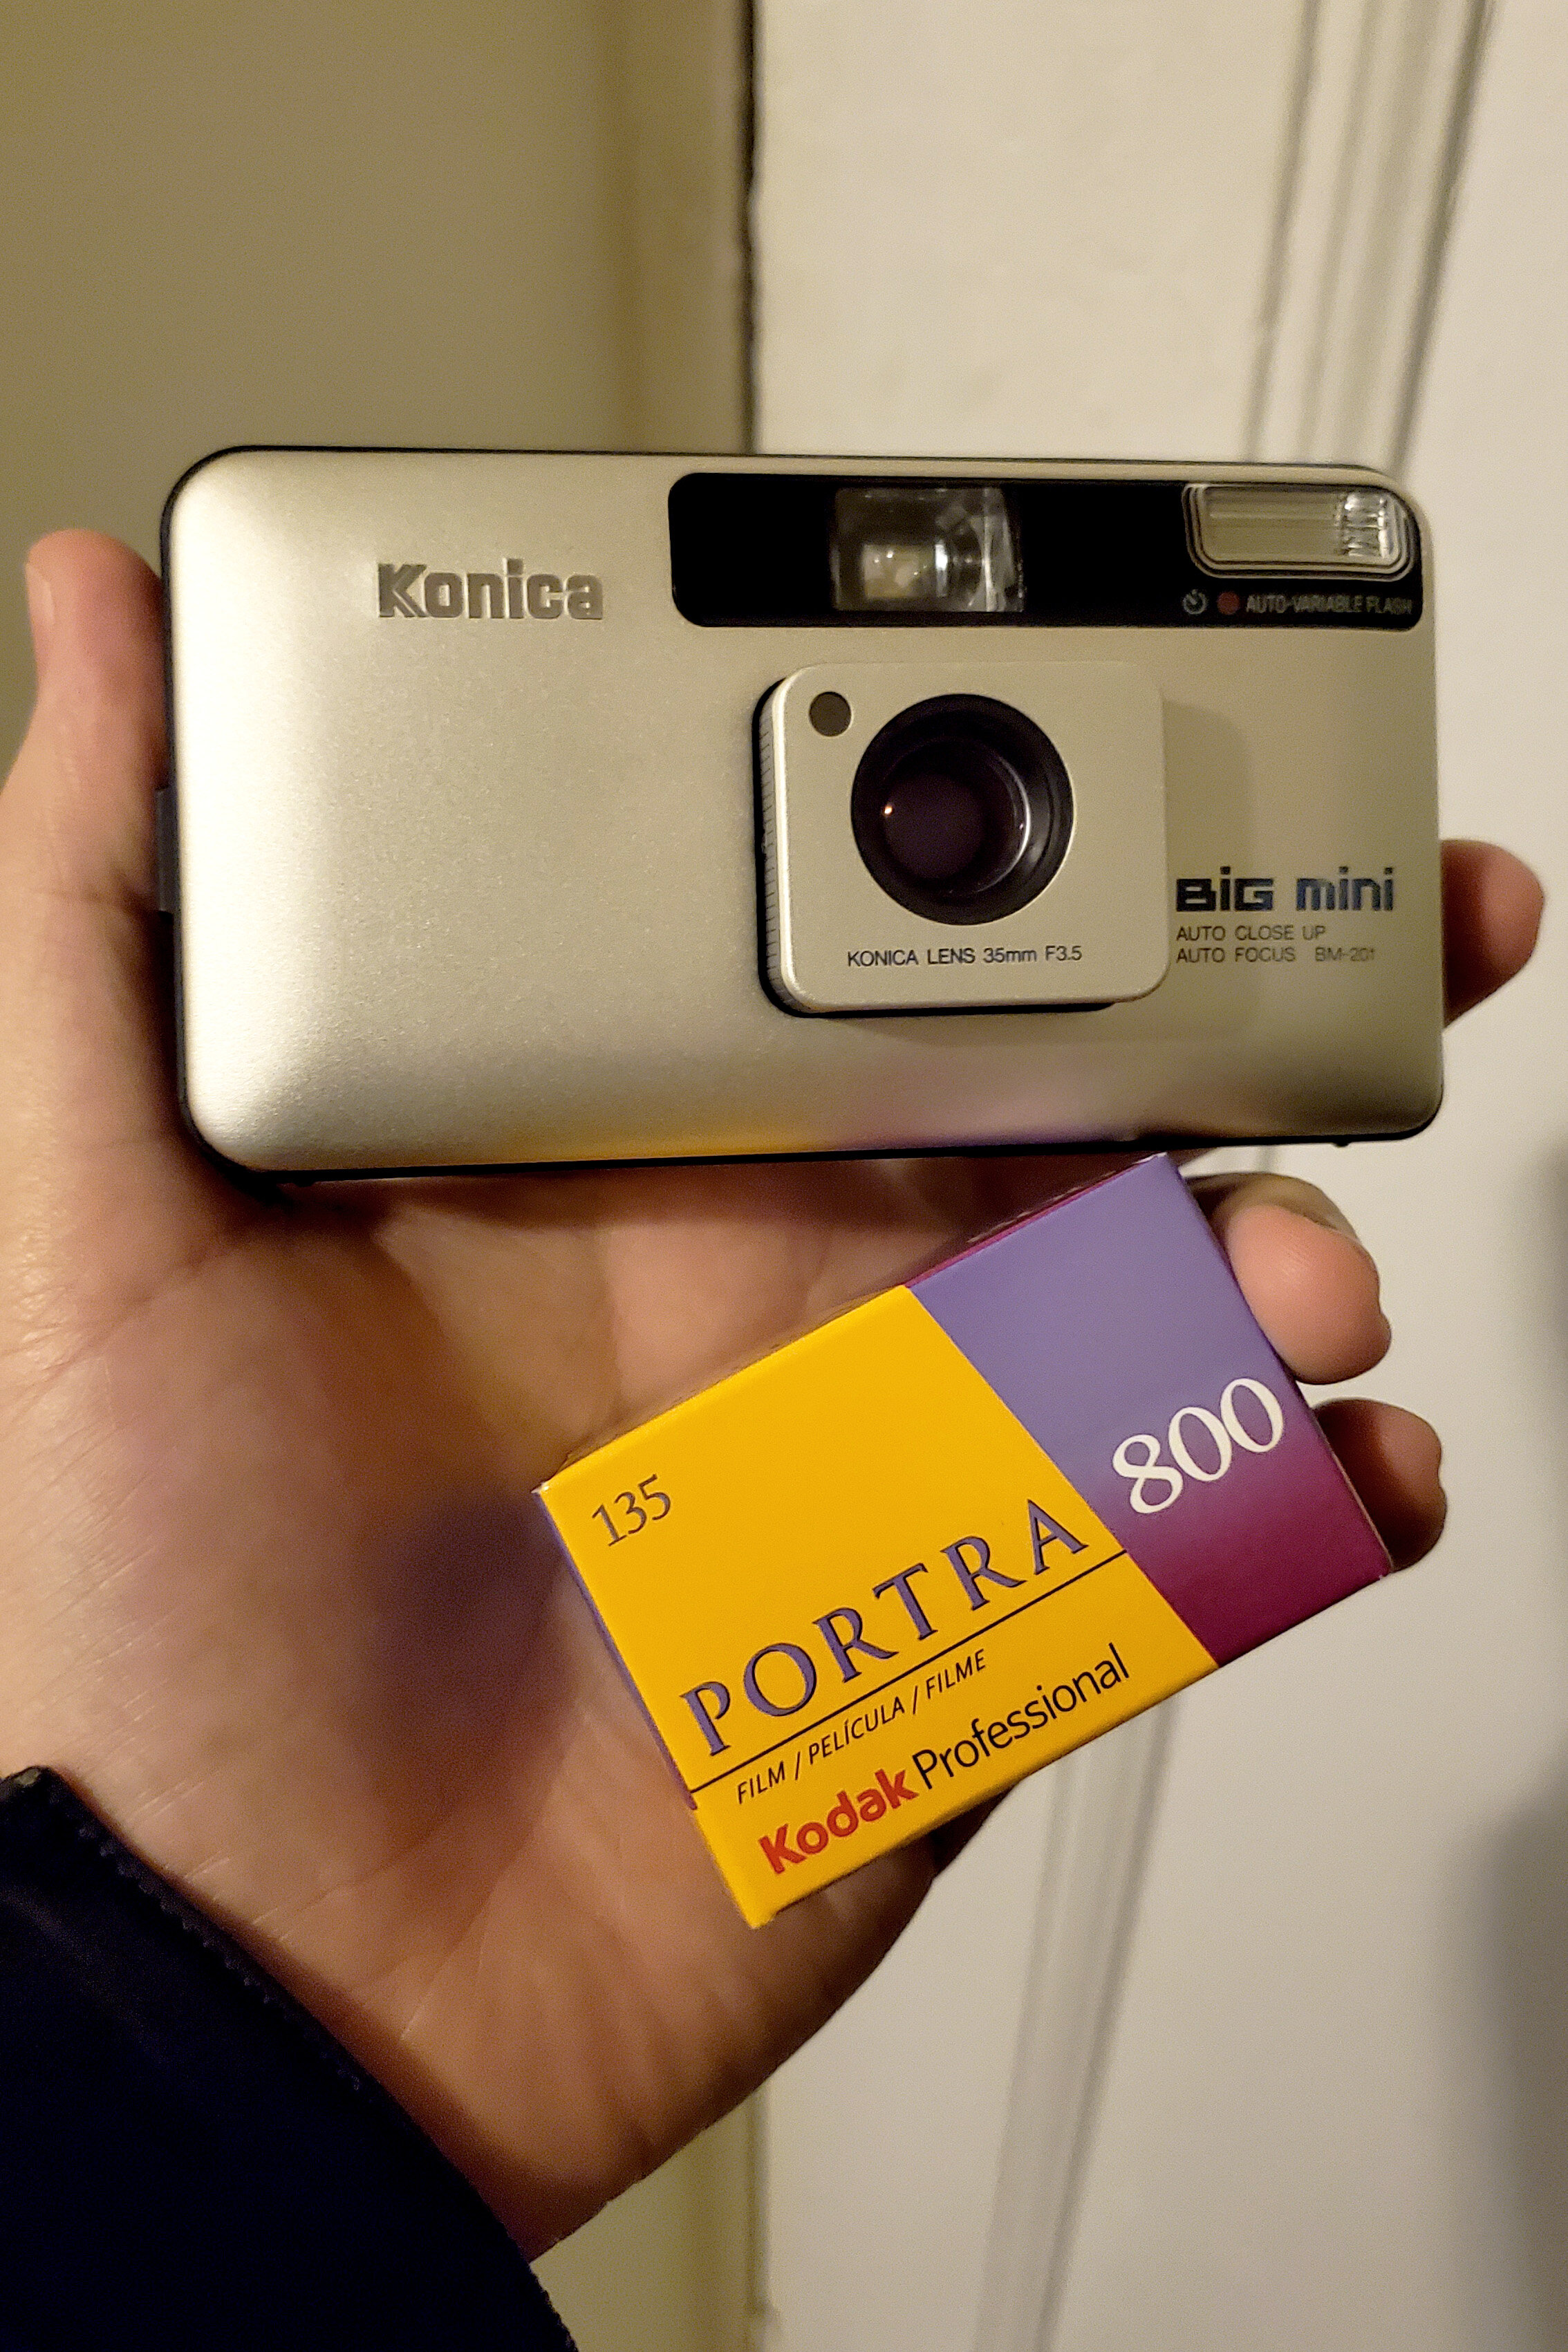
It’s been three years since I first posted about arguably the most affordable point-and-shoot film camera: the Konica Big Mini 201. Back then, I had just traded a Canon SLR for it and was itching to test the limits of this compact little point-and-shoot camera. I’m happy to say that it hasn’t sat around collecting dust; this Big Mini has been my trusted companion to countless cities across three continents. Here’s an overdue report on what it’s like to shoot the Konica Big Mini 201.
Konica Big Mini 201: A Dependable Everyday Carry Camera
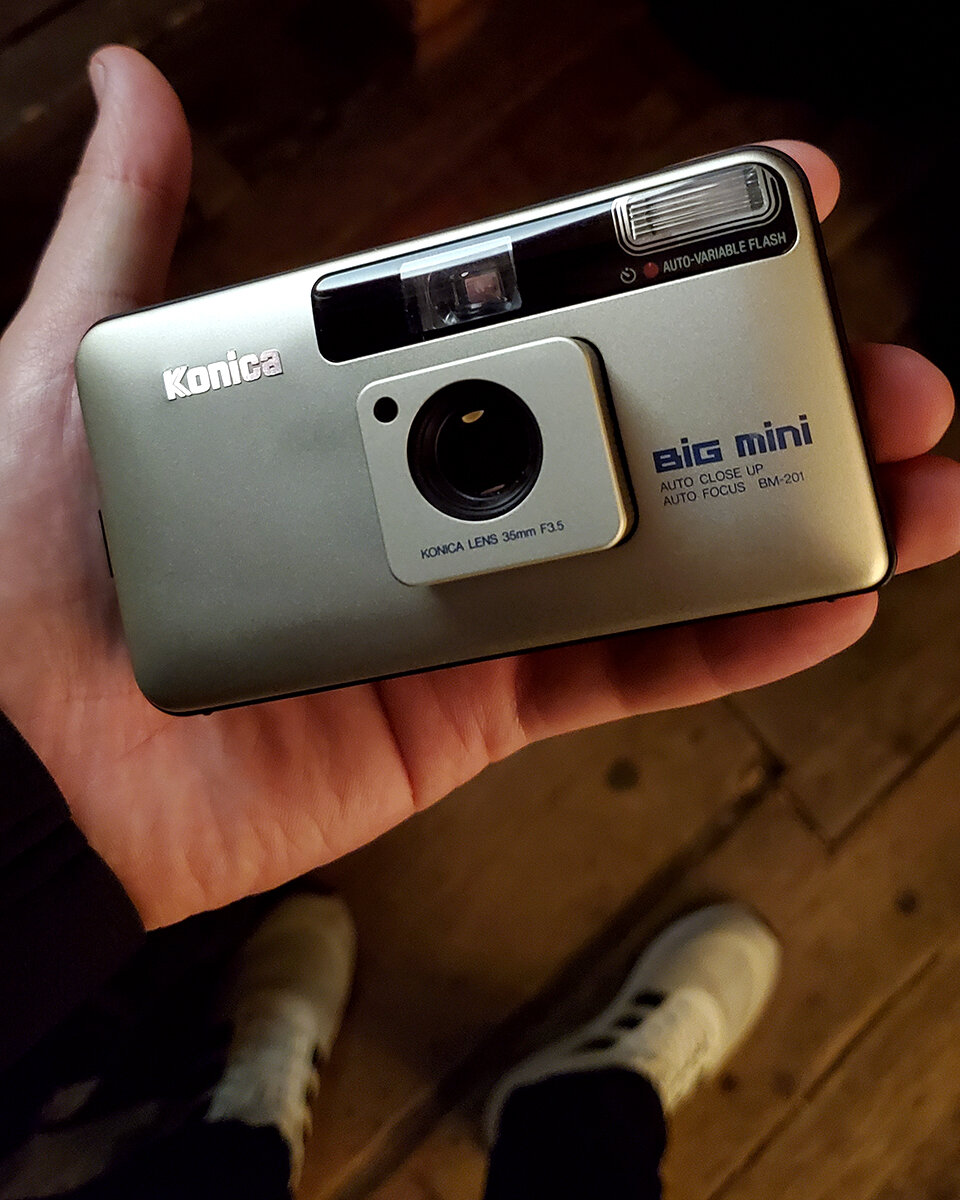
When I first wrote about the Big Mini, I had said it was sleek, but the tiny buttons make it uncomfortable to use. After running dozens of rolls of film through it, I still believe that’s partially true. The camera has a great compact shape, and the buttons haven’t gotten any larger. However, after having a few rolls developed, and testing the settings in different lighting conditions, I think I’ve gotten the hang of it such that I have three or four combinations that I stick to, depending on the scene.
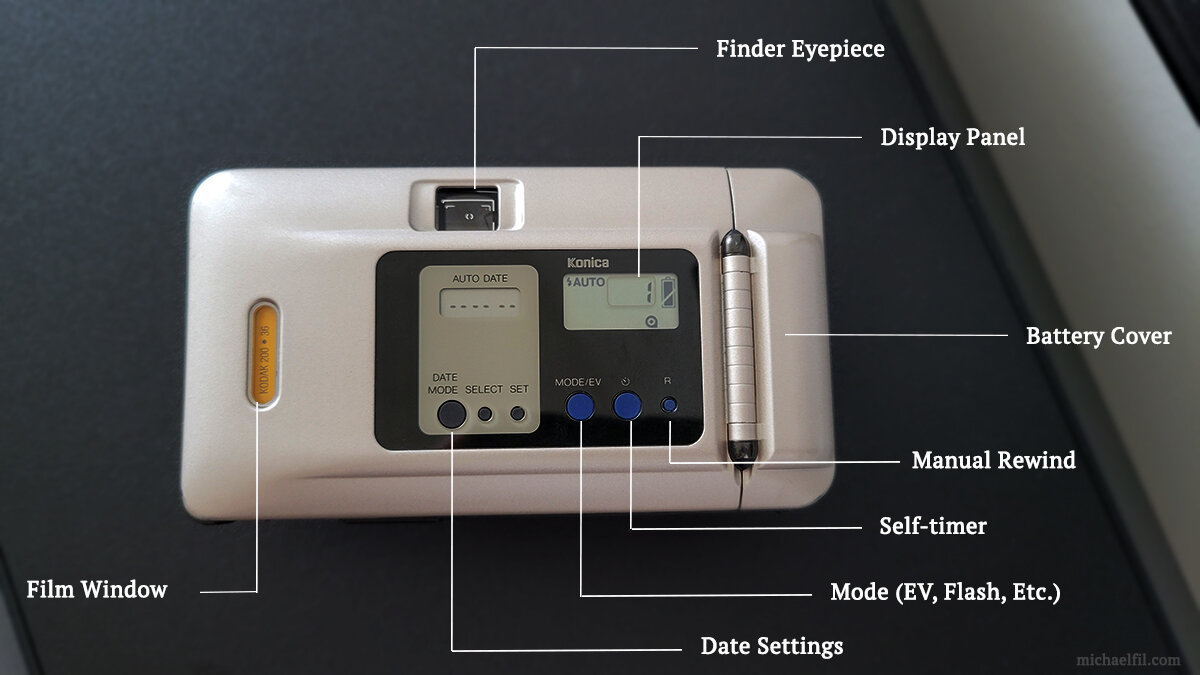
The most frequently used buttons beyond the power and shutter button are the exposure compensation and flash settings.
Let’s take a detailed look at the specifications for the Konica Big Mini. Oh, and if you want to download the manual for the Konica Big Mini 201, you can do it here, thanks to Mike Butkus.
Konica Big Mini 201 Settings
Ergonomics
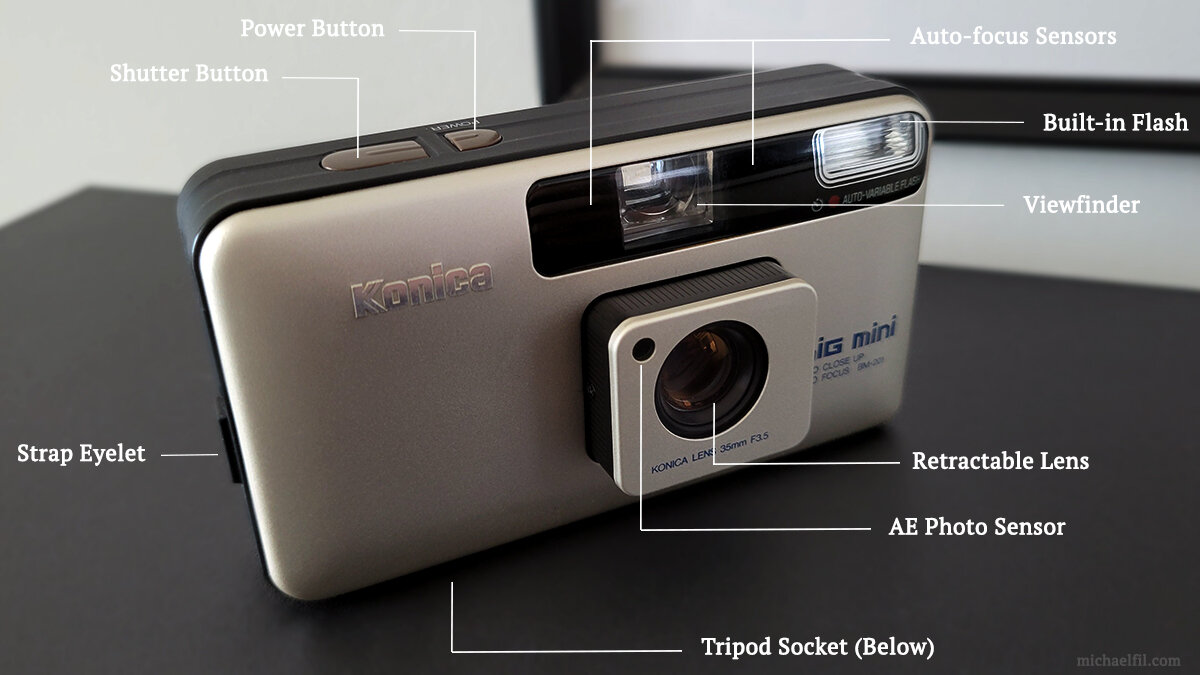
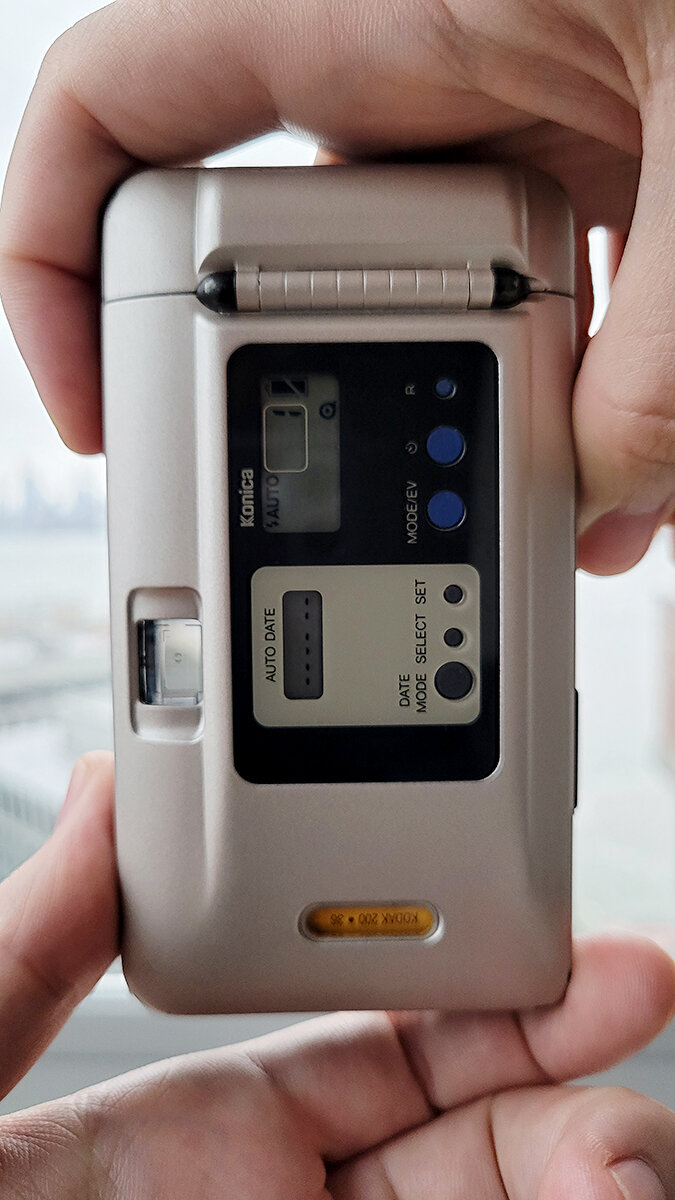
There’s a lot that the Konica Big Mini 201 has going for it. First and foremost, its compact size makes it an easy everyday carry. There are six buttons mashed very close to each other on the back, and require some finessing to press down… especially if you have large fingers. The manual rewind and data settings are near-impossible to activate without a pin, pen, or anything pointy.
The power button is responsive and activates the retractable lens, though it does so loudly.
Shutter
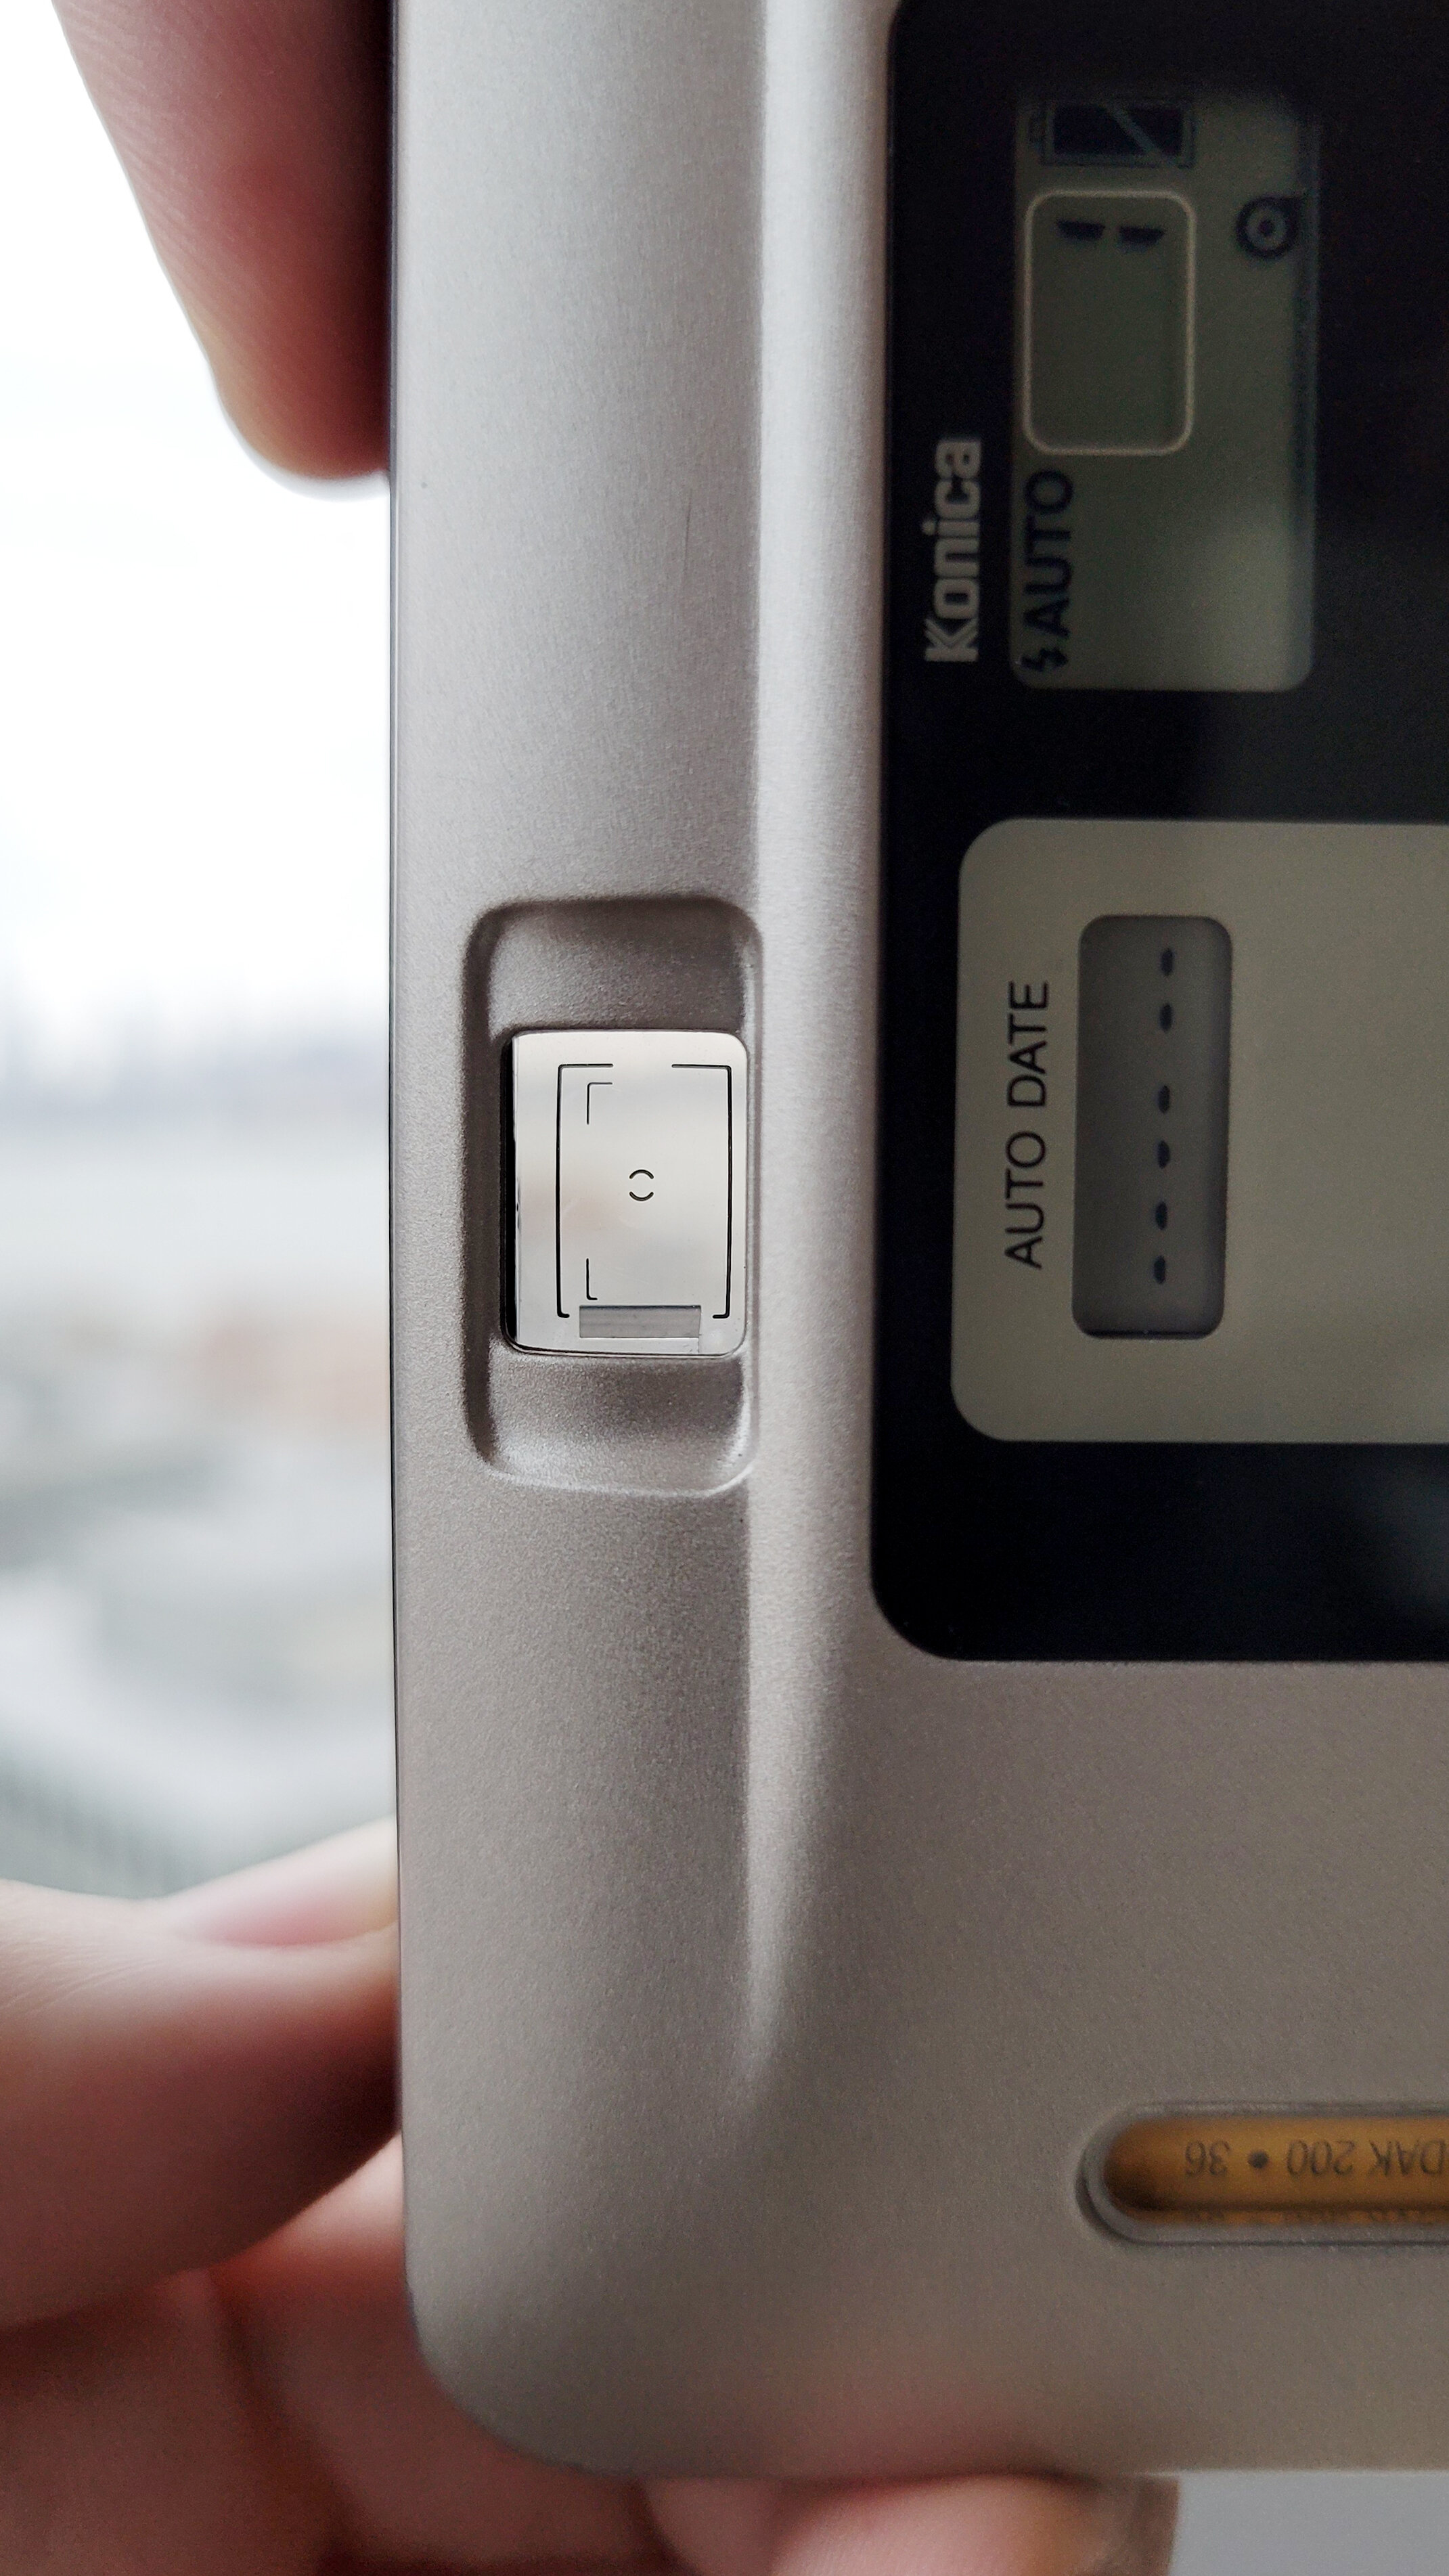
The shutter release button uses a half-press system. You can half-press to trigger the auto-focus mechanism and allow the viewfinder to tell you whether the scene is too dark (flash icon turns red inside the viewfinder) or you’re too close to the subject (macro icon lights up green in the viewfinder).
The shutter on the Konica Big Mini is electronically programmed and has a range between 3.6 seconds and 1/500 of a second. Not particularly fast if you’re used to 1/1000 or faster.
Over time, the shutter button might require some extra pressing down as the electronic components degrade. That’s a notorious complaint from Konica Big Mini owners who take to forums to salvage their cameras. Once you take a photo, the camera automatically winds the film to the next frame.
Lens
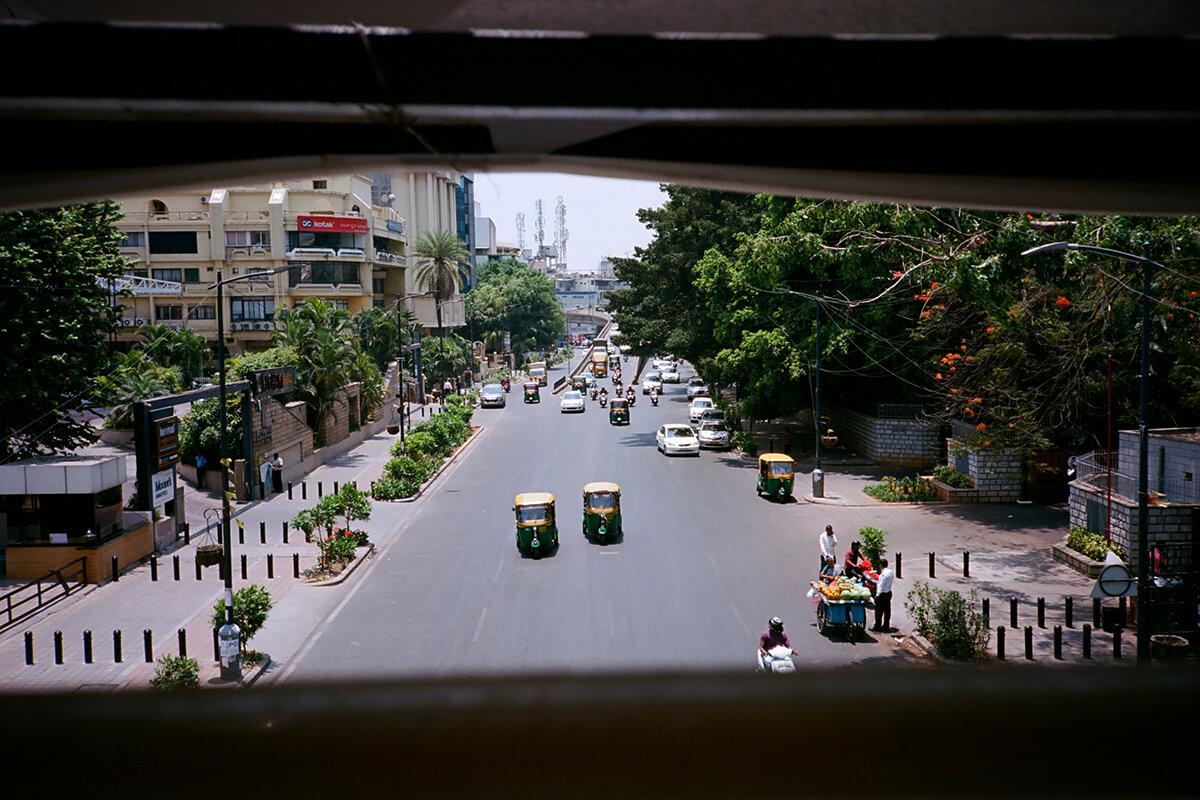
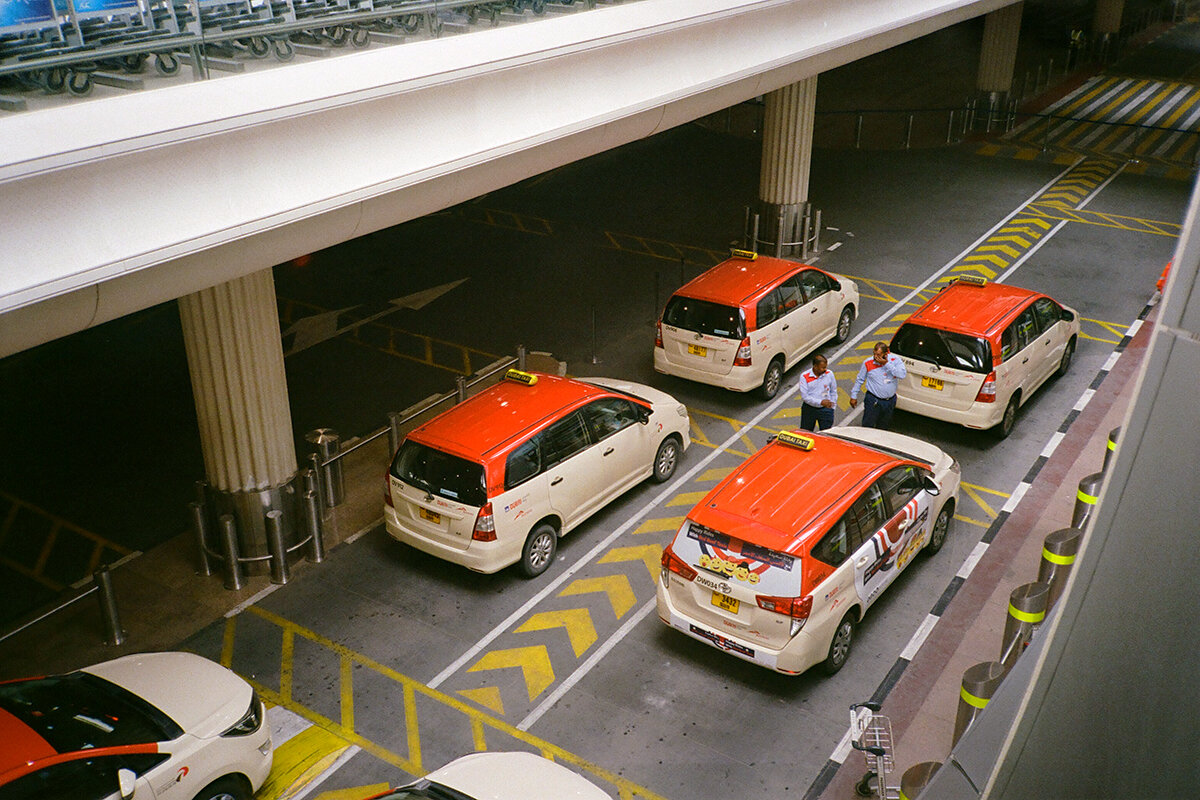
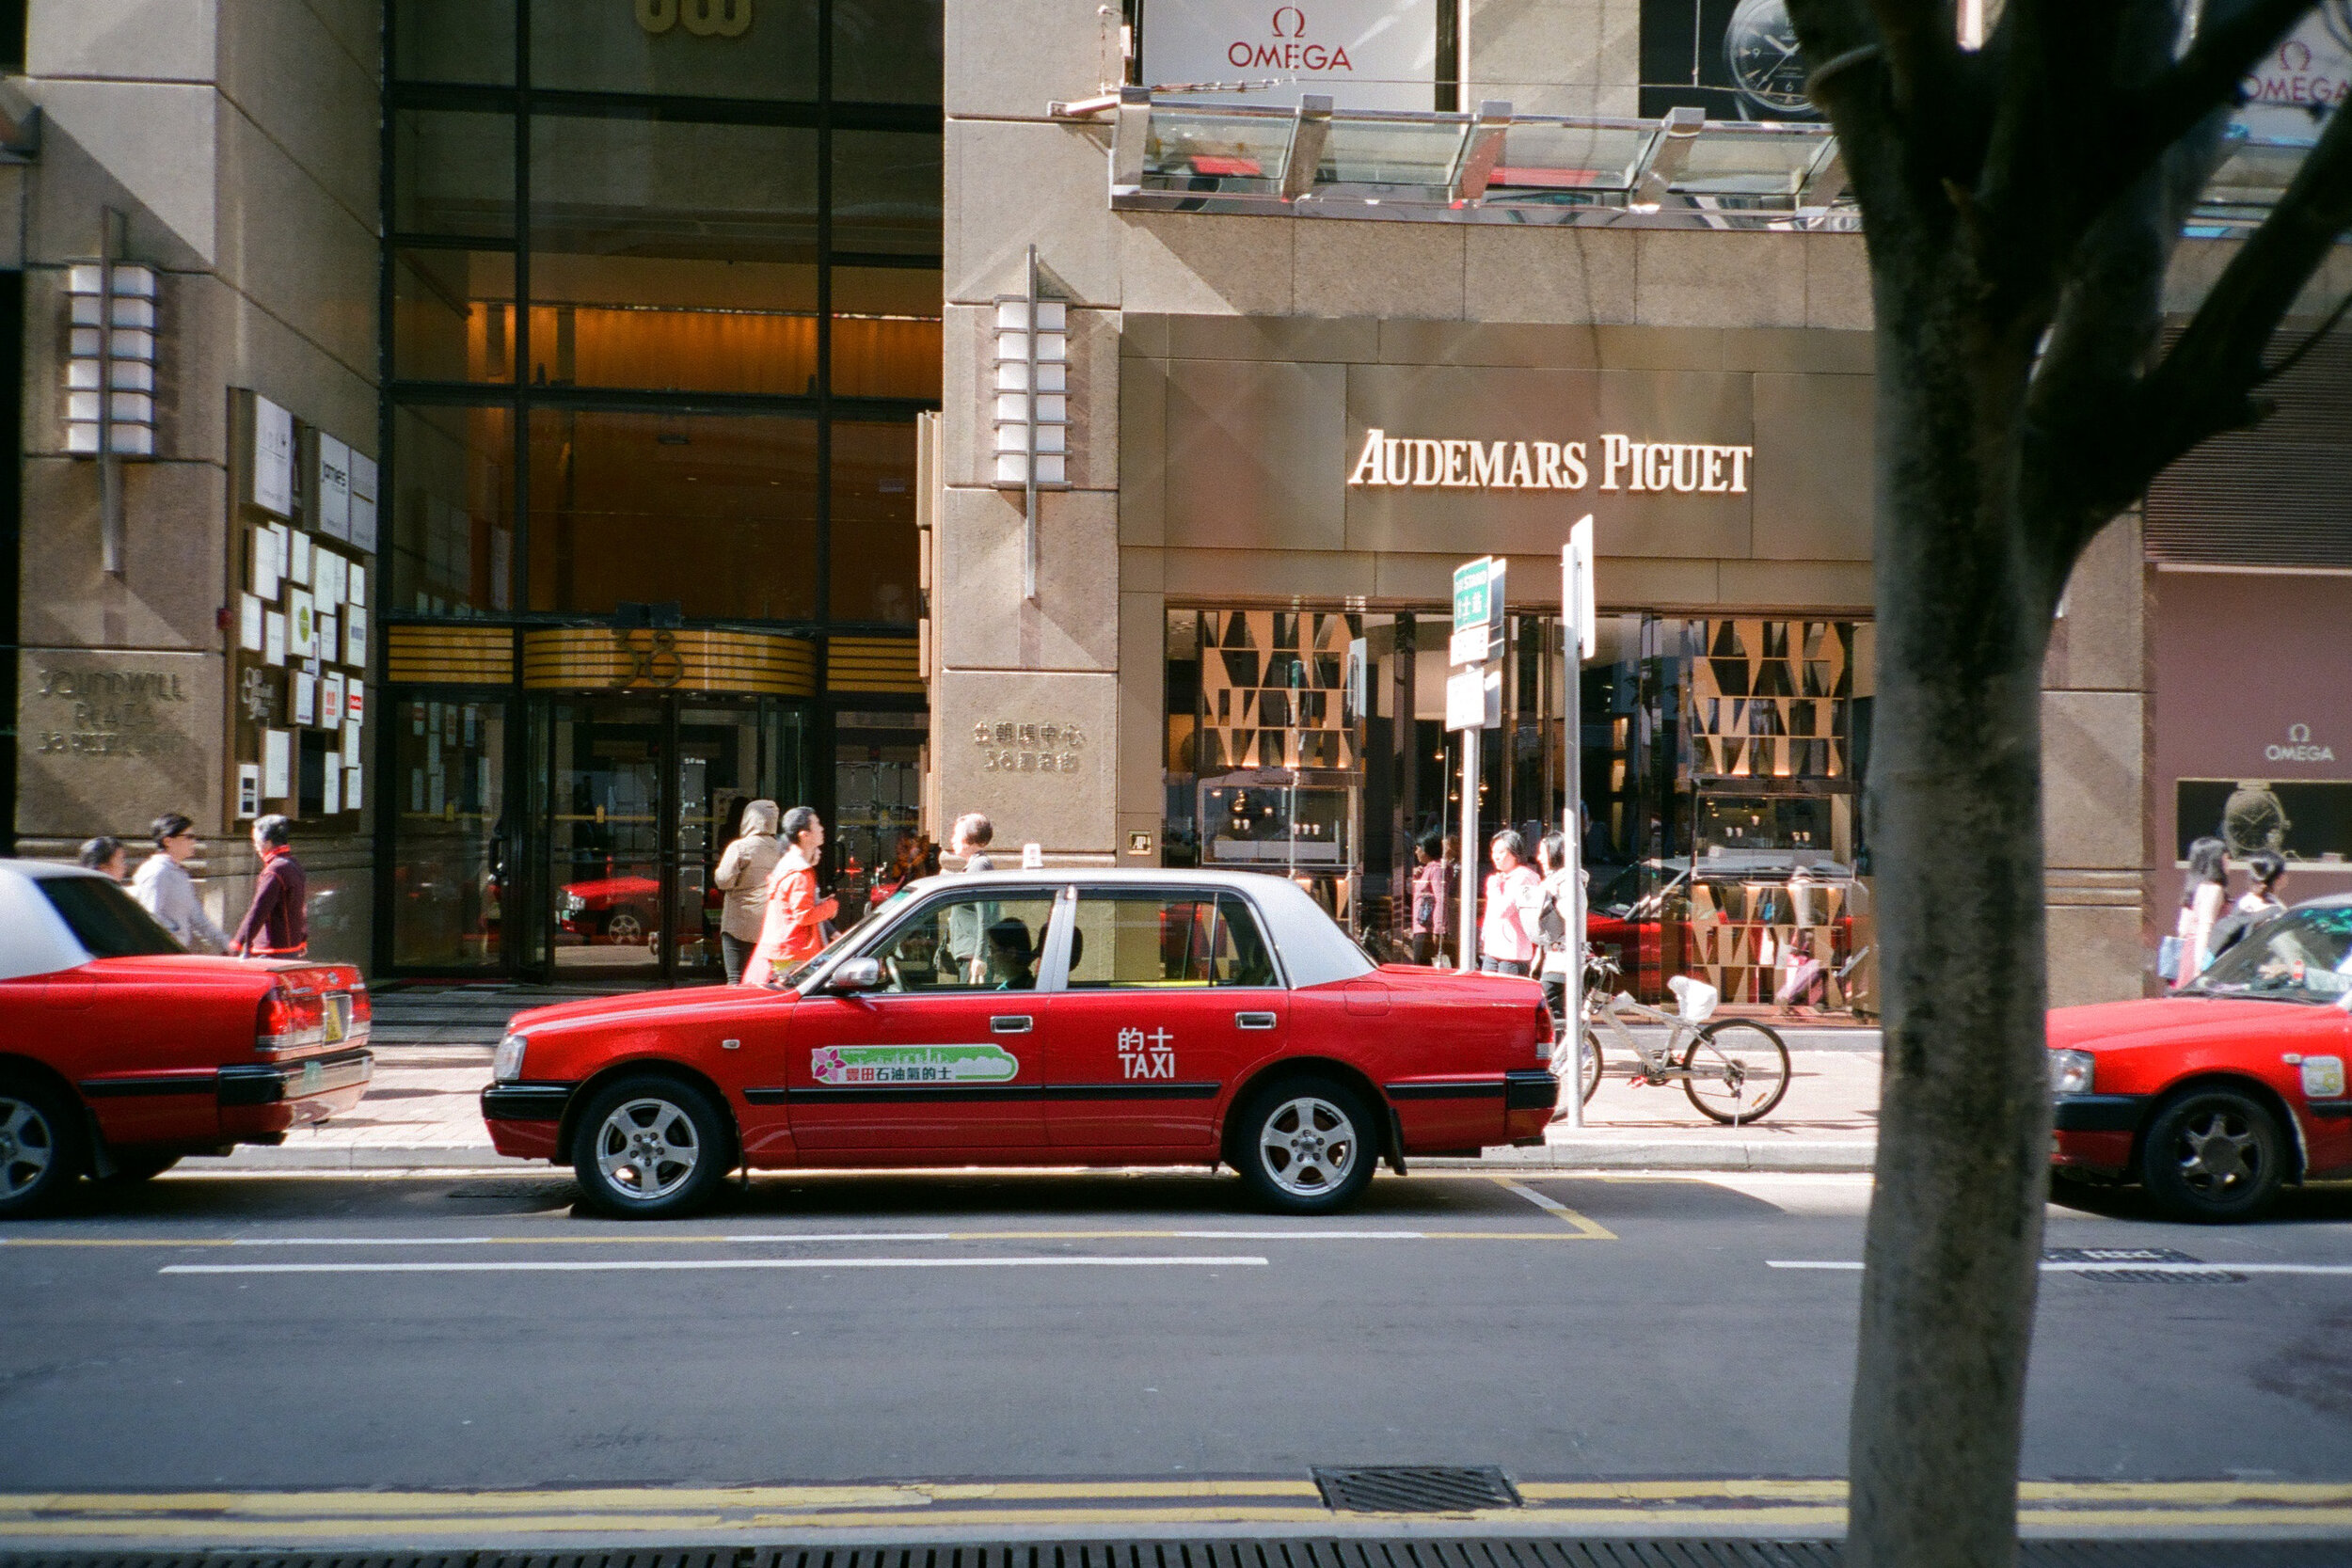
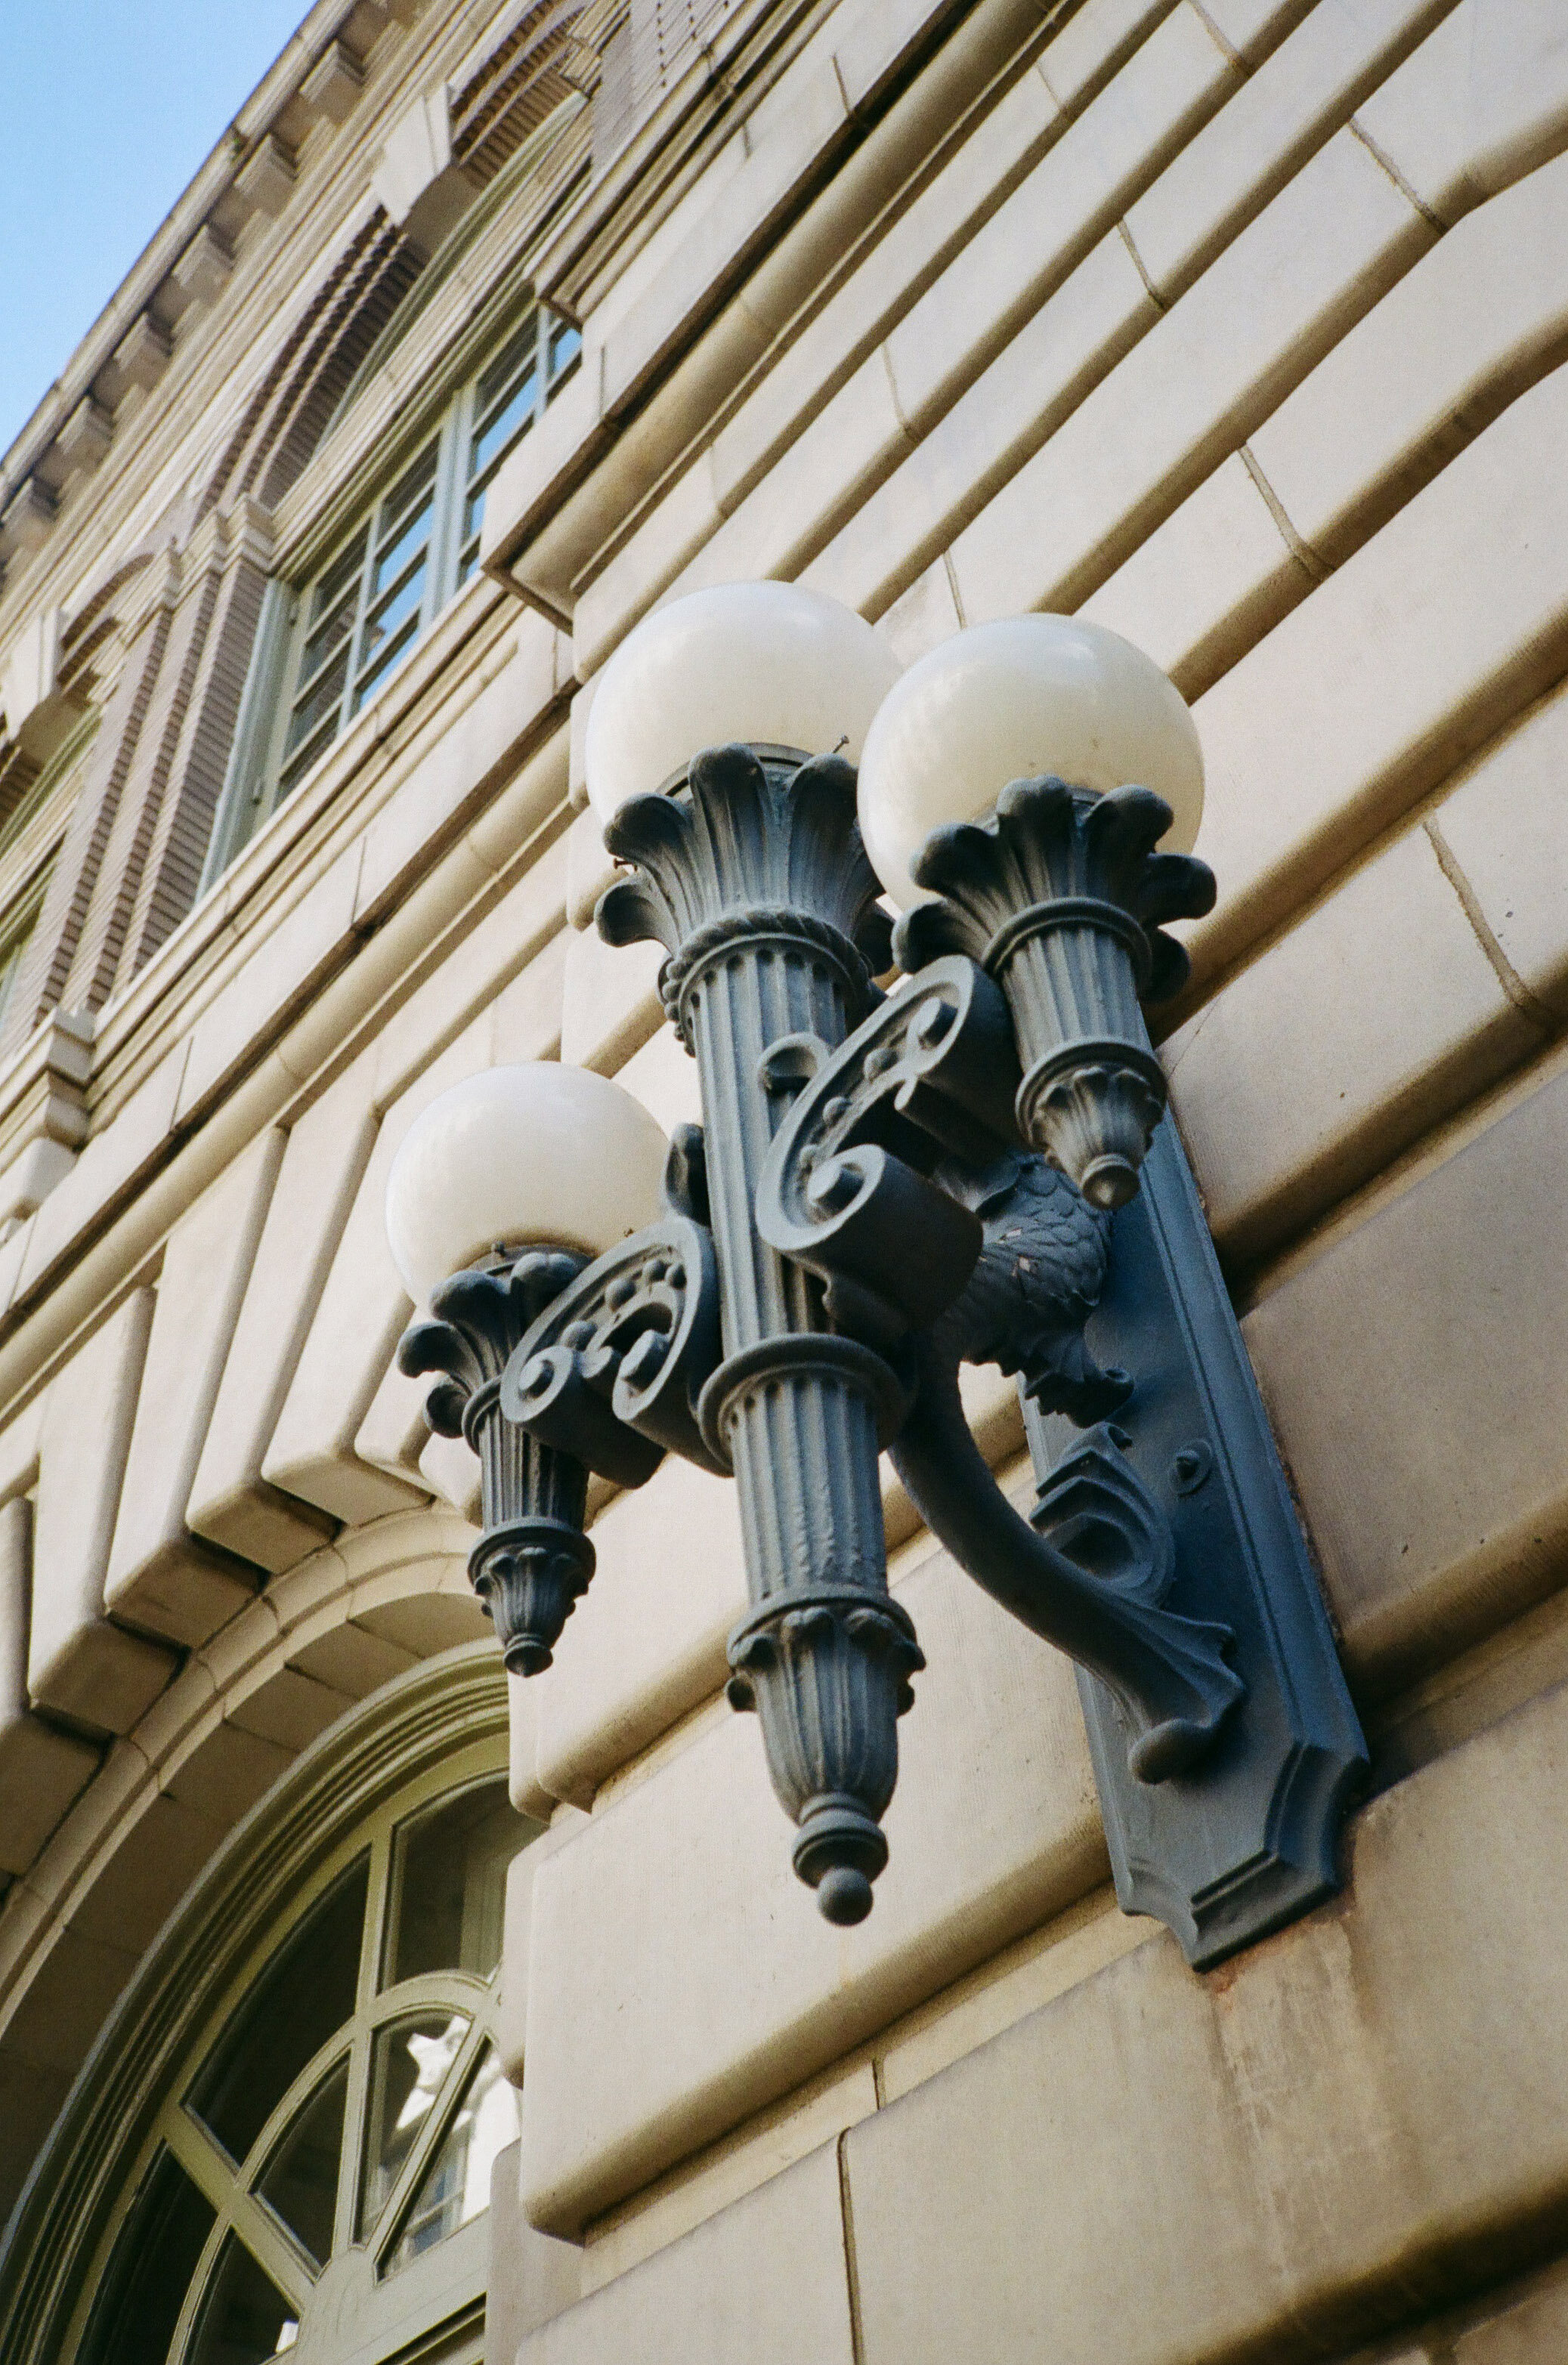
While the lens is not much to write home about. It’s a rather slow f/3.5, compared to many compact cameras’ f/2.8 or faster. However, it’s still very sharp on sunny and cloudy days. Many of the photos you’ll see here were quick snap-and-walk shots, and (I think) they’re still pretty sharp considering the abrupt way that I shot them.
The Big Mini has a macro mode for anything between 1.15 ft and 2 ft. If your subject is closer or further, you can expect it to be out of focus — And I’ve definitely messed up before.
EV Mode
The exposure mode allows you to add or subtract one and a half stops (EV +1.5 or -1.5). I’ve used the +1.5 mode a whole bunch since I like to go for overexposed color negative films, and especially when my roll is only ISO 200 with the light dimming.
Flash
The flash is also powerful, though it took me a few shots to actually use it consistently. I’ve always been afraid of flash because of my fear of washing out the image. You’ll see a few examples of how the Konica Big Mini 201 handles flash below.
The automatic flash is triggered in dim situations and takes roughly 3 seconds to recycle. It can be turned off and on (for fill flash in daylight) using the Mode/EV button. The range depends on the distance of the subject from the camera and the film speed (ISO).
Date
I’ve never used the date setting for two reasons: it looks awkward on the image and it only goes up to 2019. So, unless you’re a time-traveling street photographer, you’re going to forego using this mode too.
Self-timer
The self-timer works great! The manual is quick to note that you shouldn’t set the self-timer while standing in front of the camera. Something to do with the way that the auto-focus sensors do their job. However, I still did it the wrong way and ended up with a decent selfie.
Shooting Konica Big Mini 201 with Flash
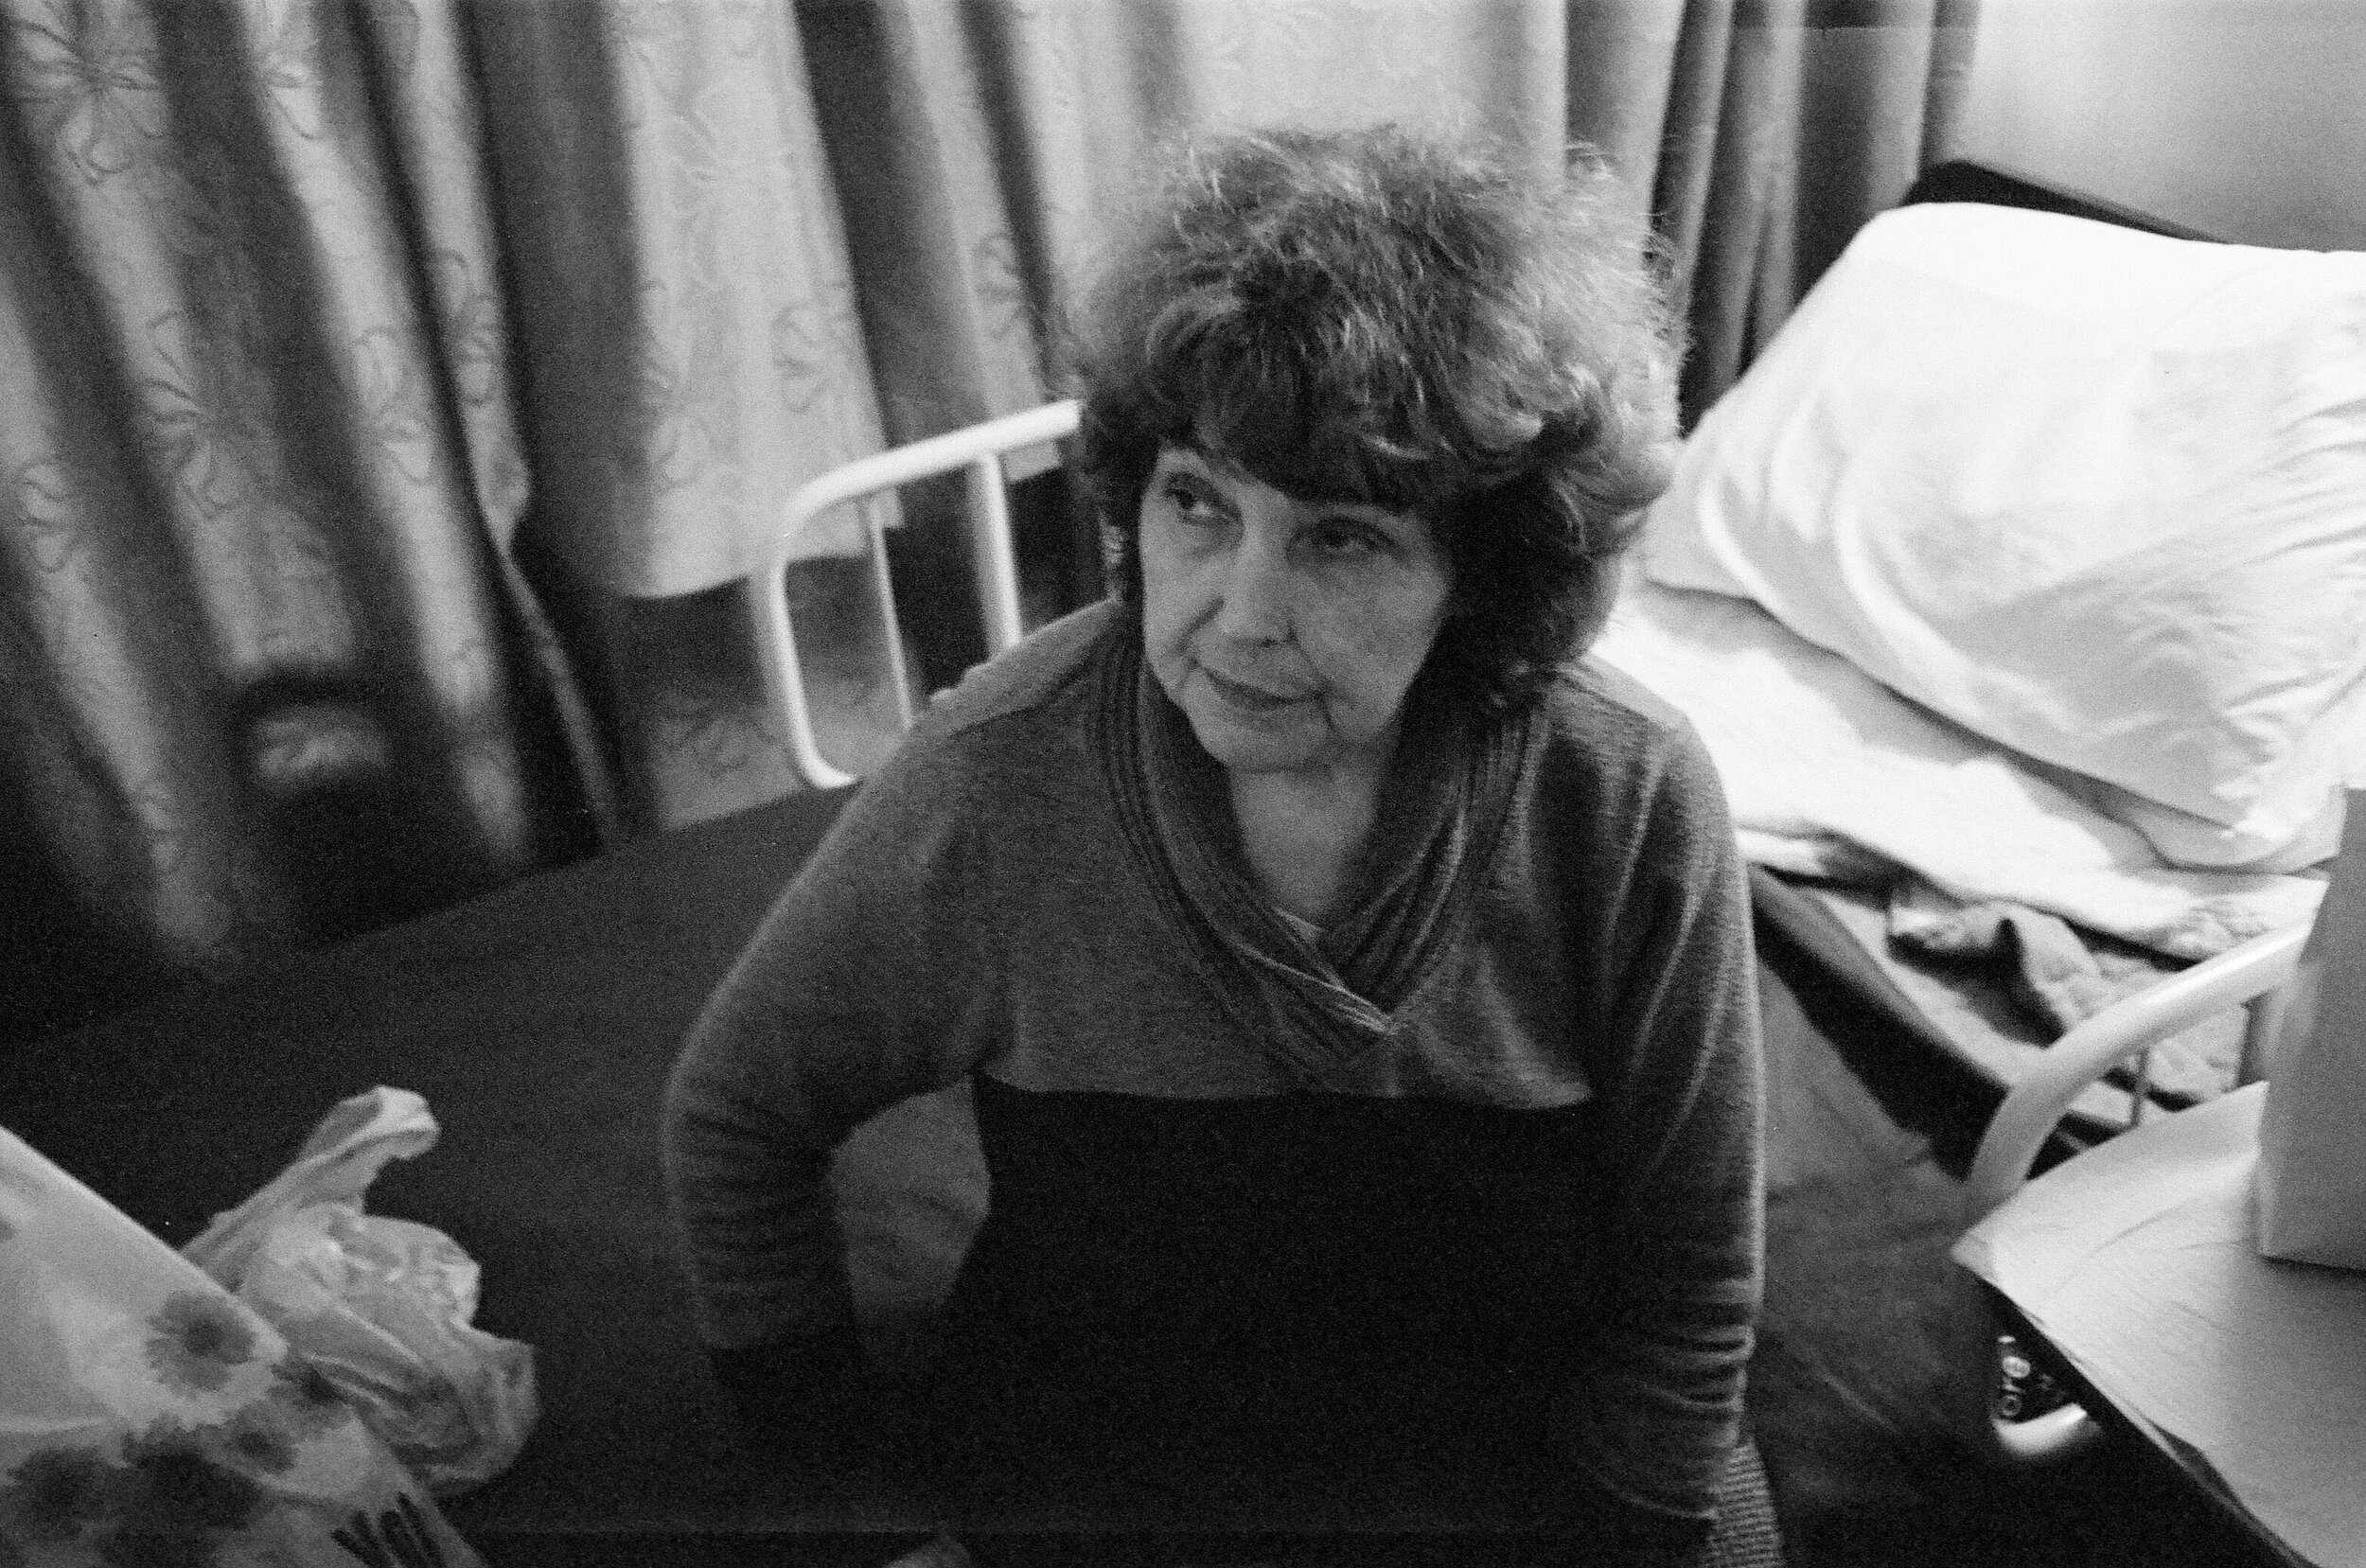
I wanted to share a few sample photos to show how powerful the flash is on the Konica Big Mini. I personally think the flash is great when you’re using it on subjects that are close up. When they’re further away, the flash attempts to compensate, often with poor results. You can see some examples below. When the subjects are close up, they retain much of their contrast with minimal grain. The photo below with subjects further away is pretty washed out.
Which film do I use in Konica Big Mini?
The Big Mini uses 35mm format film. This means any 35mm film works (ie. Kodak Portra, Fuji Pro400H, Ilford Delta 3200, Kodak Ektachrome, etc.). The Big Mini 201 uses the DX code that can be found on film canisters and accepts anything from ISO 25 to 3200 — which is a big deal since many compact cameras don’t go above 800. If your film canister doesn’t have a DX code, the camera will automatically rate it as ISO 25 (so be careful).
Beyond color negative and black and white film, I’ve tried shooting slide film with the Konica Big Mini 201, with acceptable results.
Shopping List
I’m including a list of films that I used to shoot all of the photos in this blog post. These are affiliate links, which means I get a small percentage for everything you buy if you choose to buy it. Your price isn’t greater — I just get a kickback for the referral. All the links lead to Amazon, so if you have a local film lab, make sure you shop there!
You can find listings on eBay here. They go for about $180, but I’ve seen a few under $150.
Kodak Portra 400, Kodak Portra 800, Kodak Ultramax 400, Kodak Colorplus 200, Kodak Ektar 100, Fuji Pro 400H (discontinued), Lomography 100, Kodak Tri-X 400. I recommend Colorplus 200 ($6 per roll) and Kodak Ultramax 400 ($7 per roll). They’re cheap films, have 36 frames instead of the more common 24 frames, and look great!
If you want to know which photo corresponds to which film, send me a message on Instagram or comment below.
Examples of Photos Taken with Konica Big Mini 201
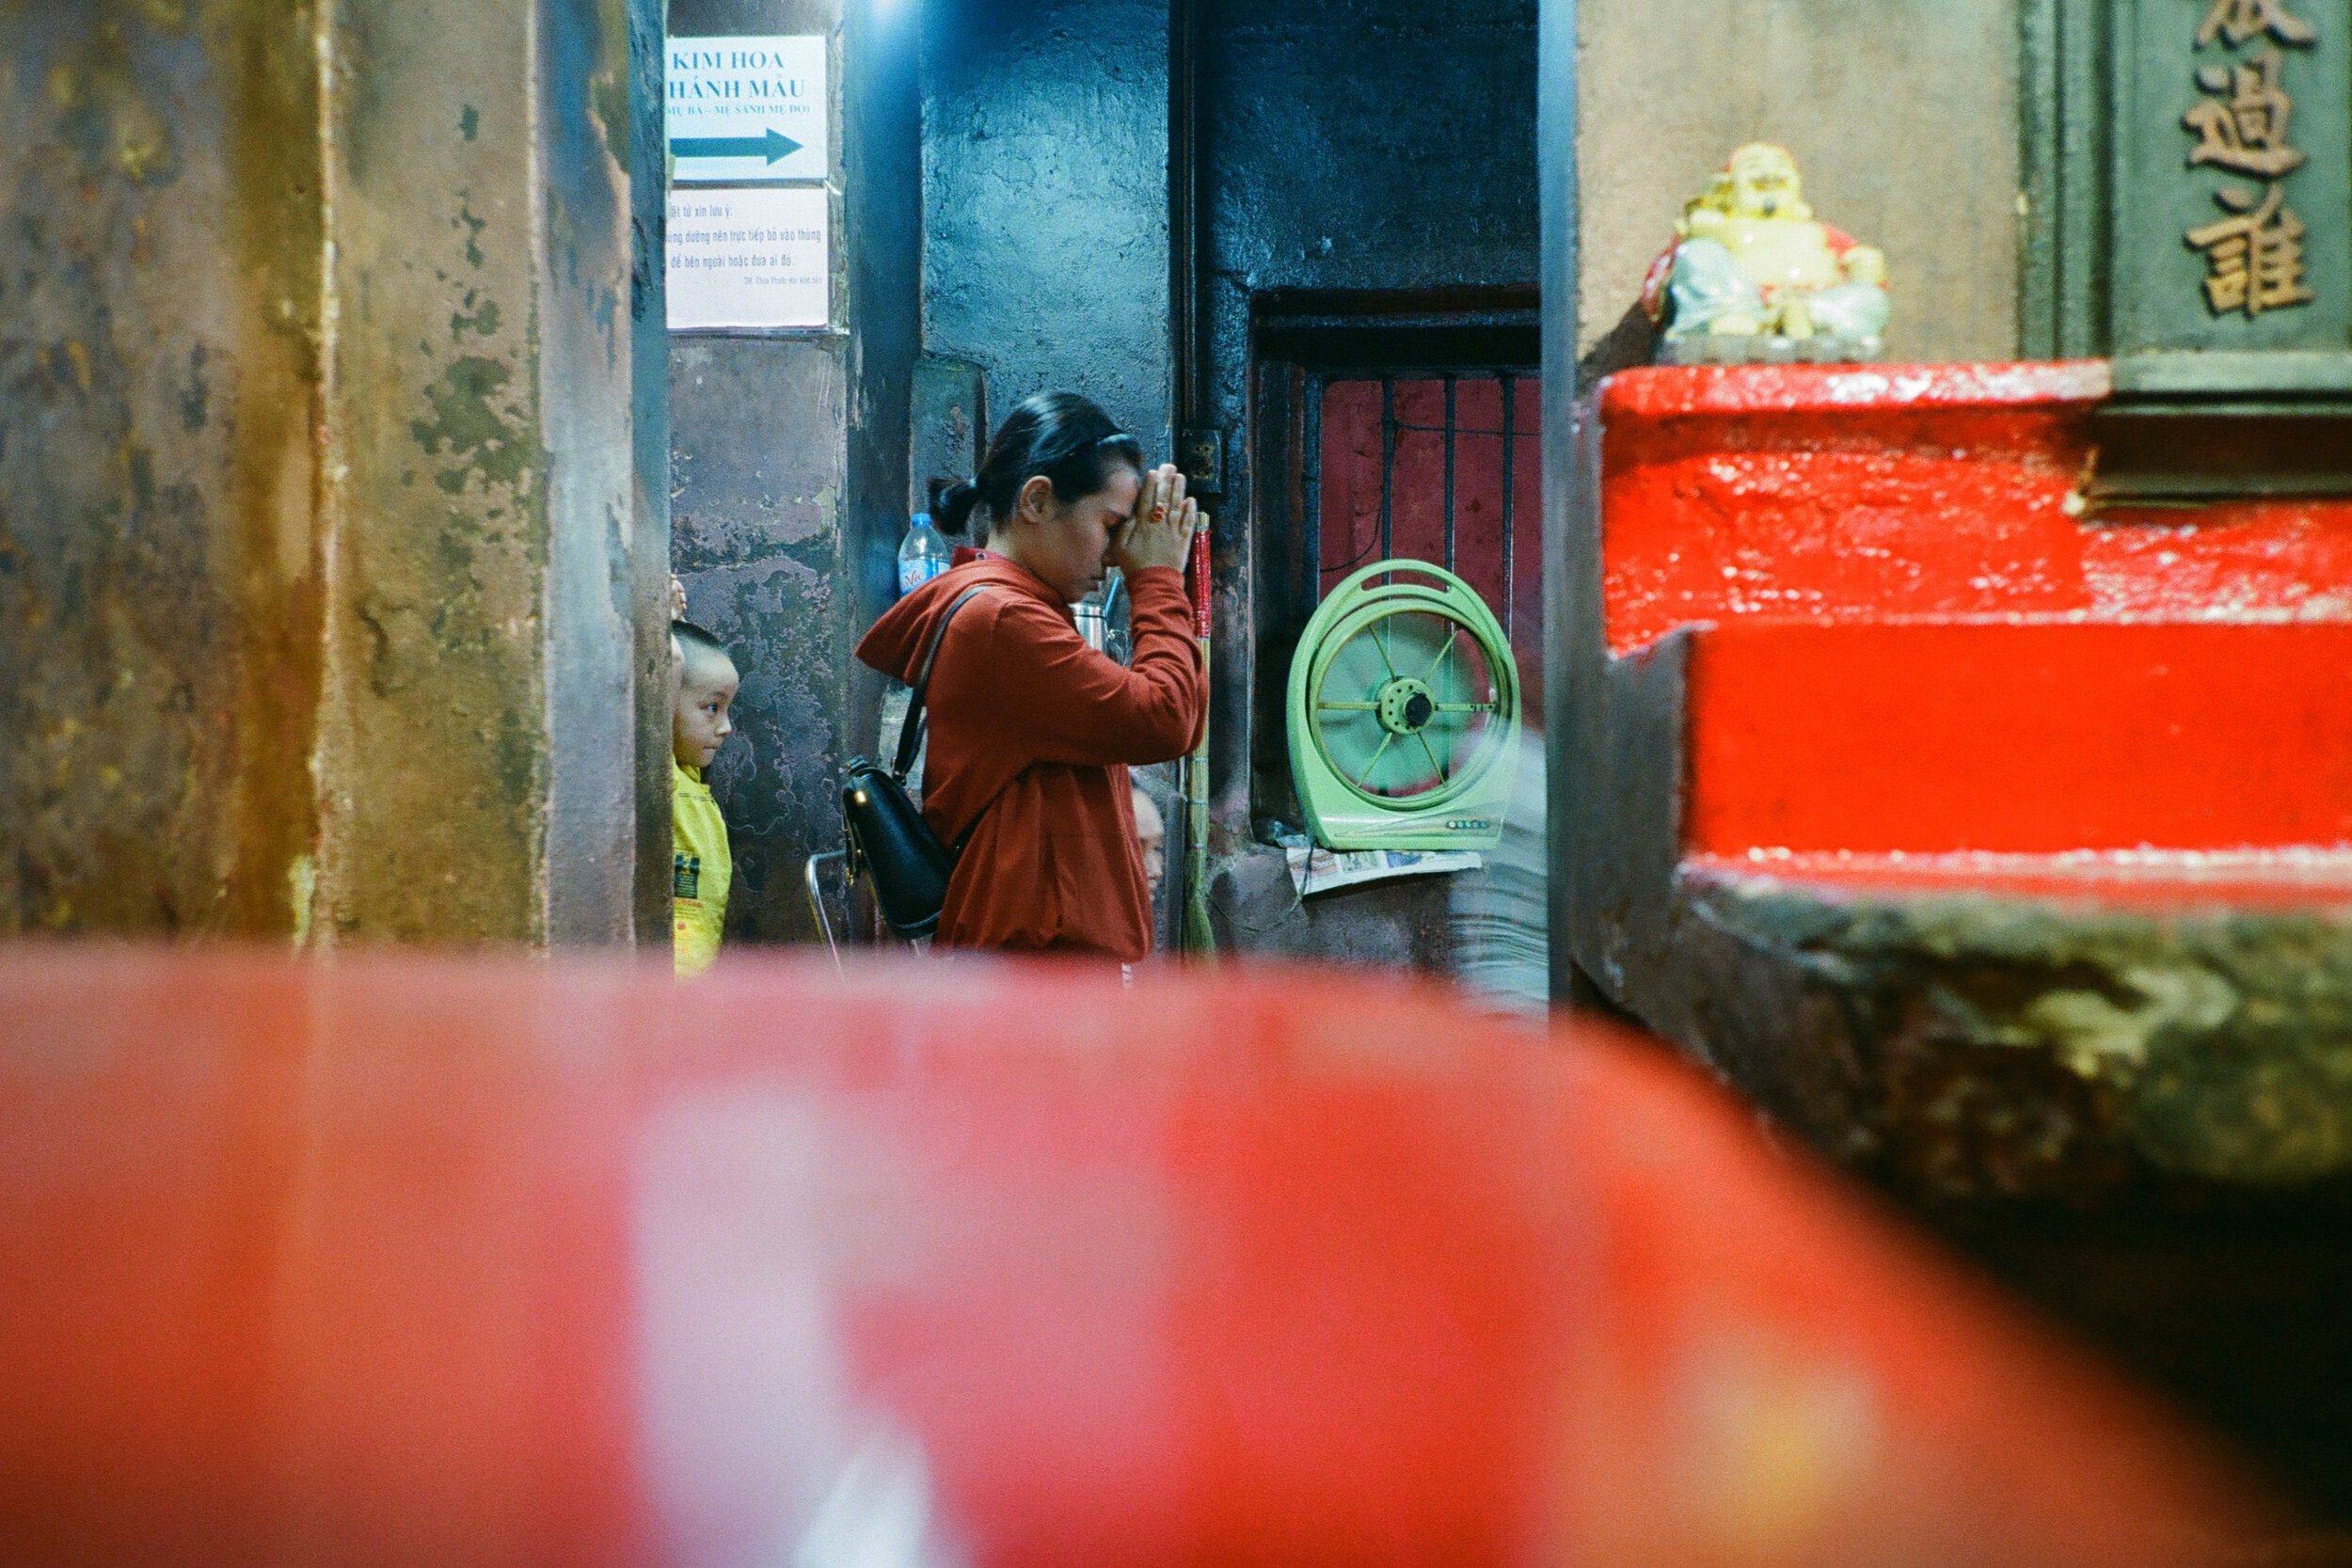
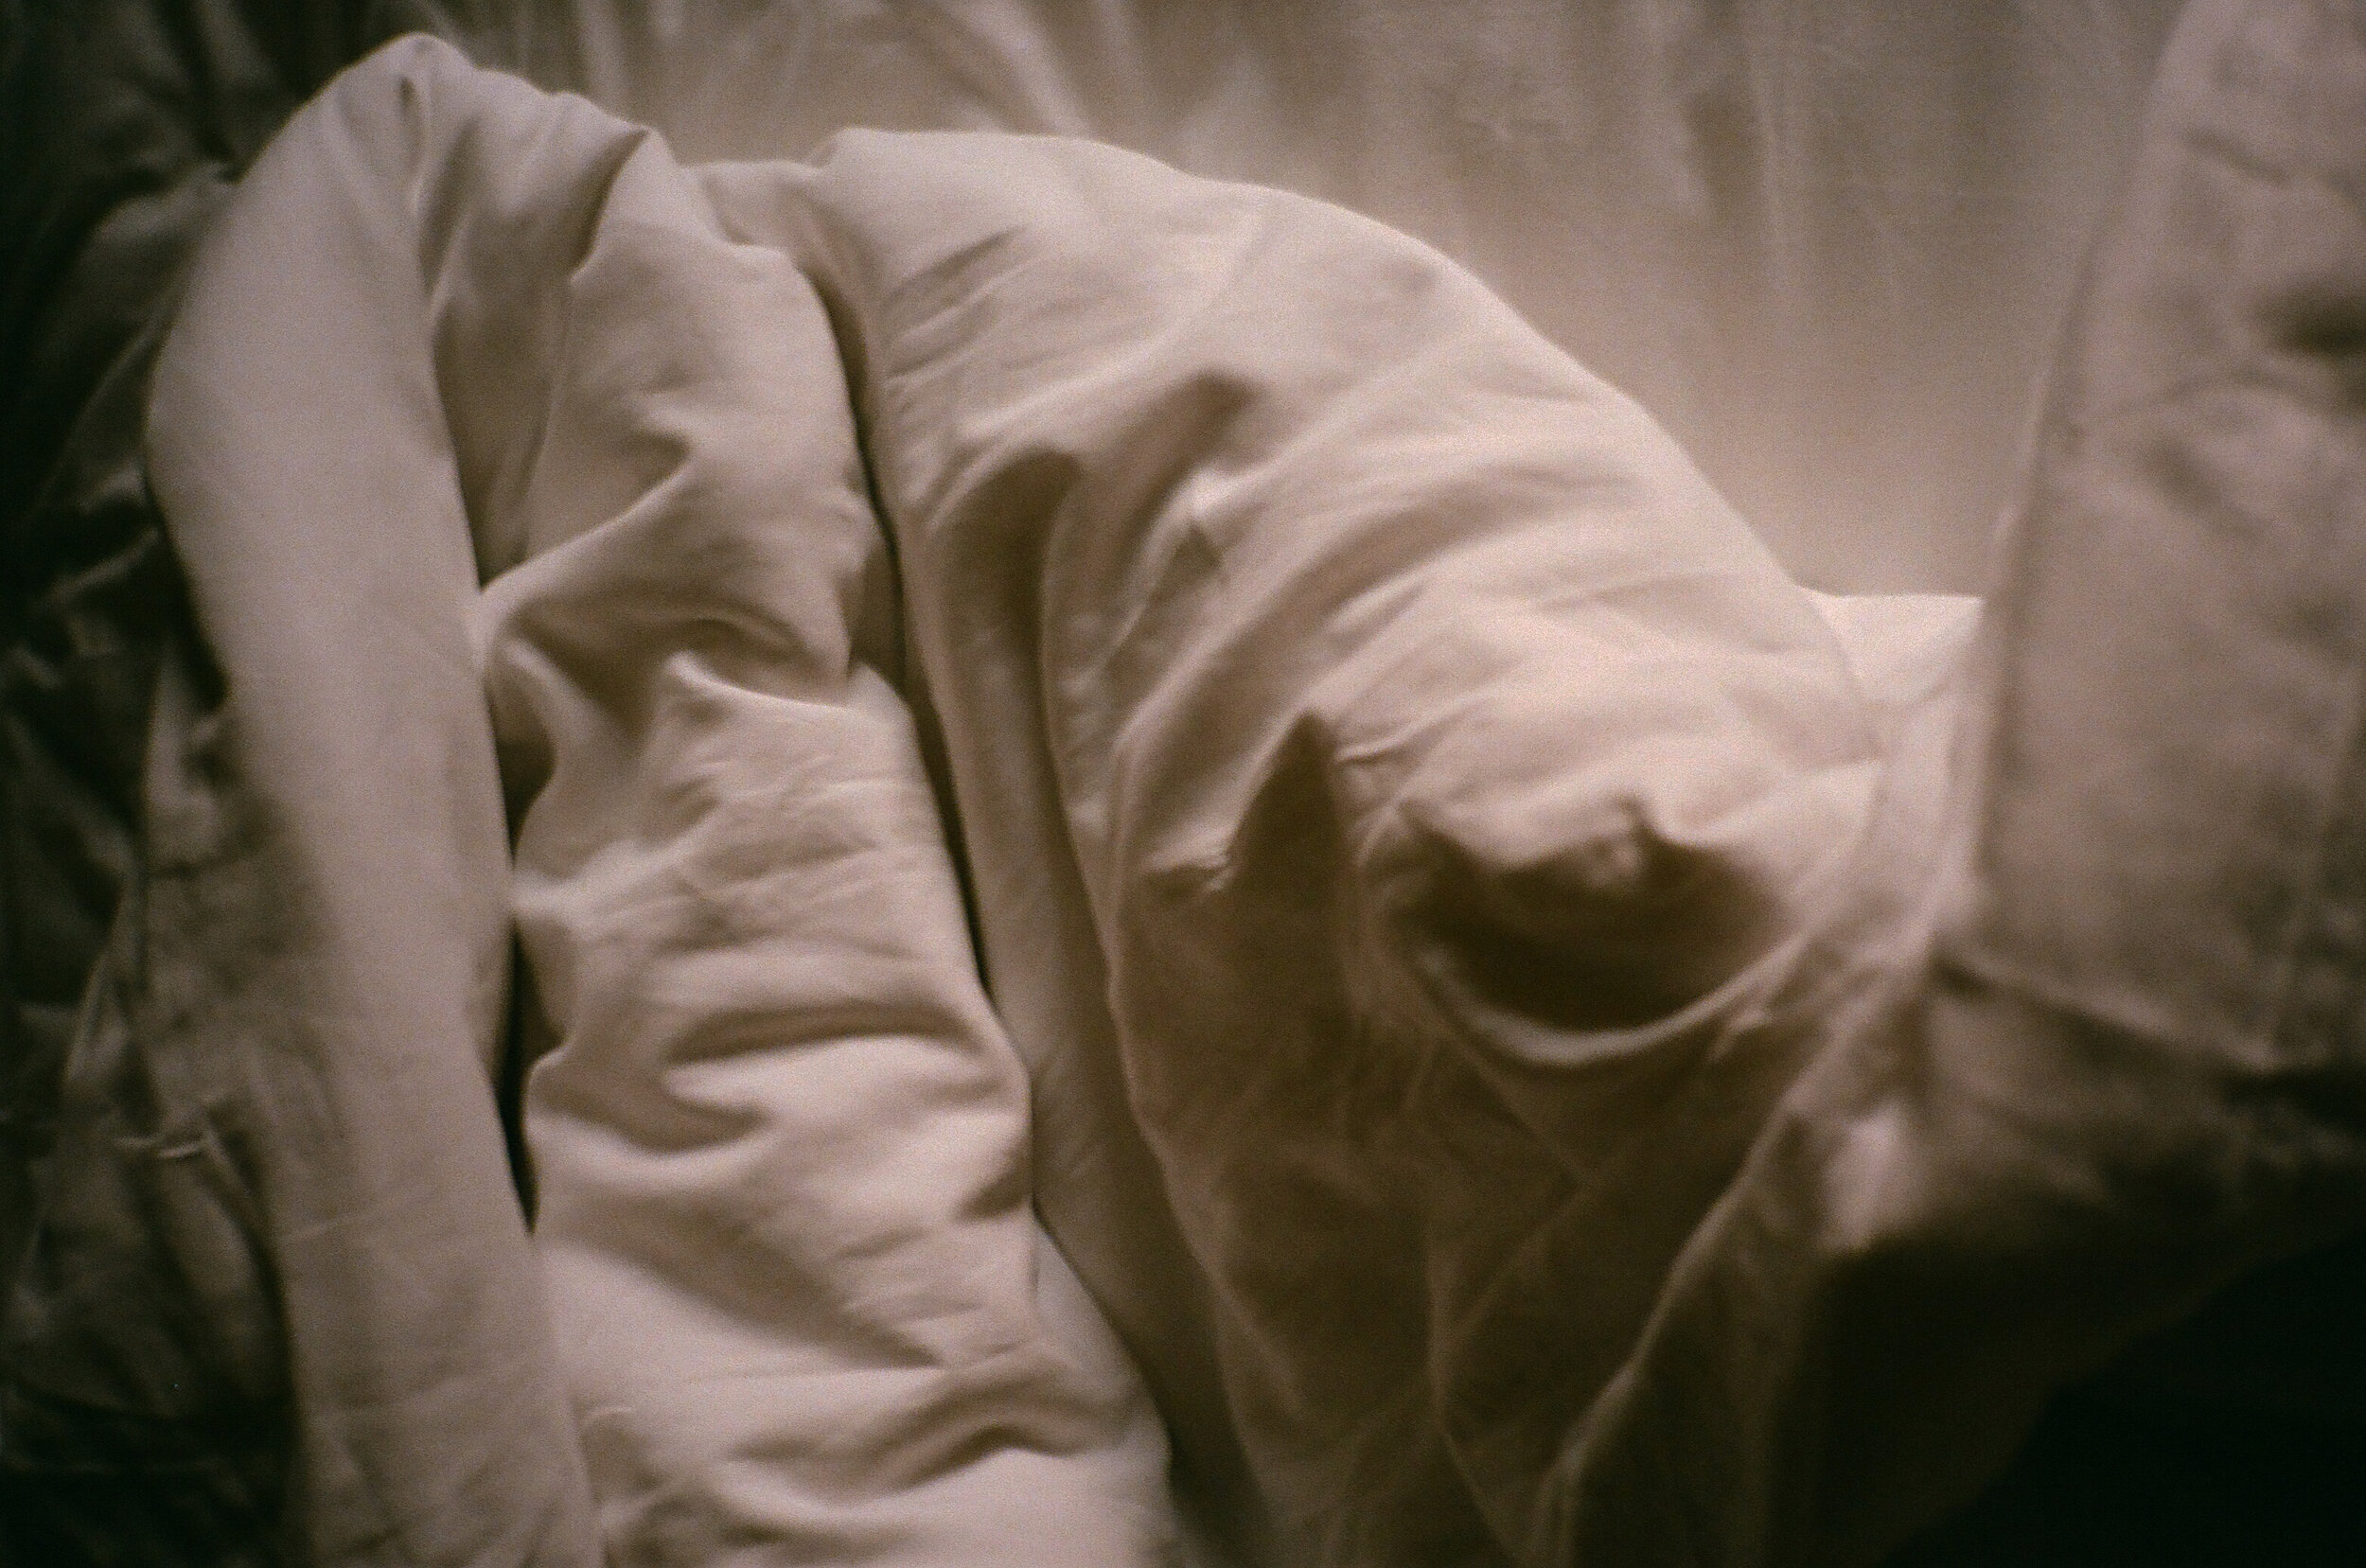
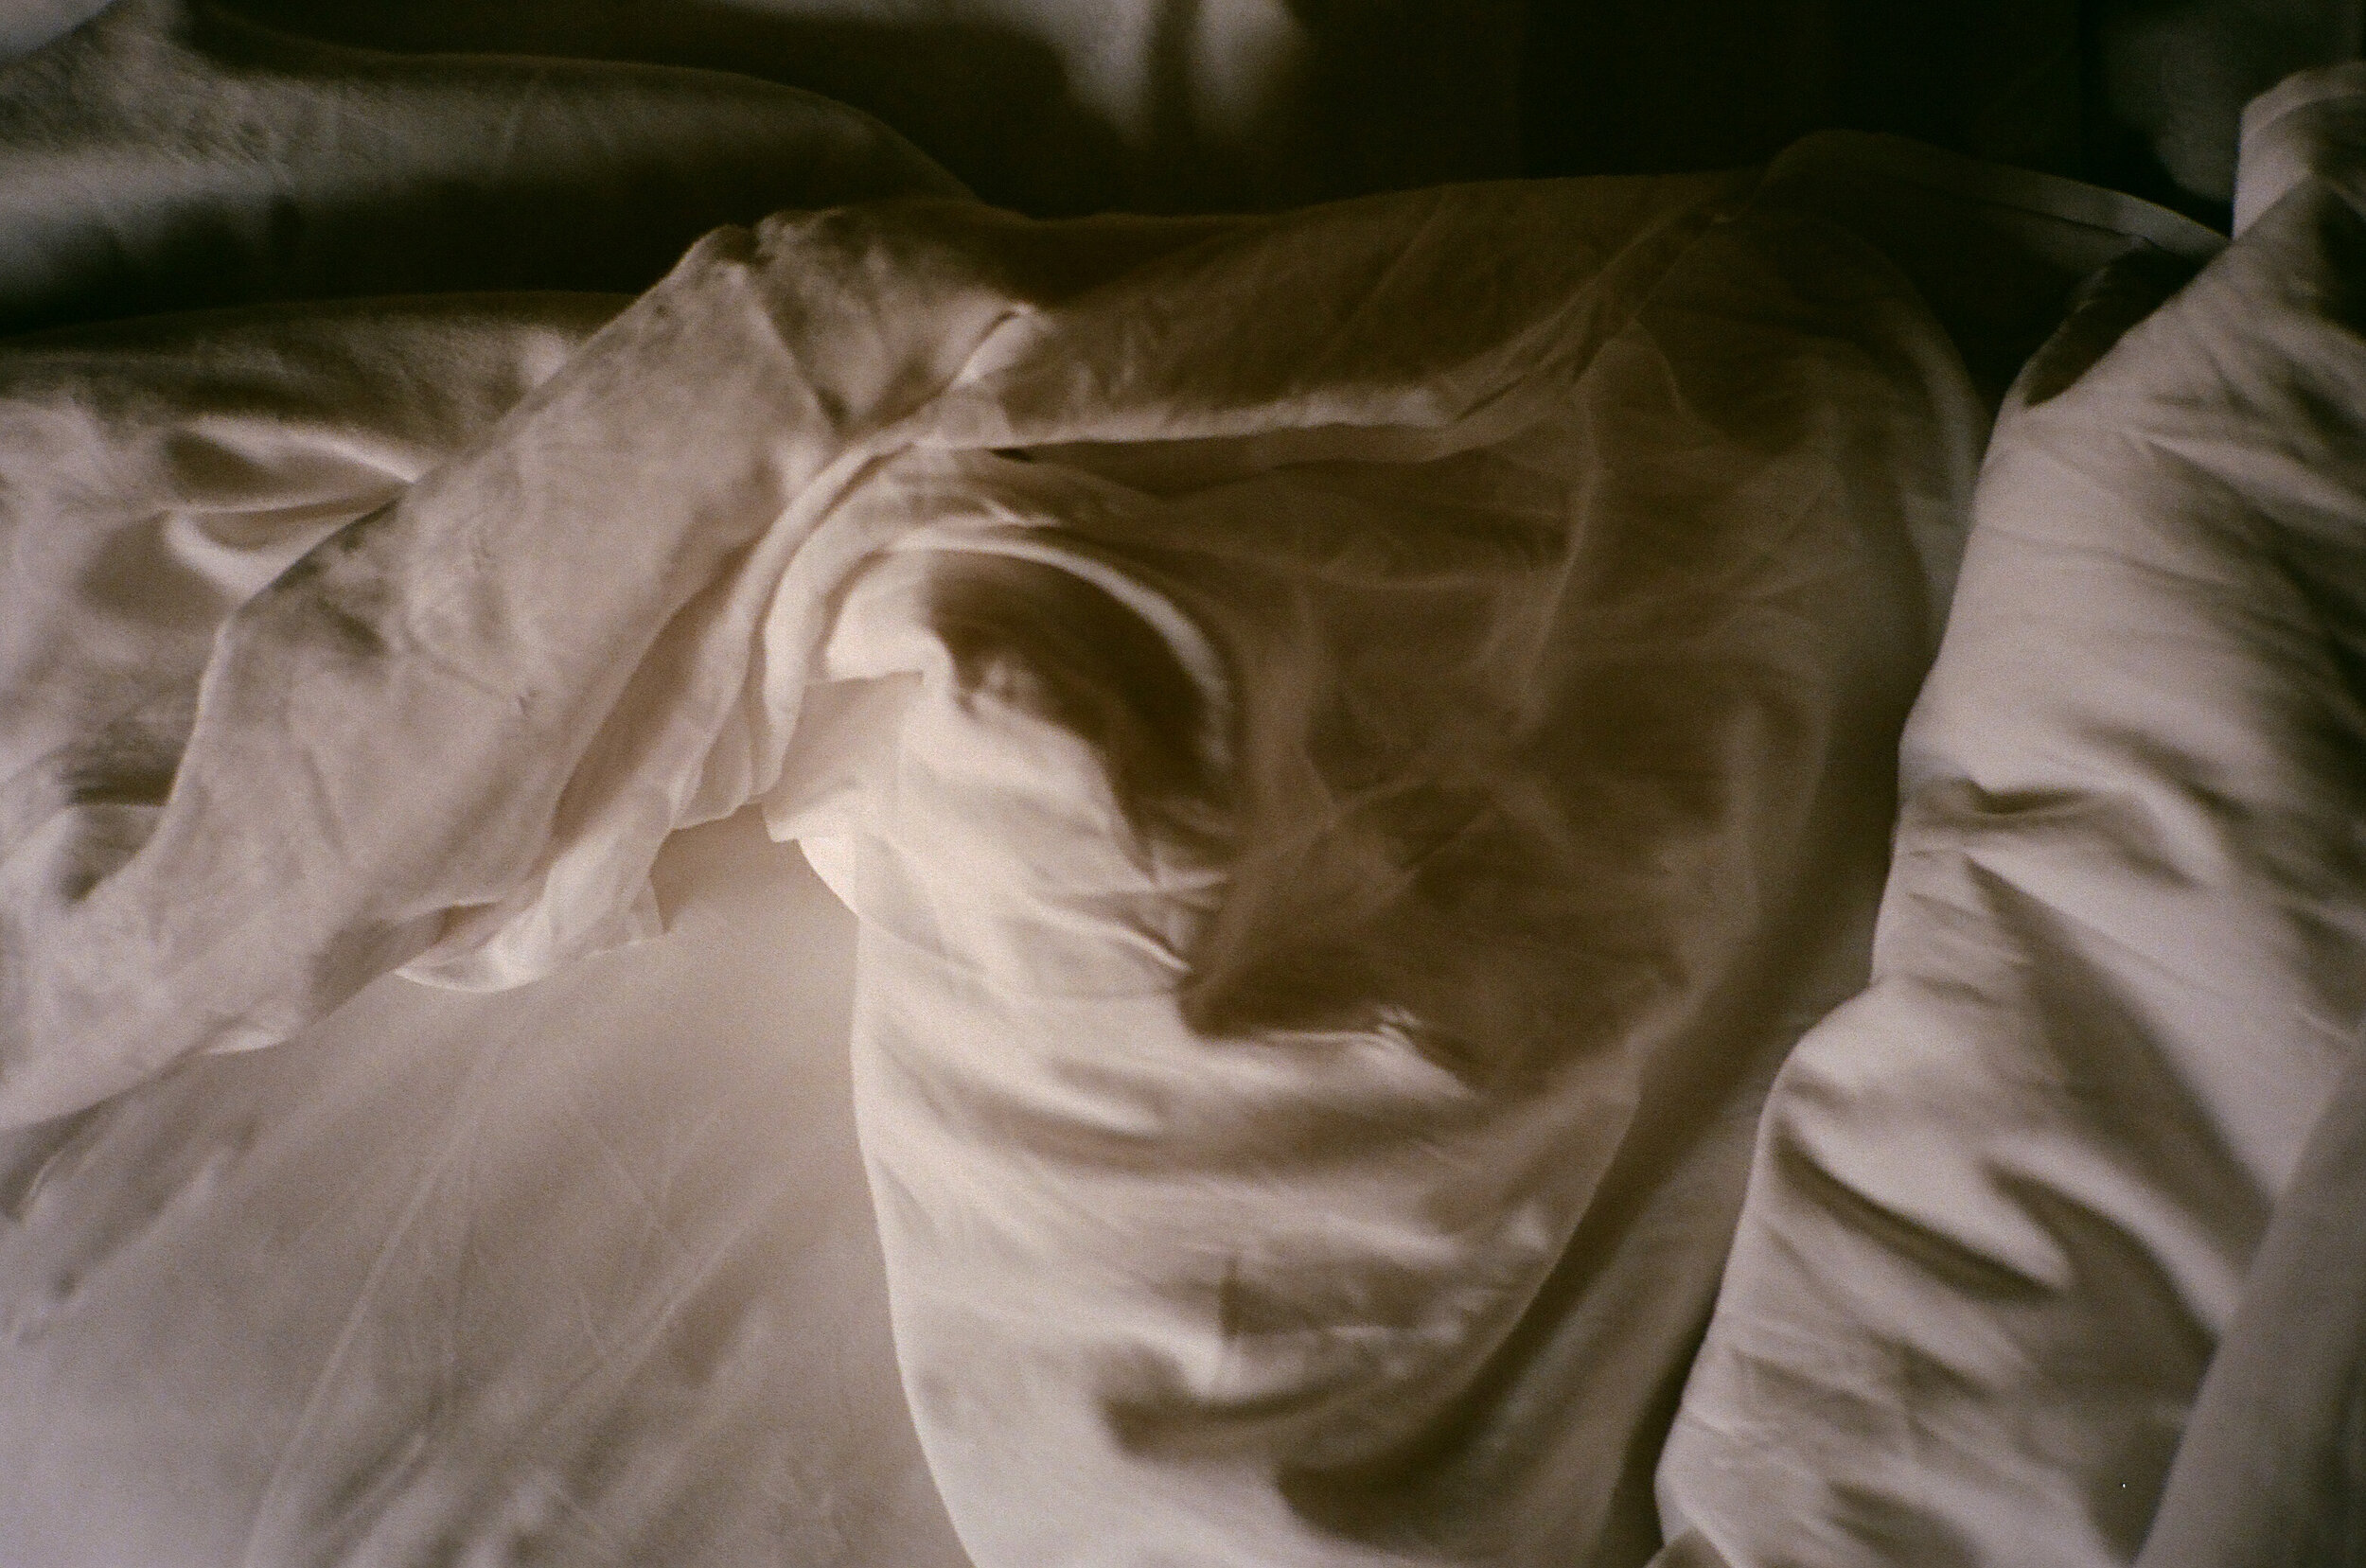
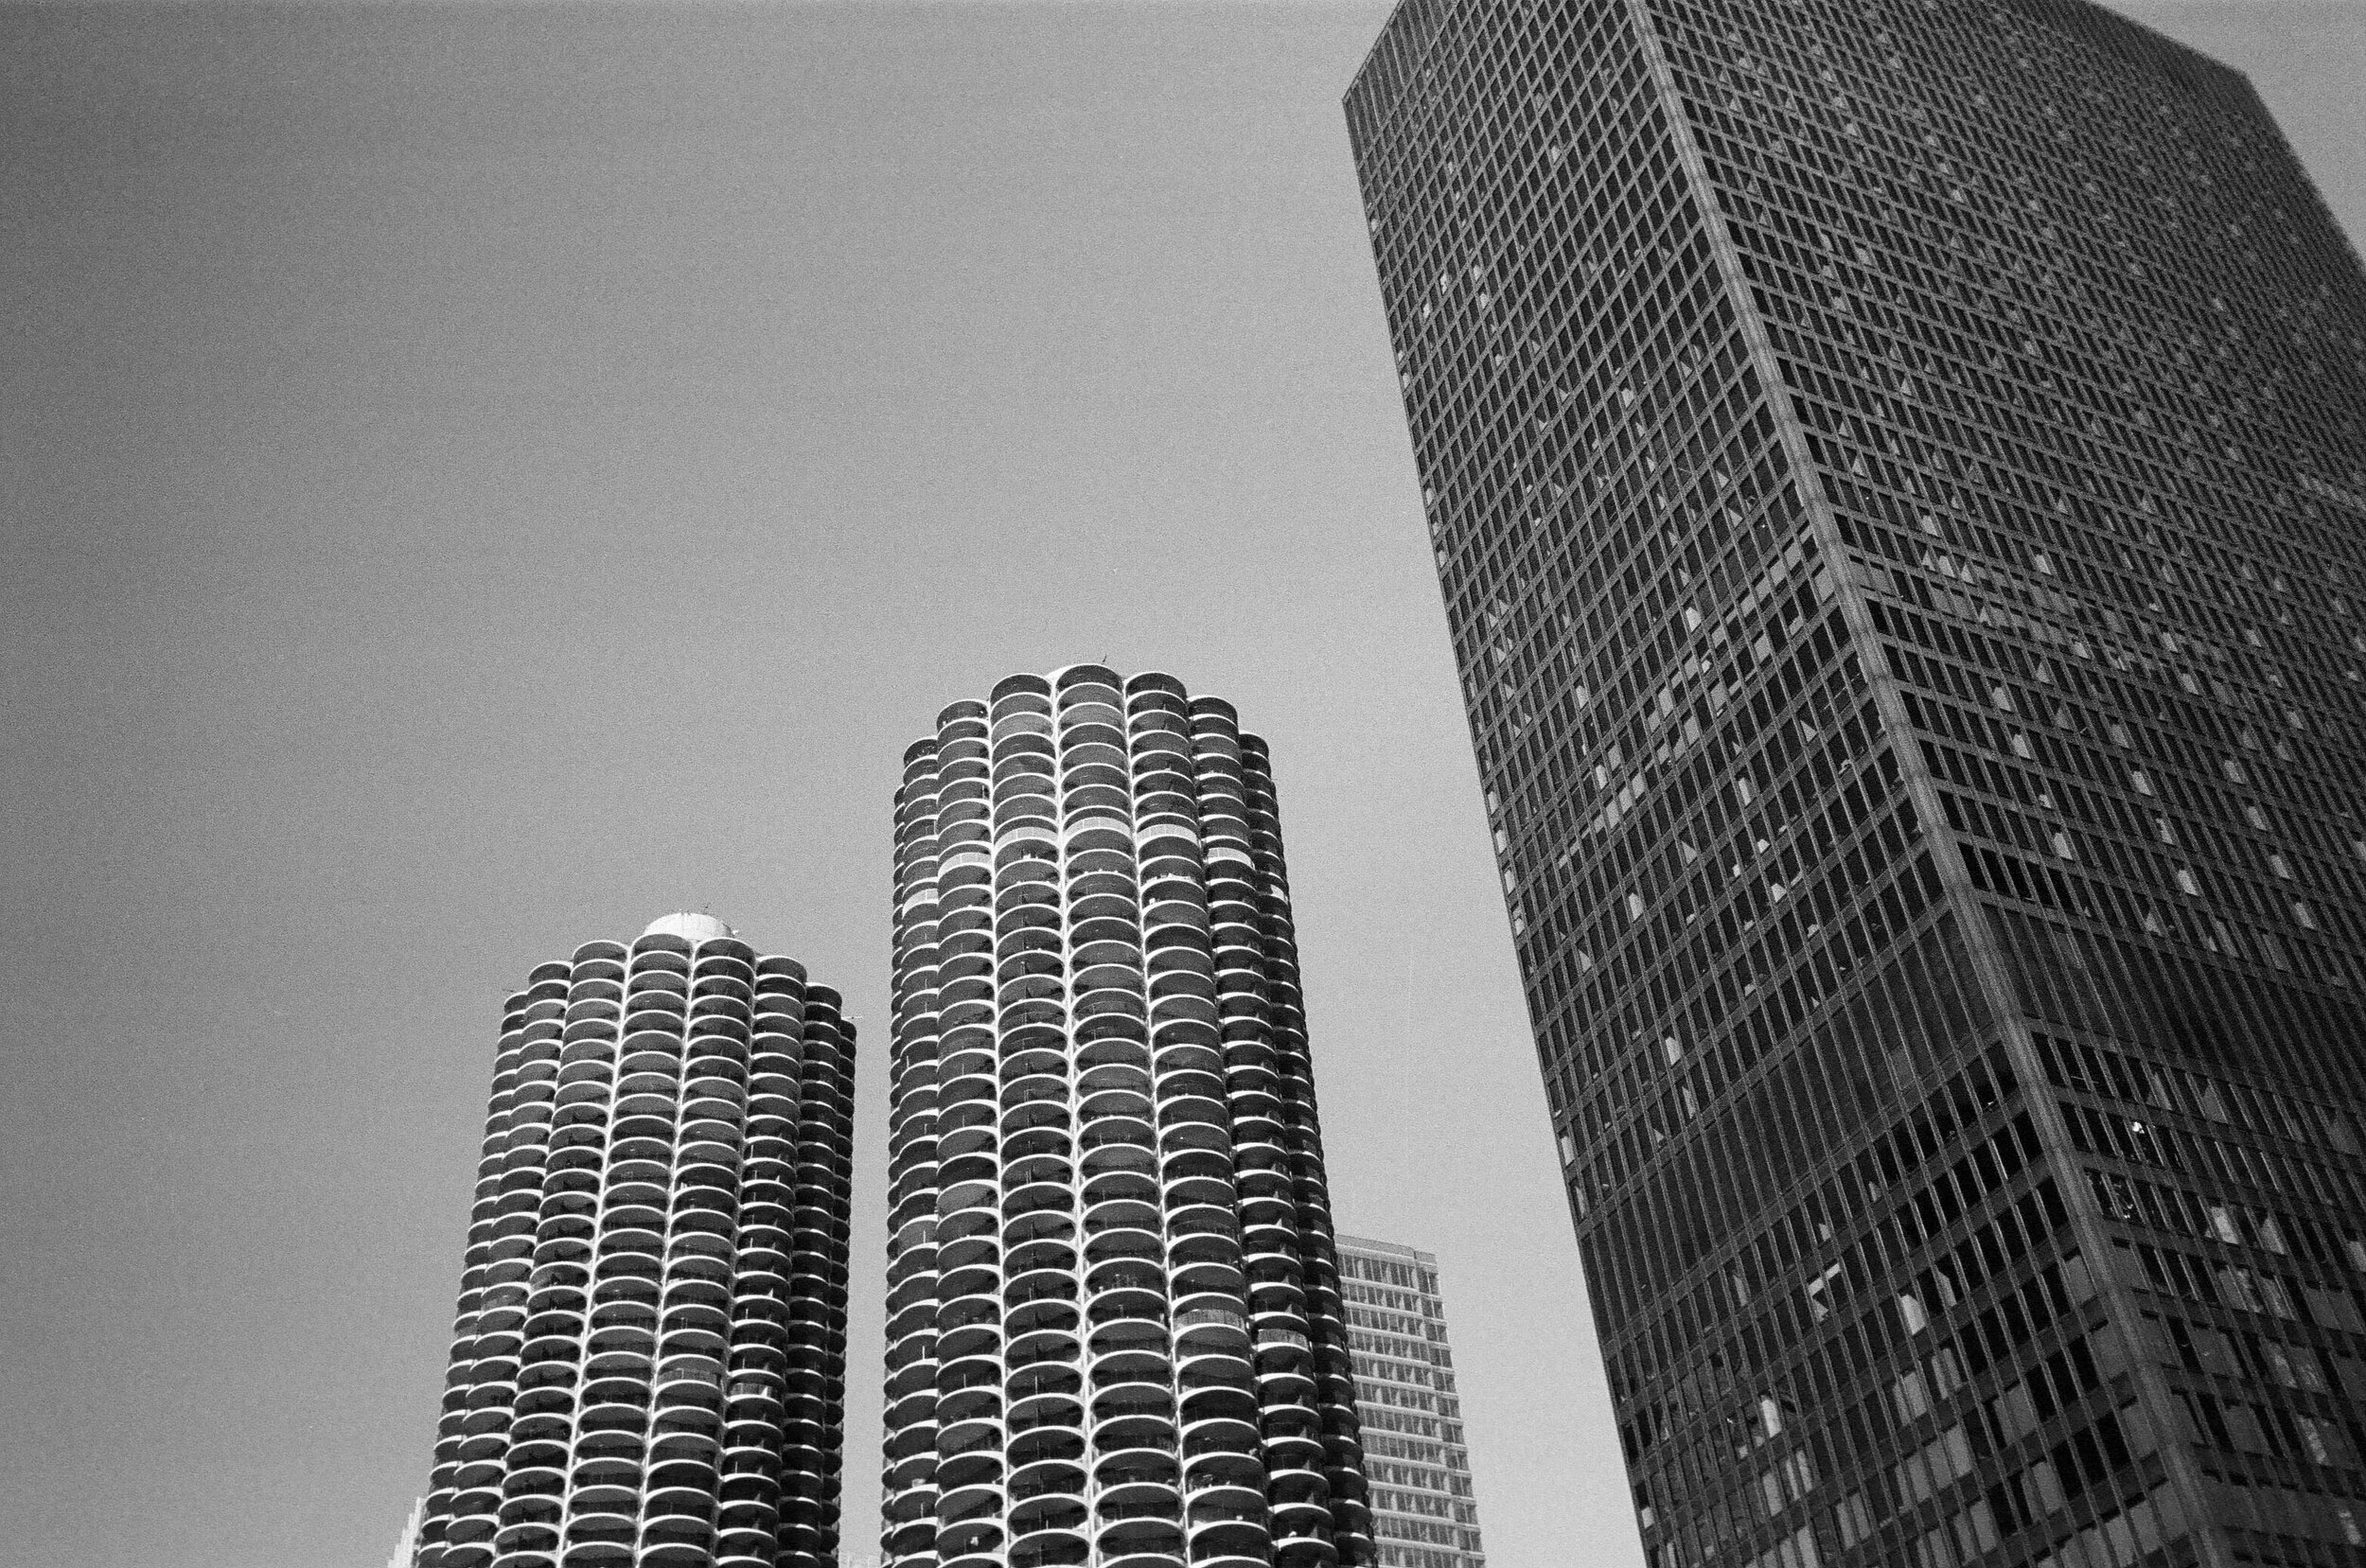
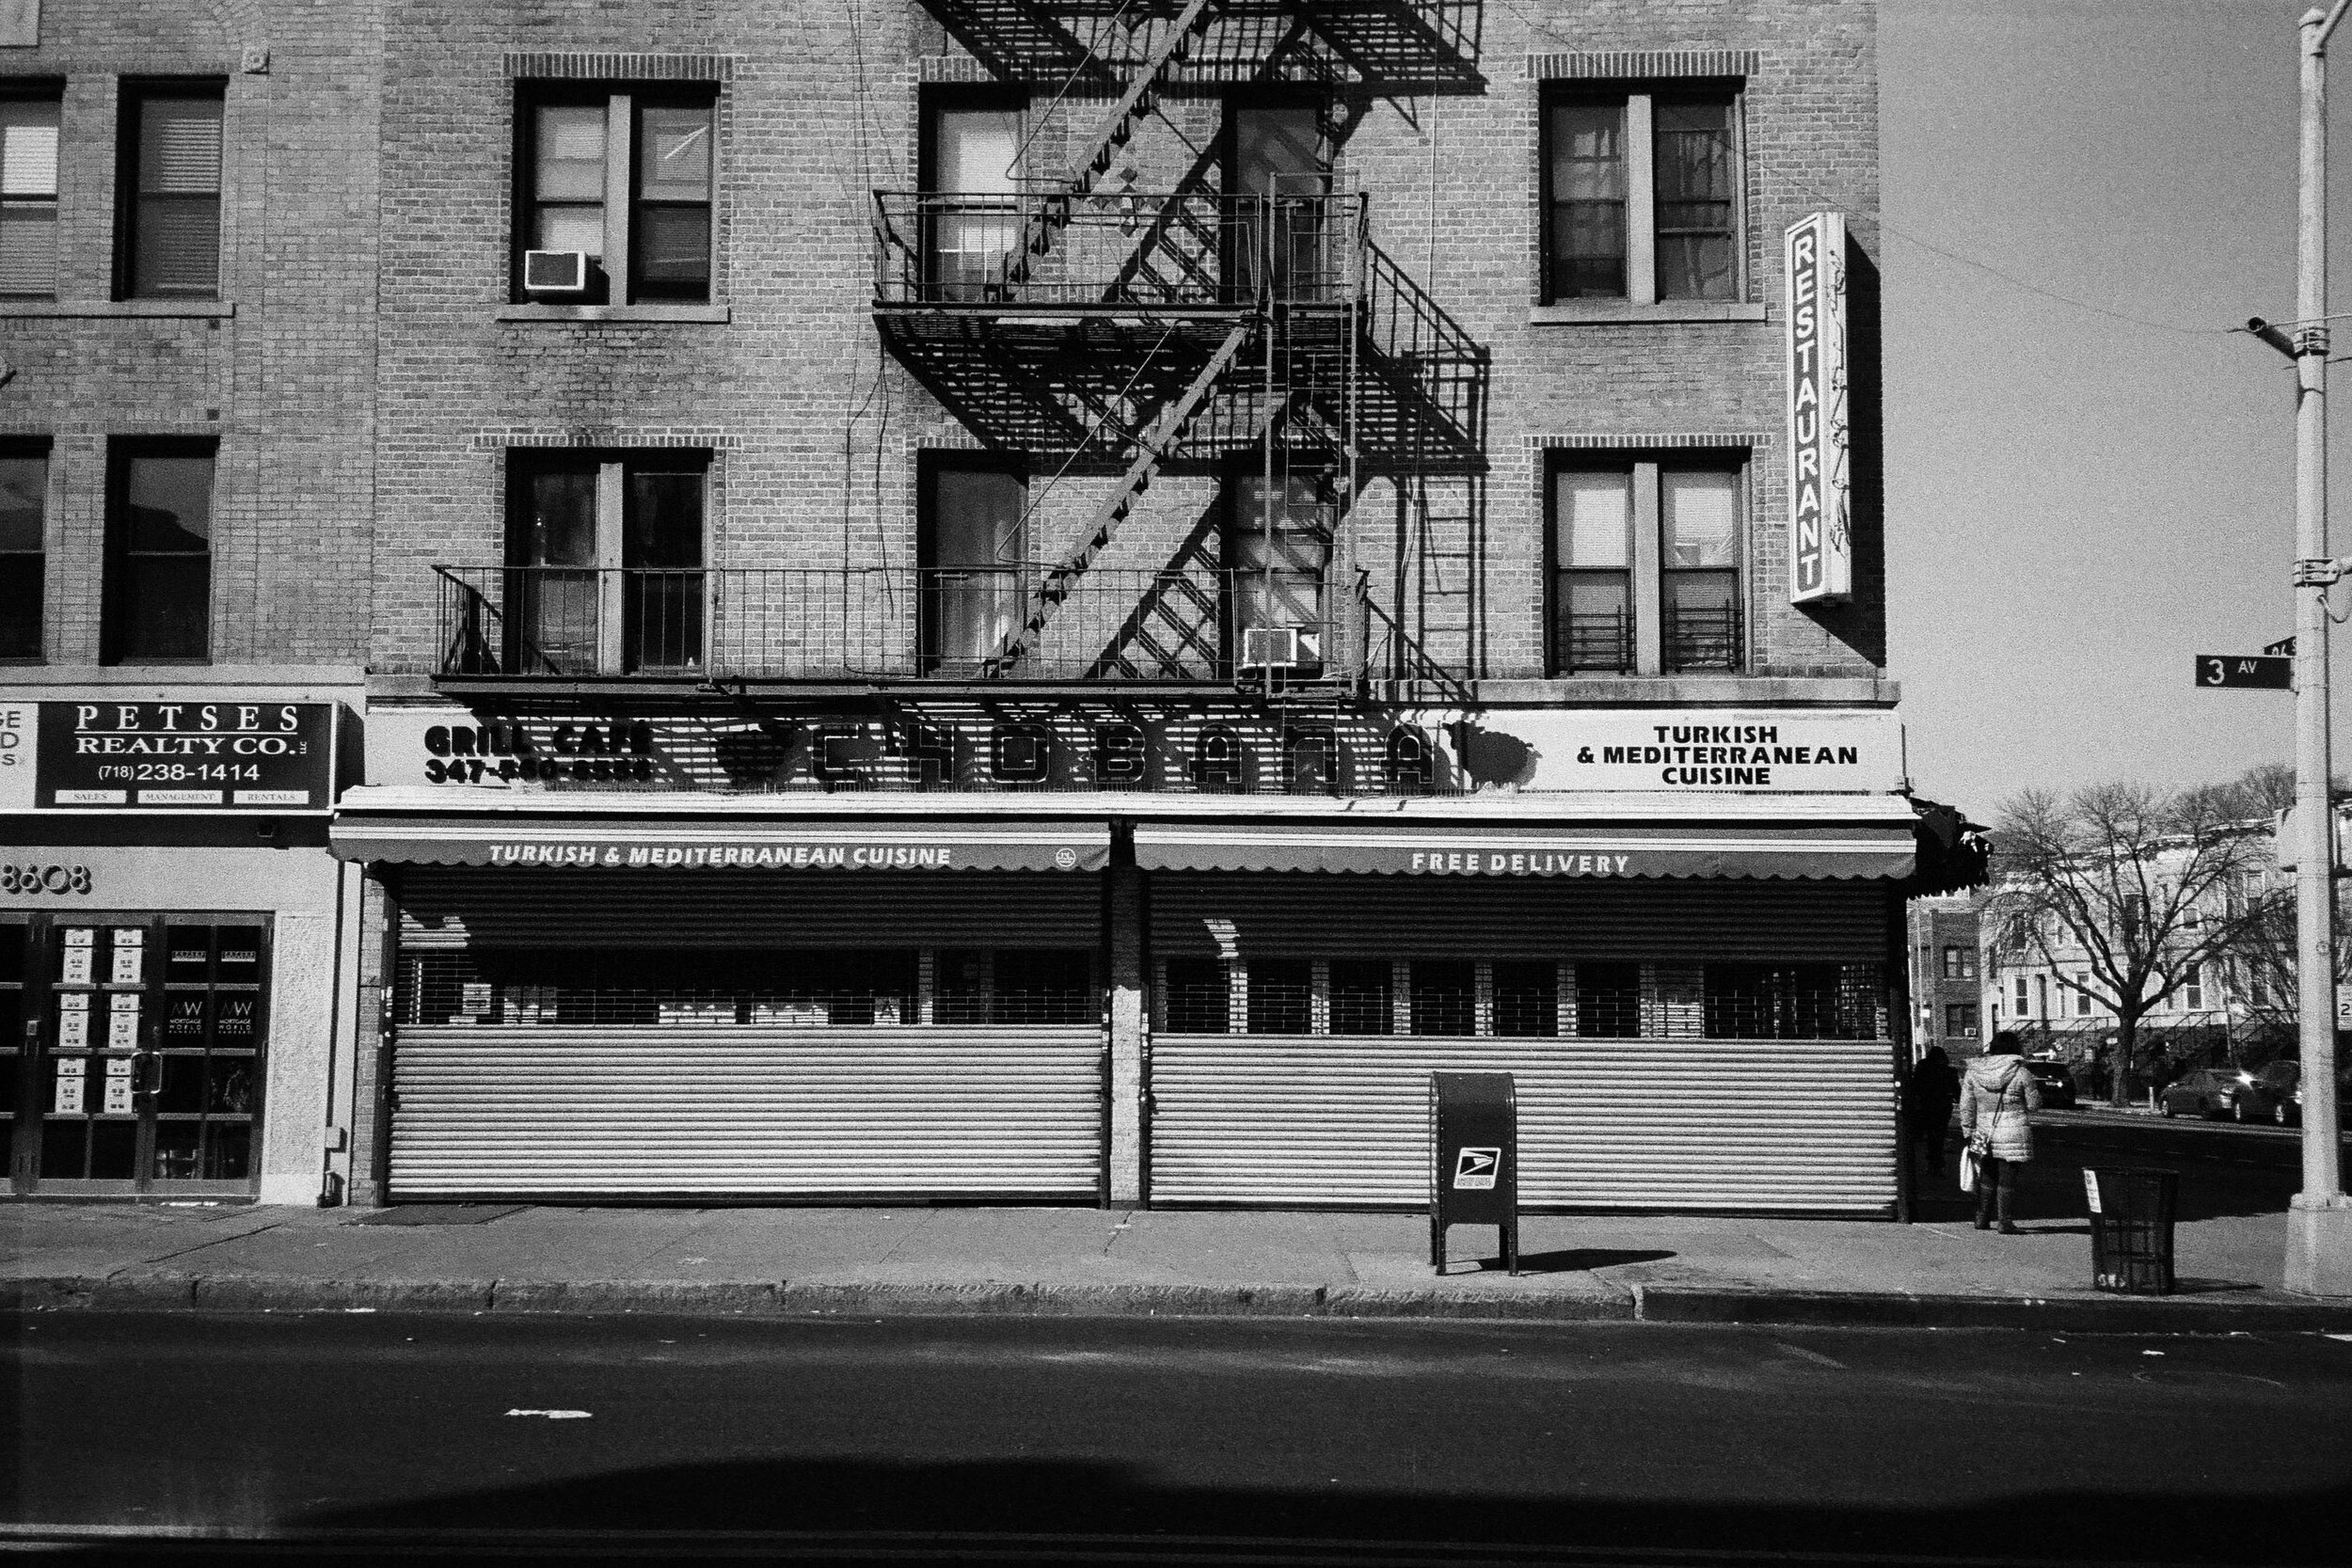
Take all of these with a grain (hah!) of salt. Beyond the camera and its settings, other factors impact how an image comes out, including film type, development, and scanning. Even the weather (too hot, too cold) can have an impact. Or that x-ray machine in China that destroyed my Fuji Natura after the agent refused to hand-check my film. Ok, that example was a bit too niche, but you get it.
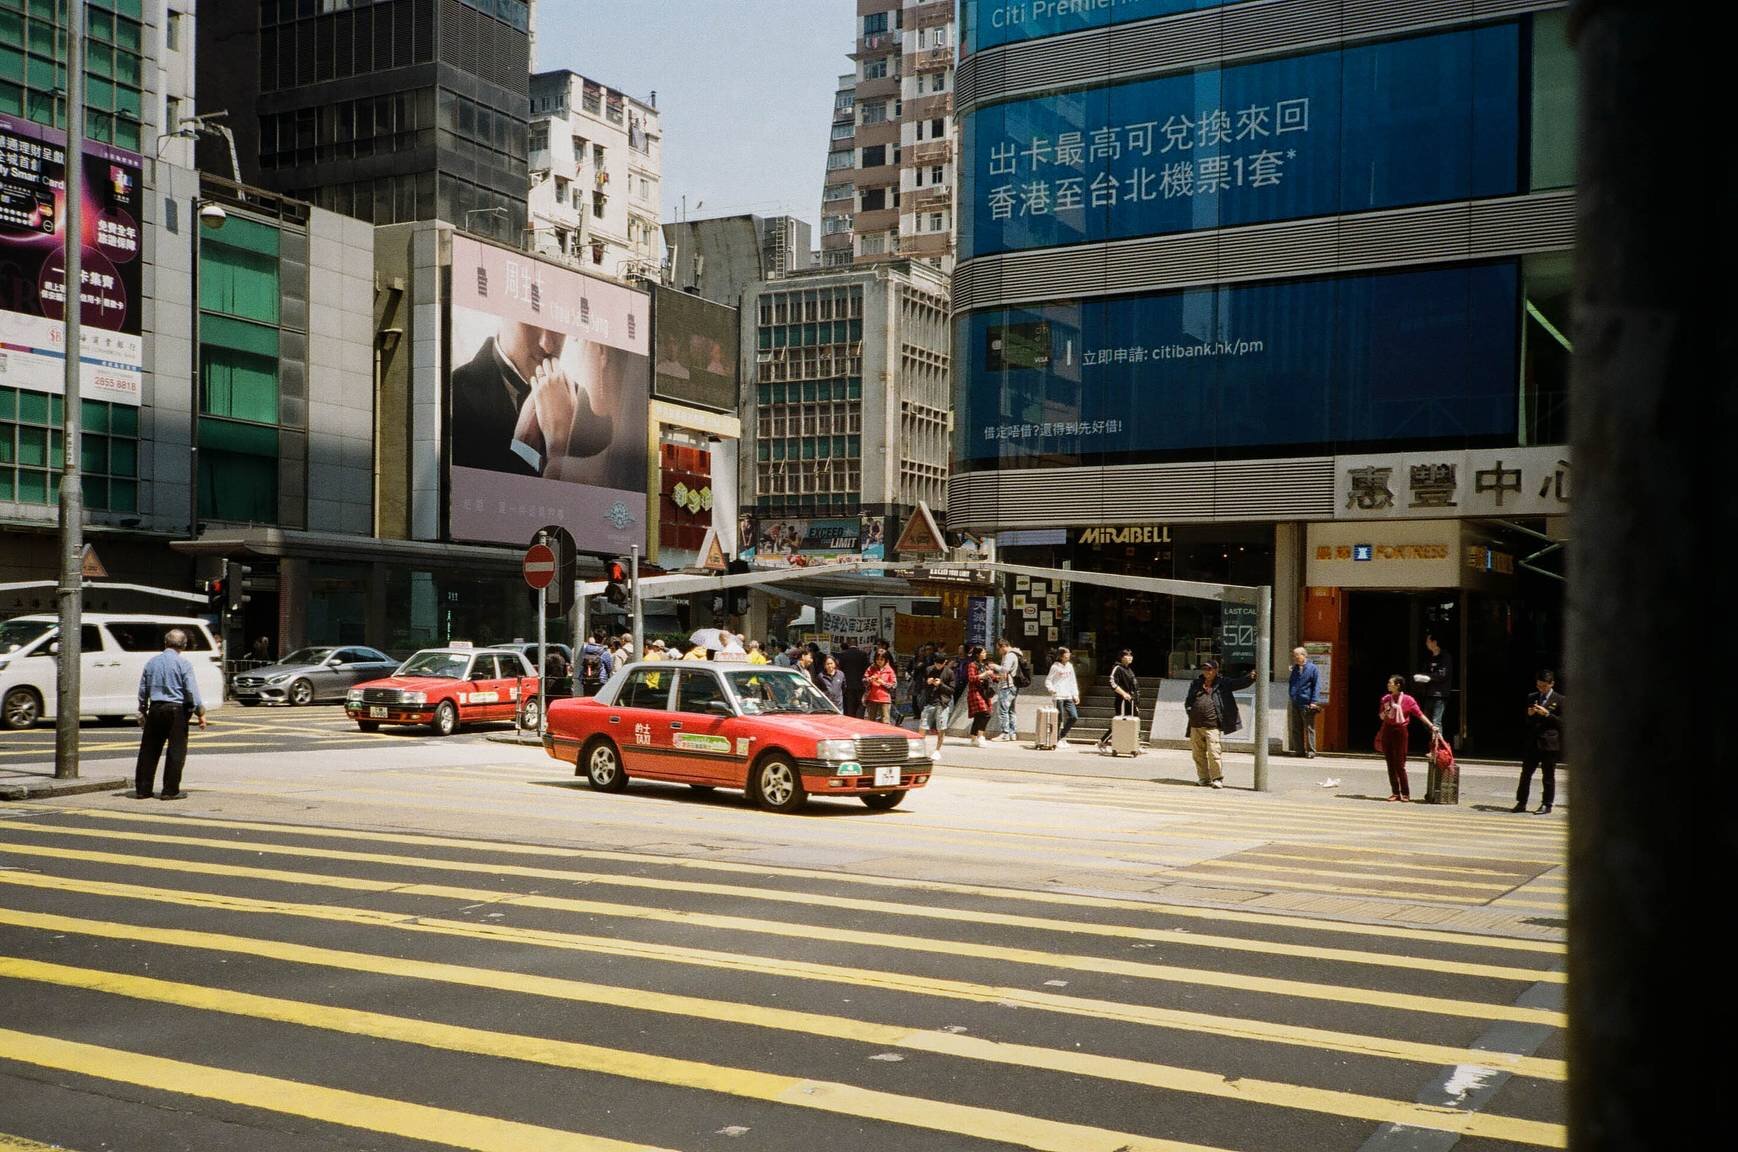
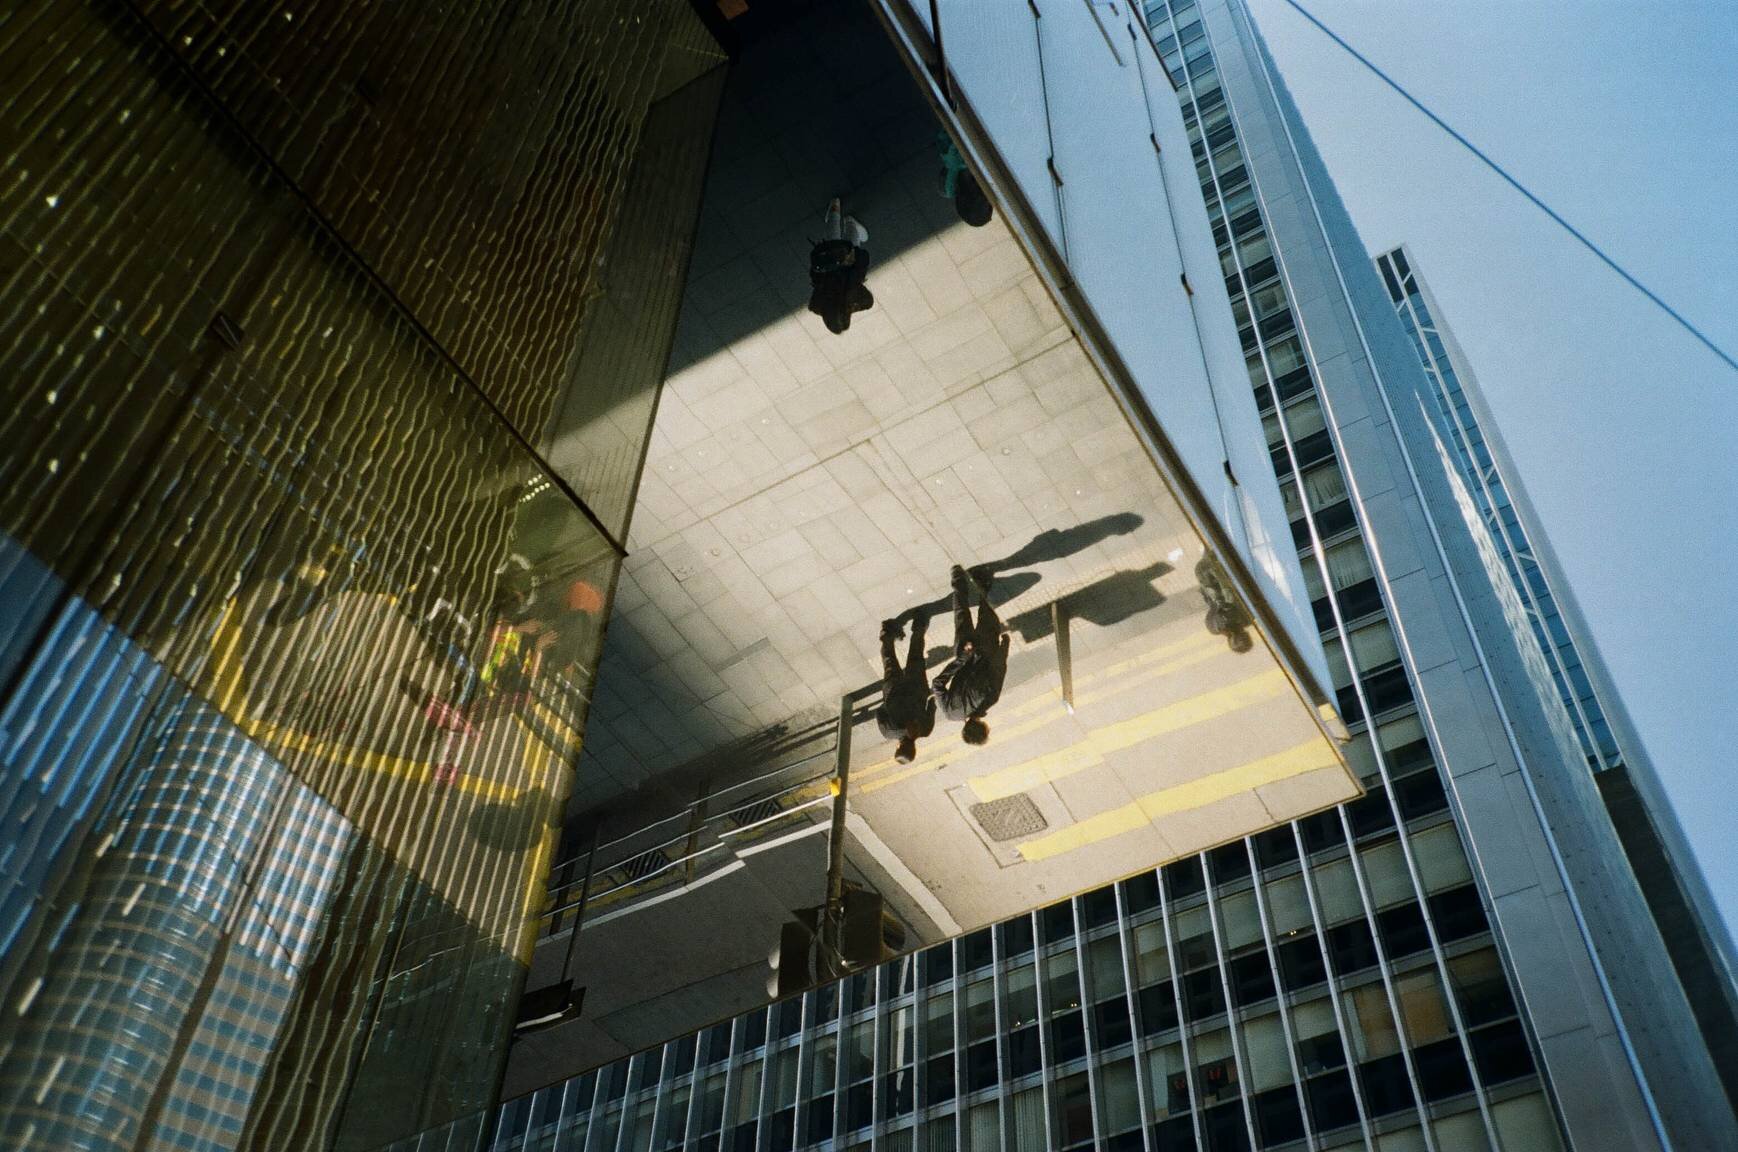
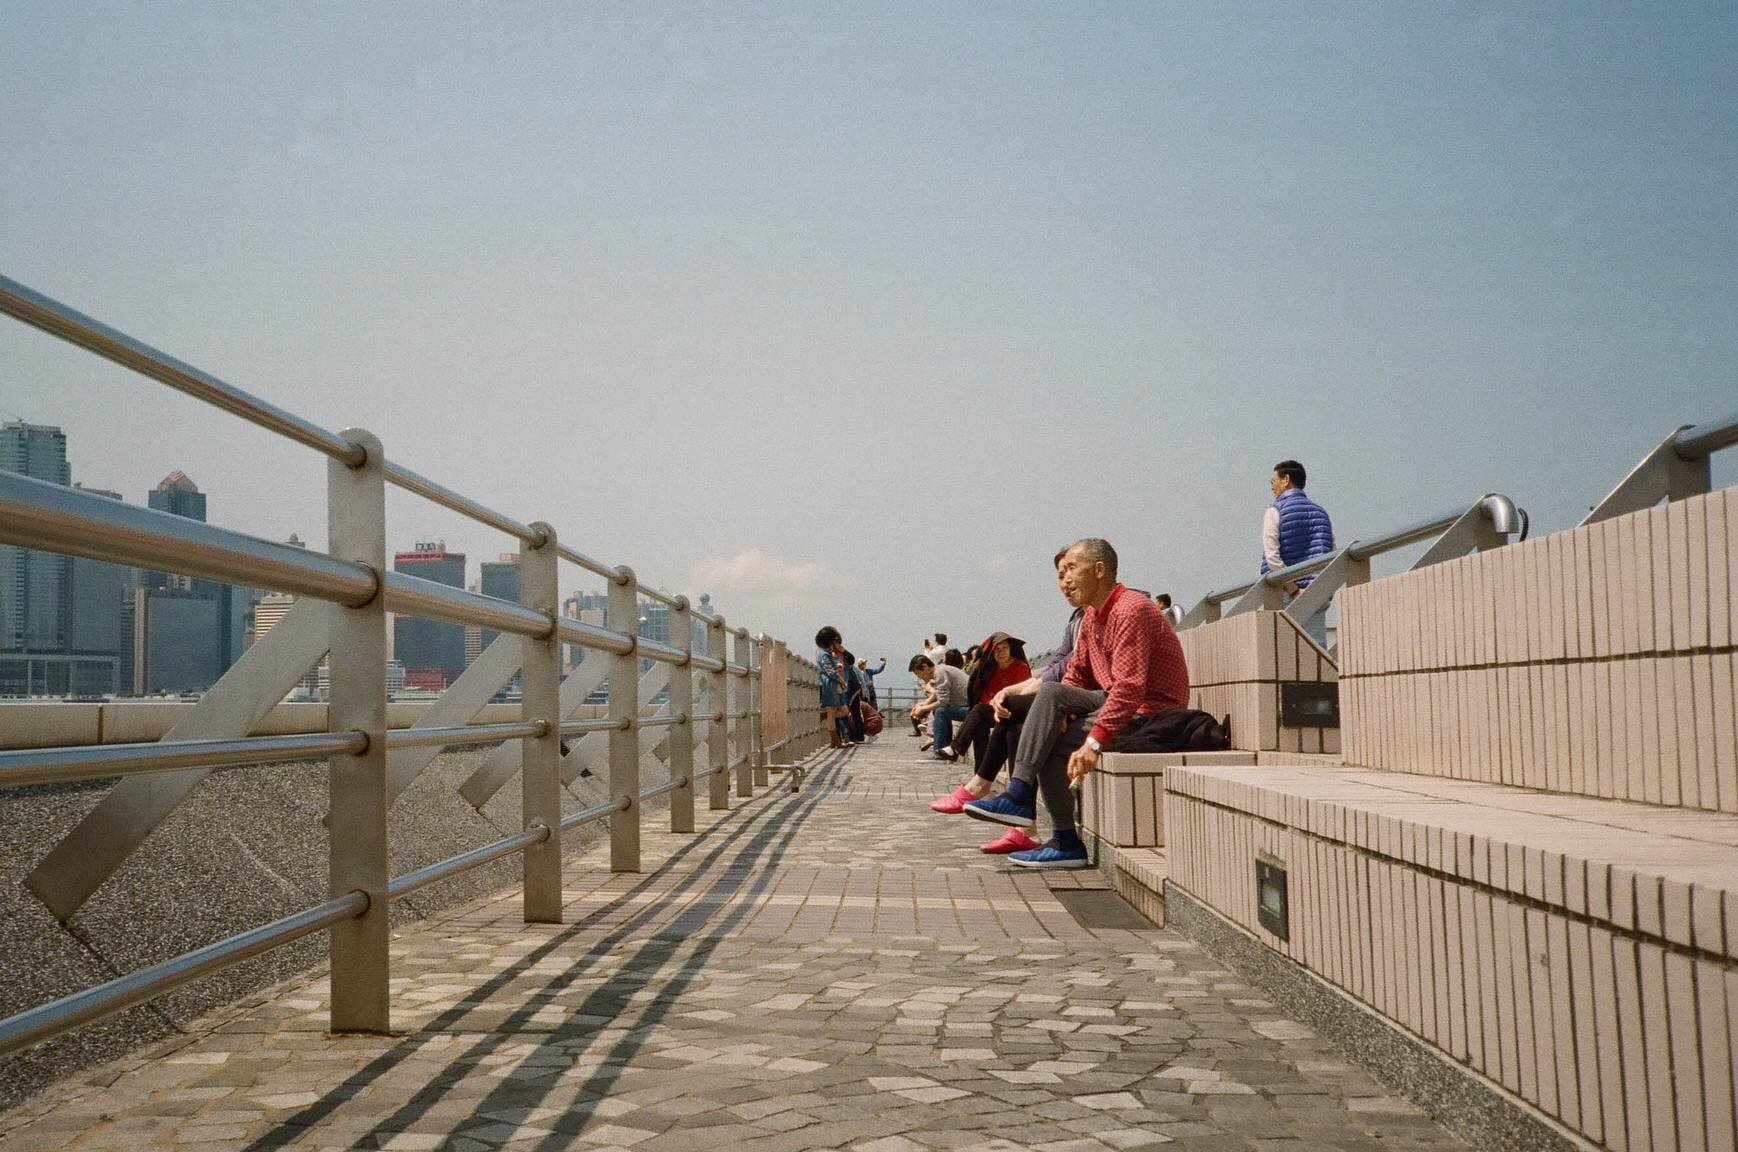
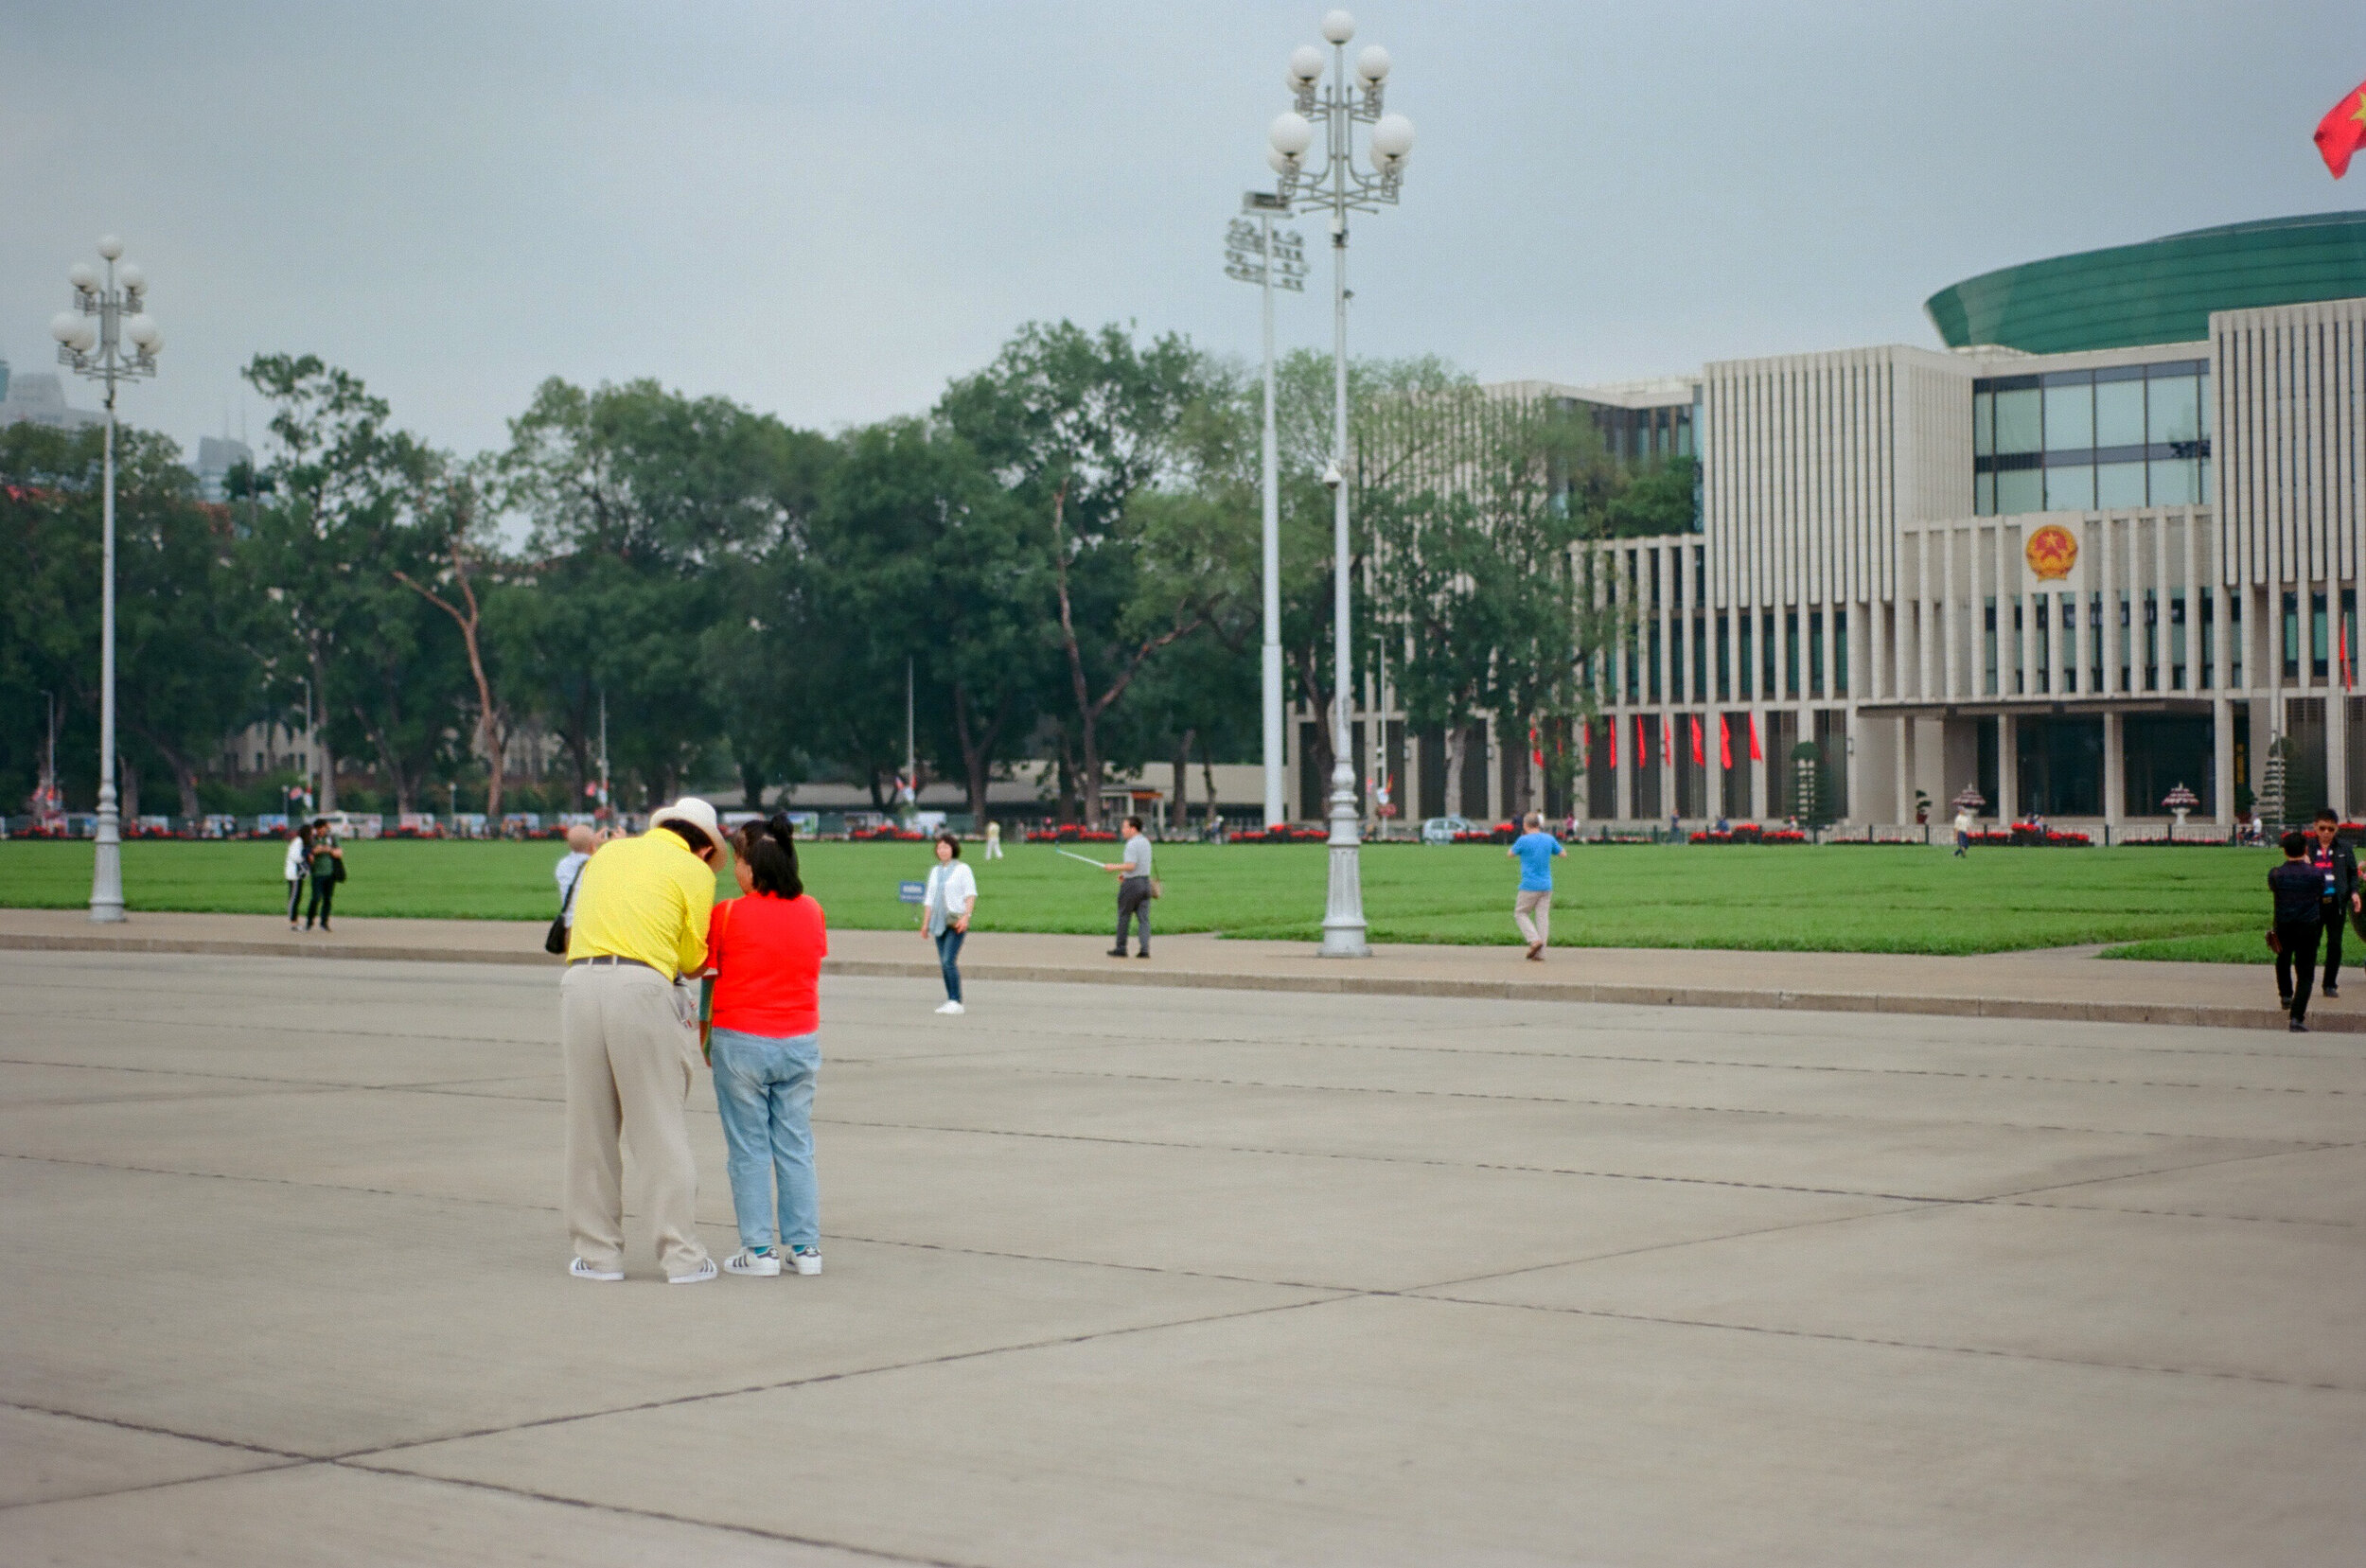
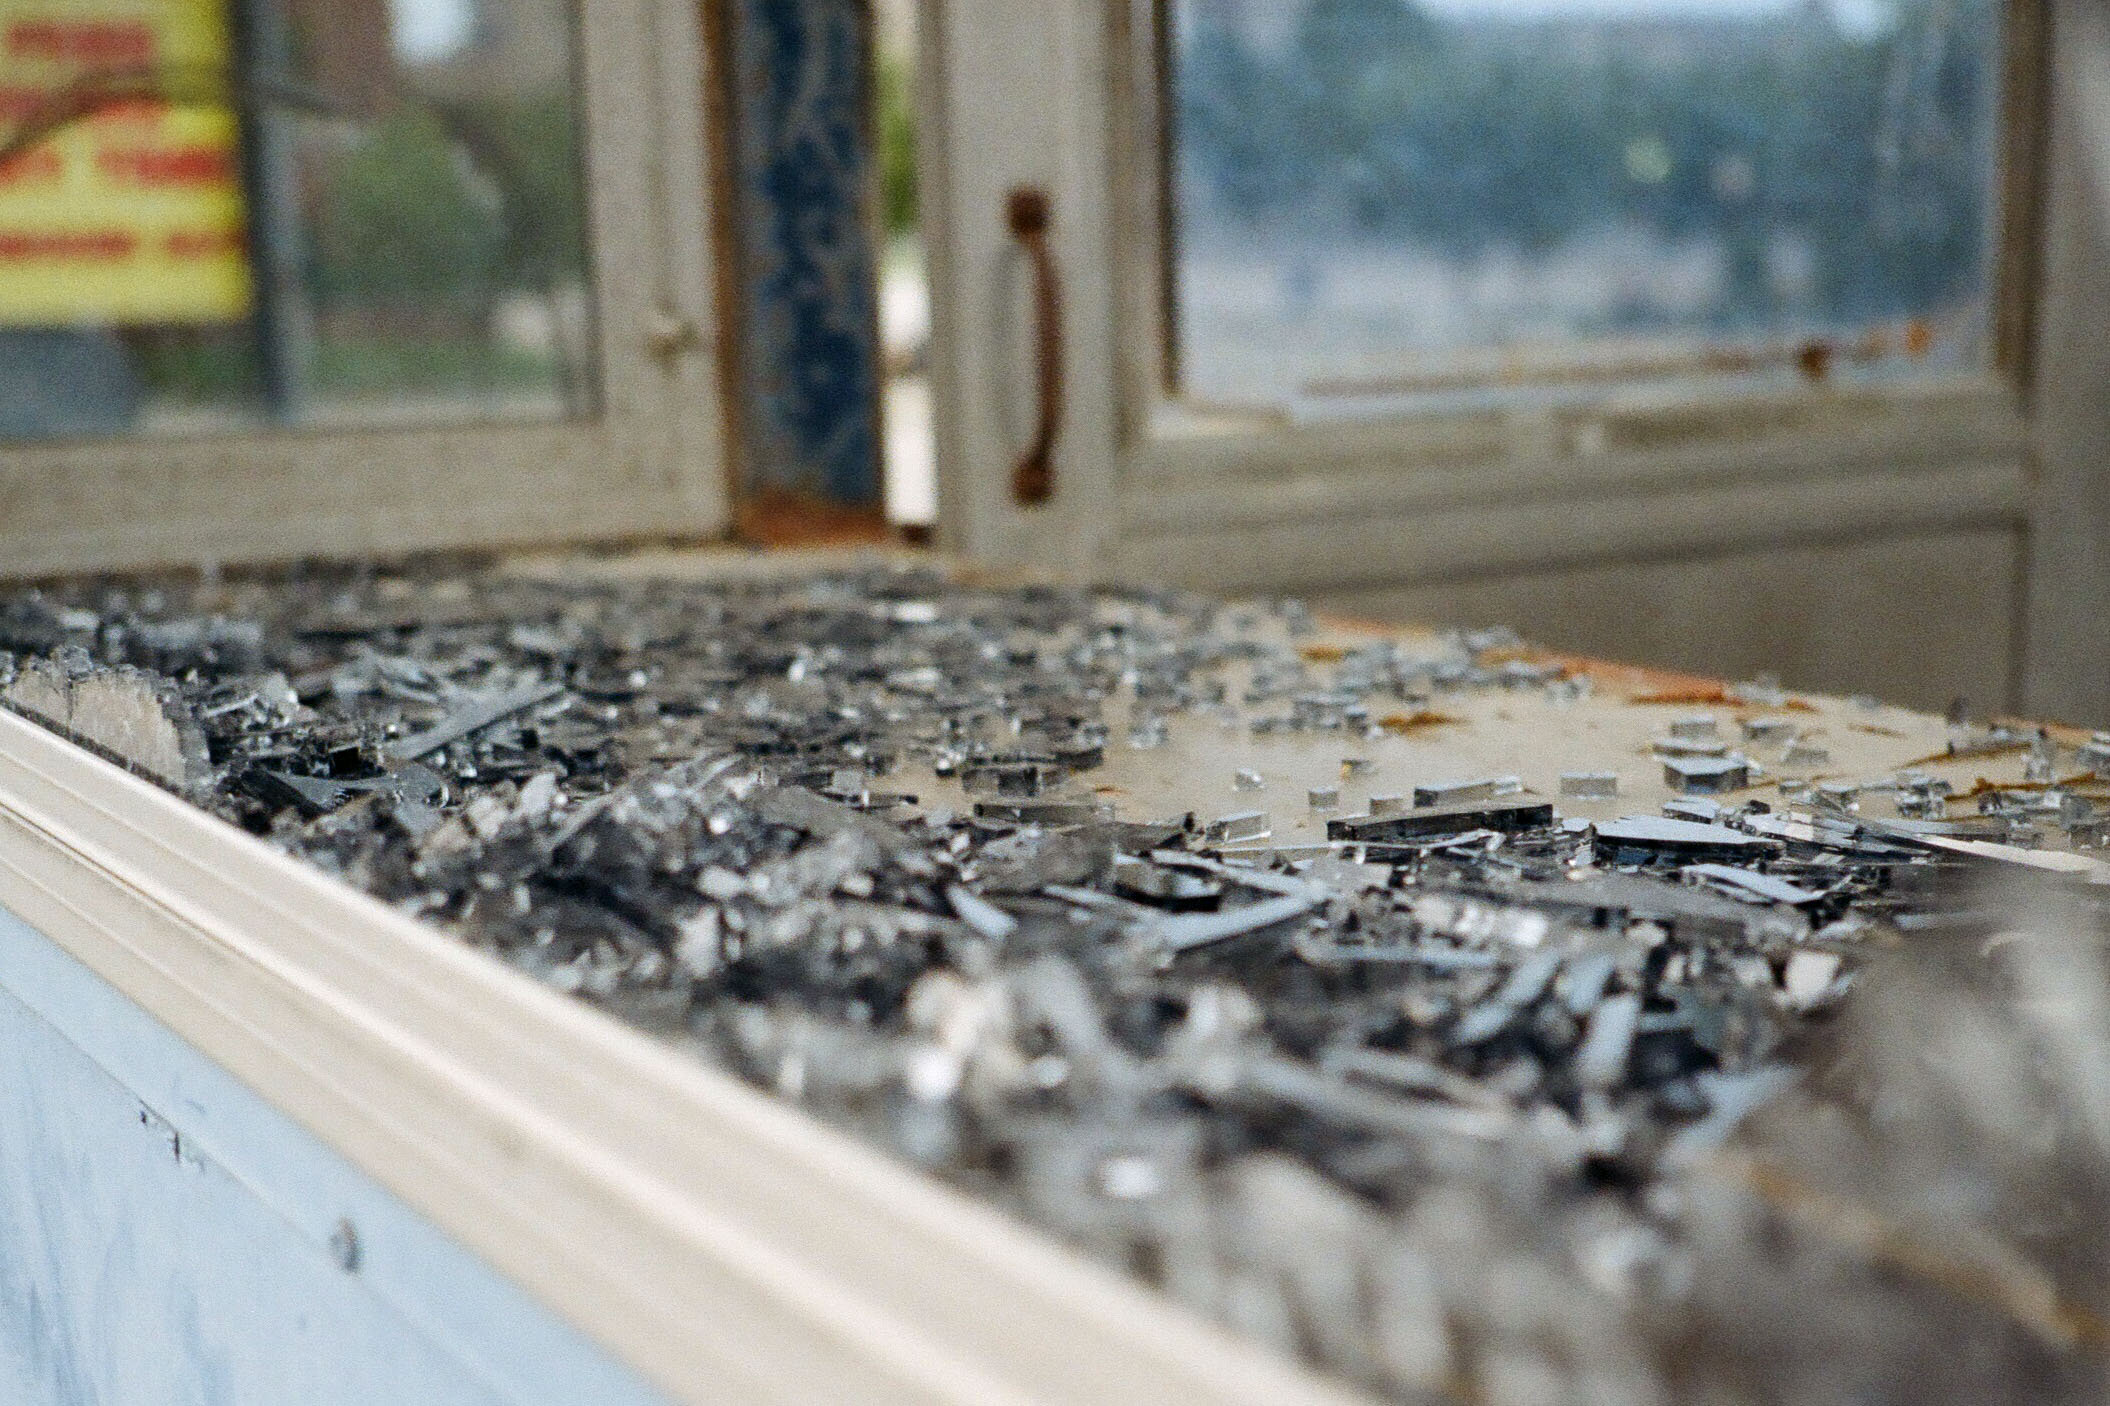
Konica Big Mini 201 Photos in Daylight
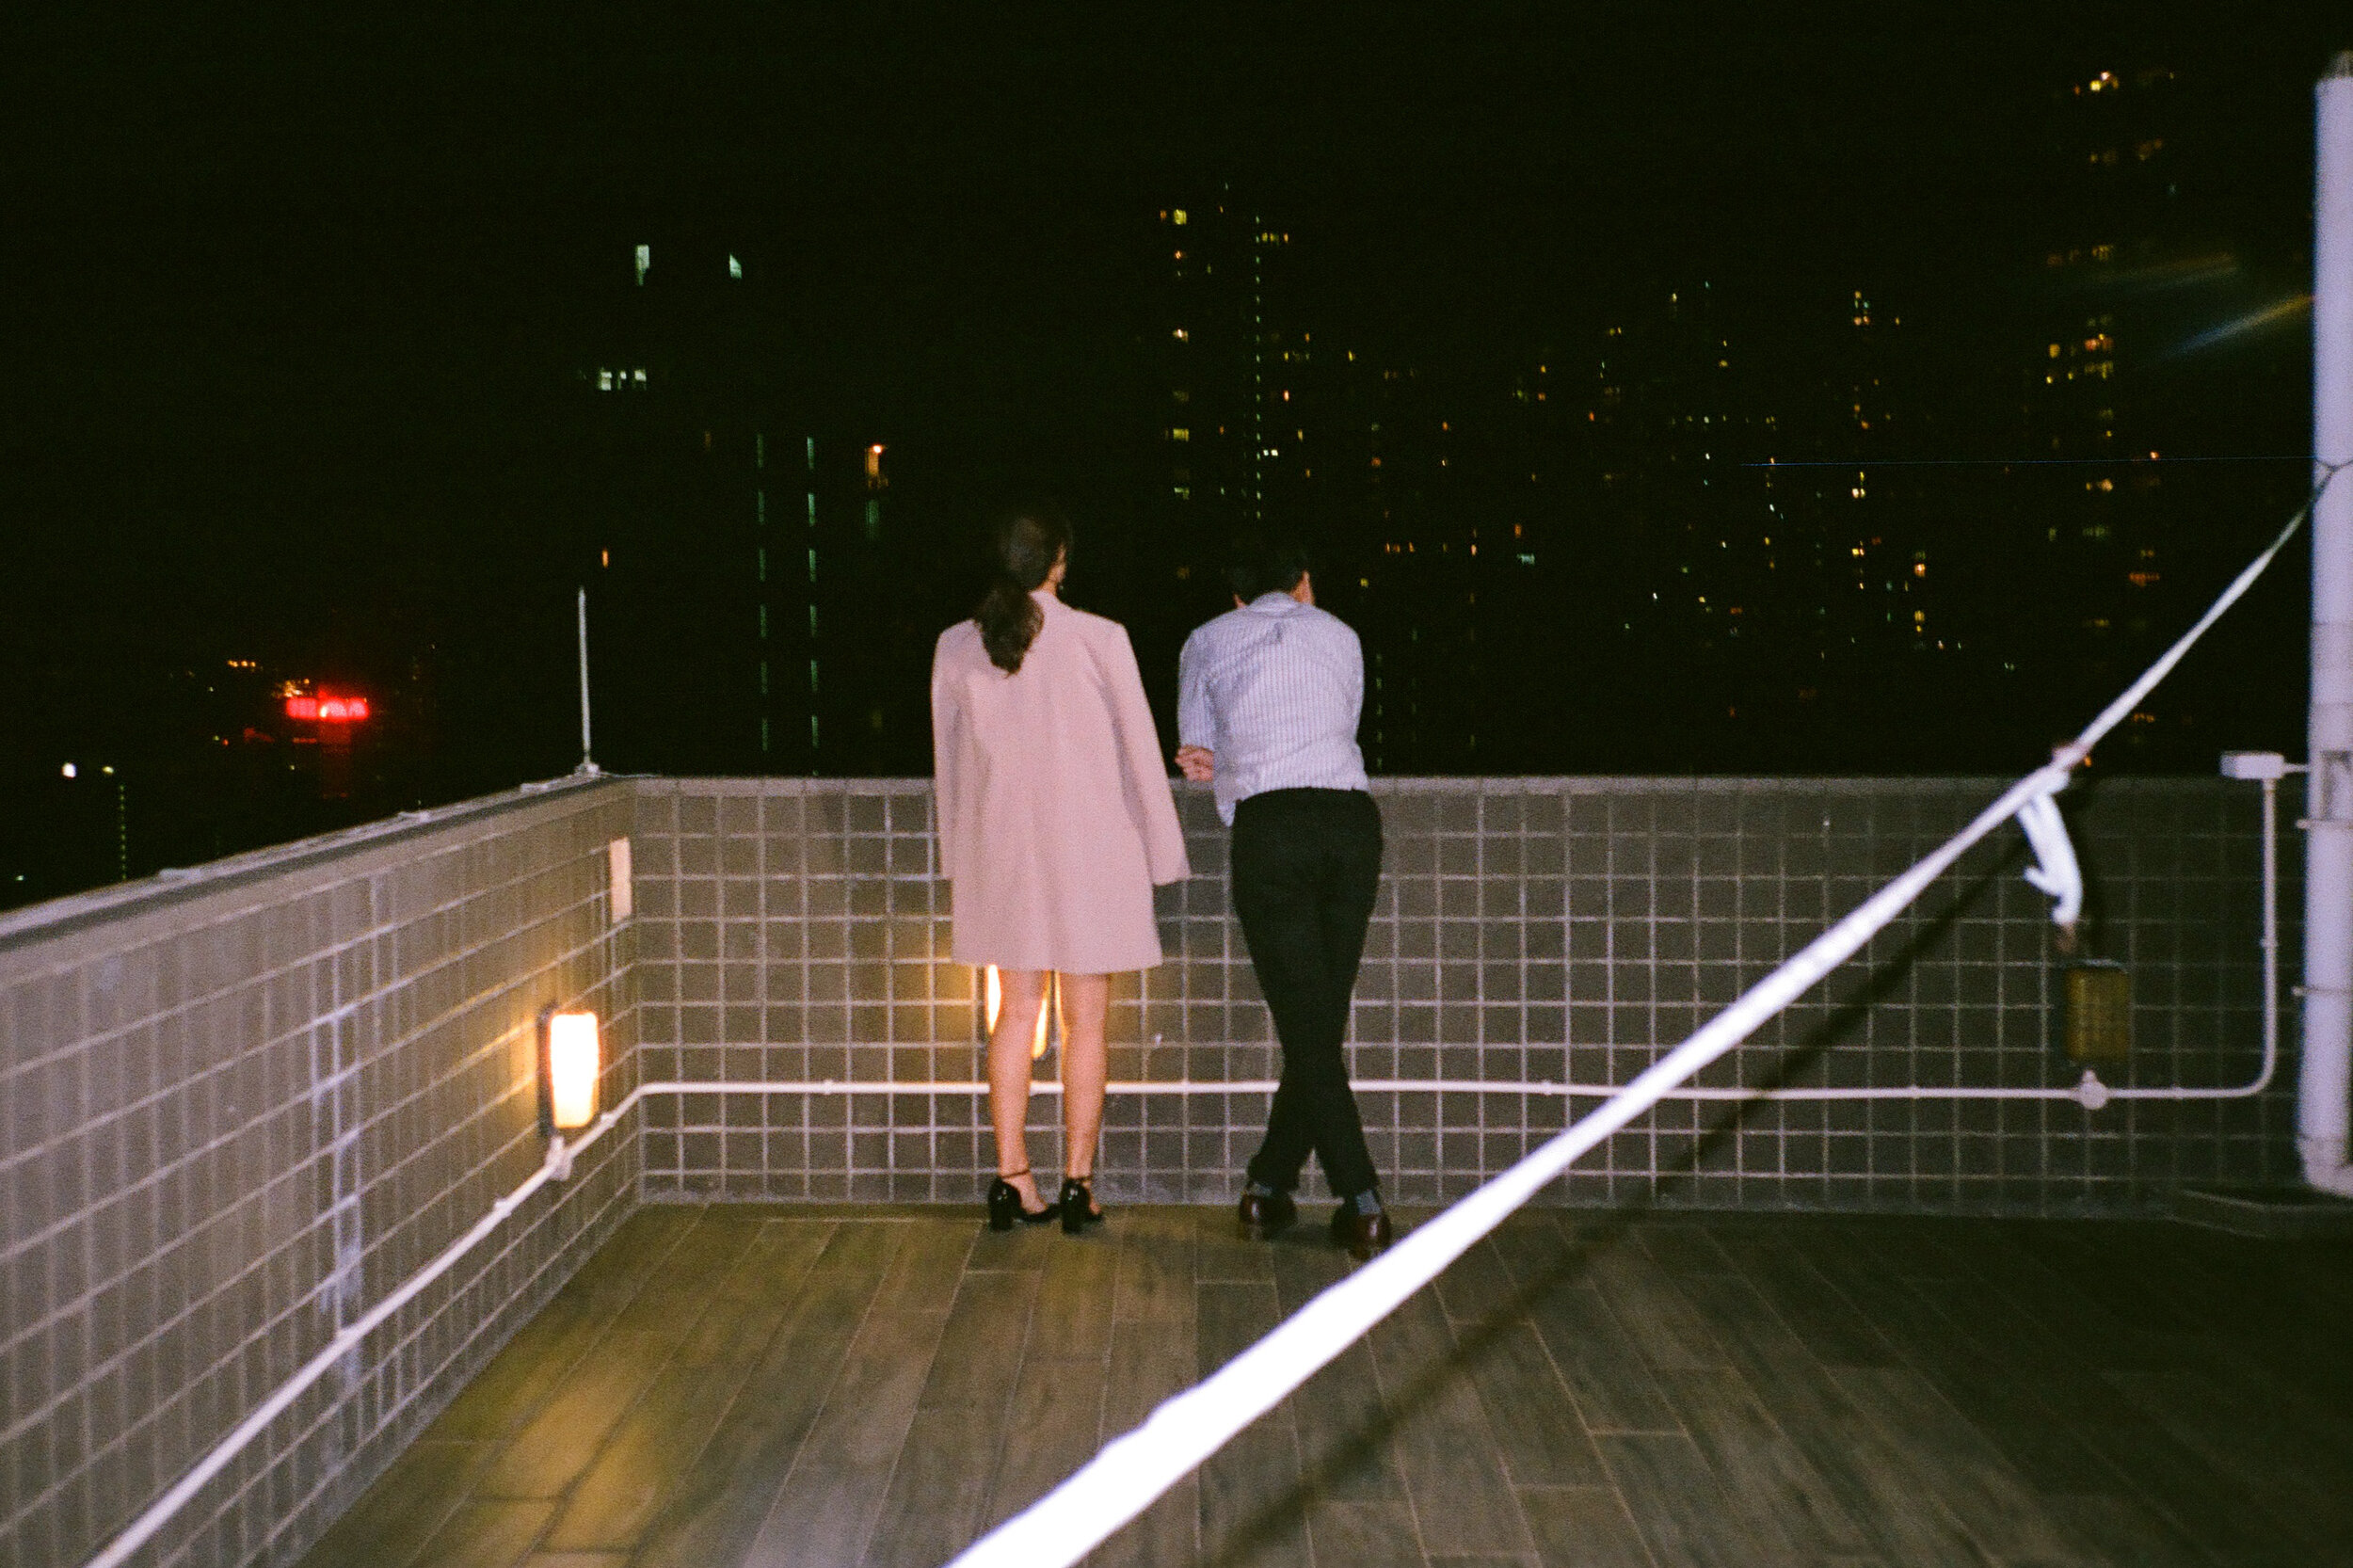
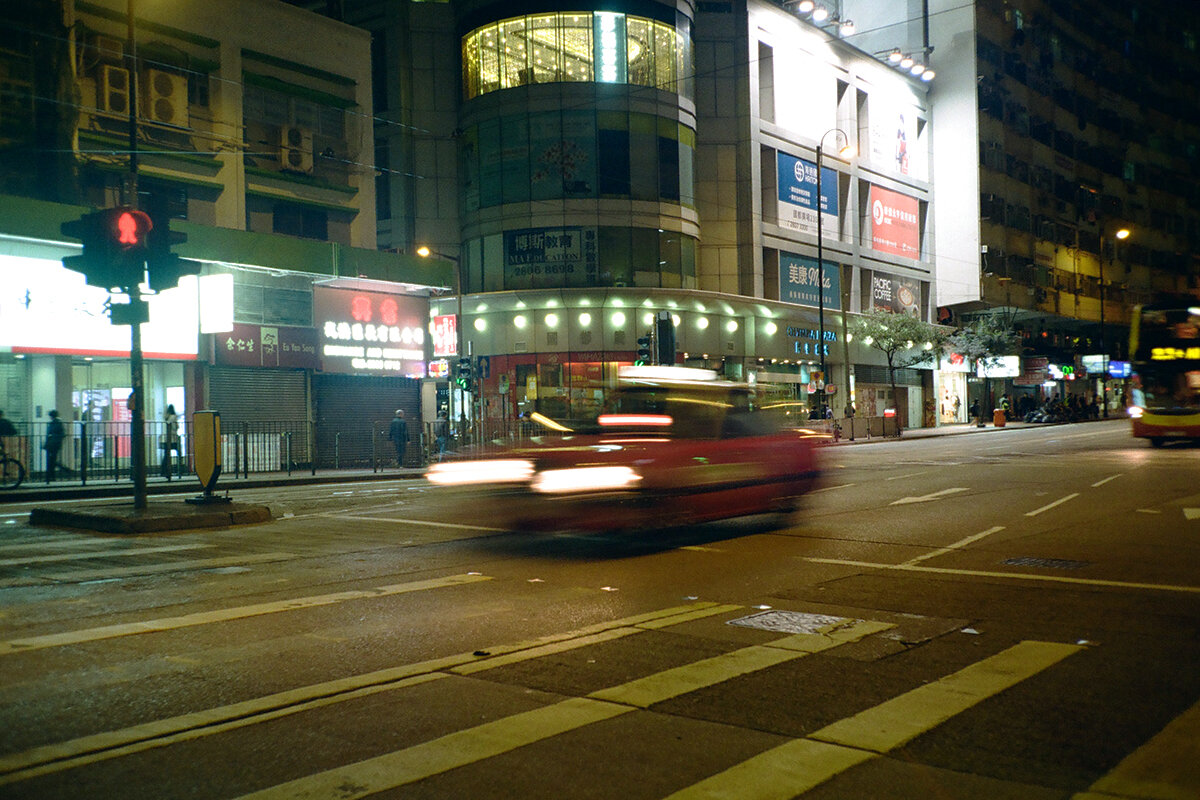
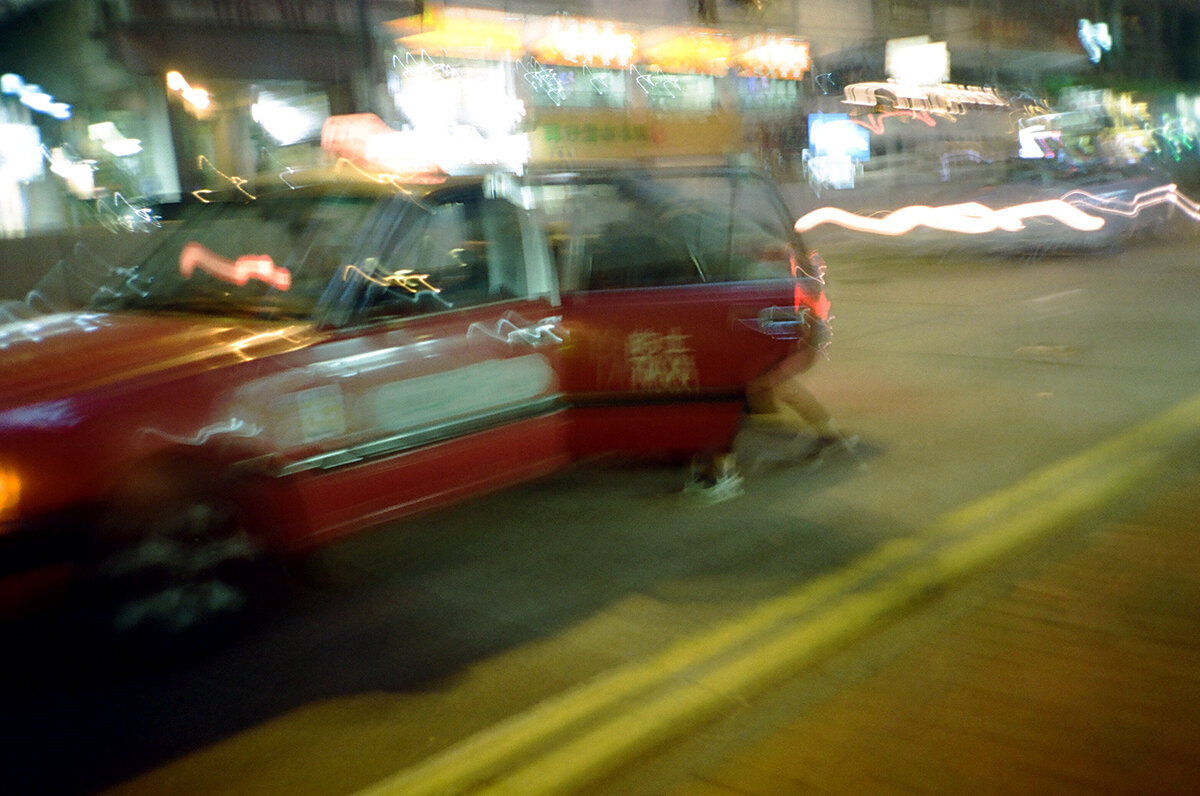
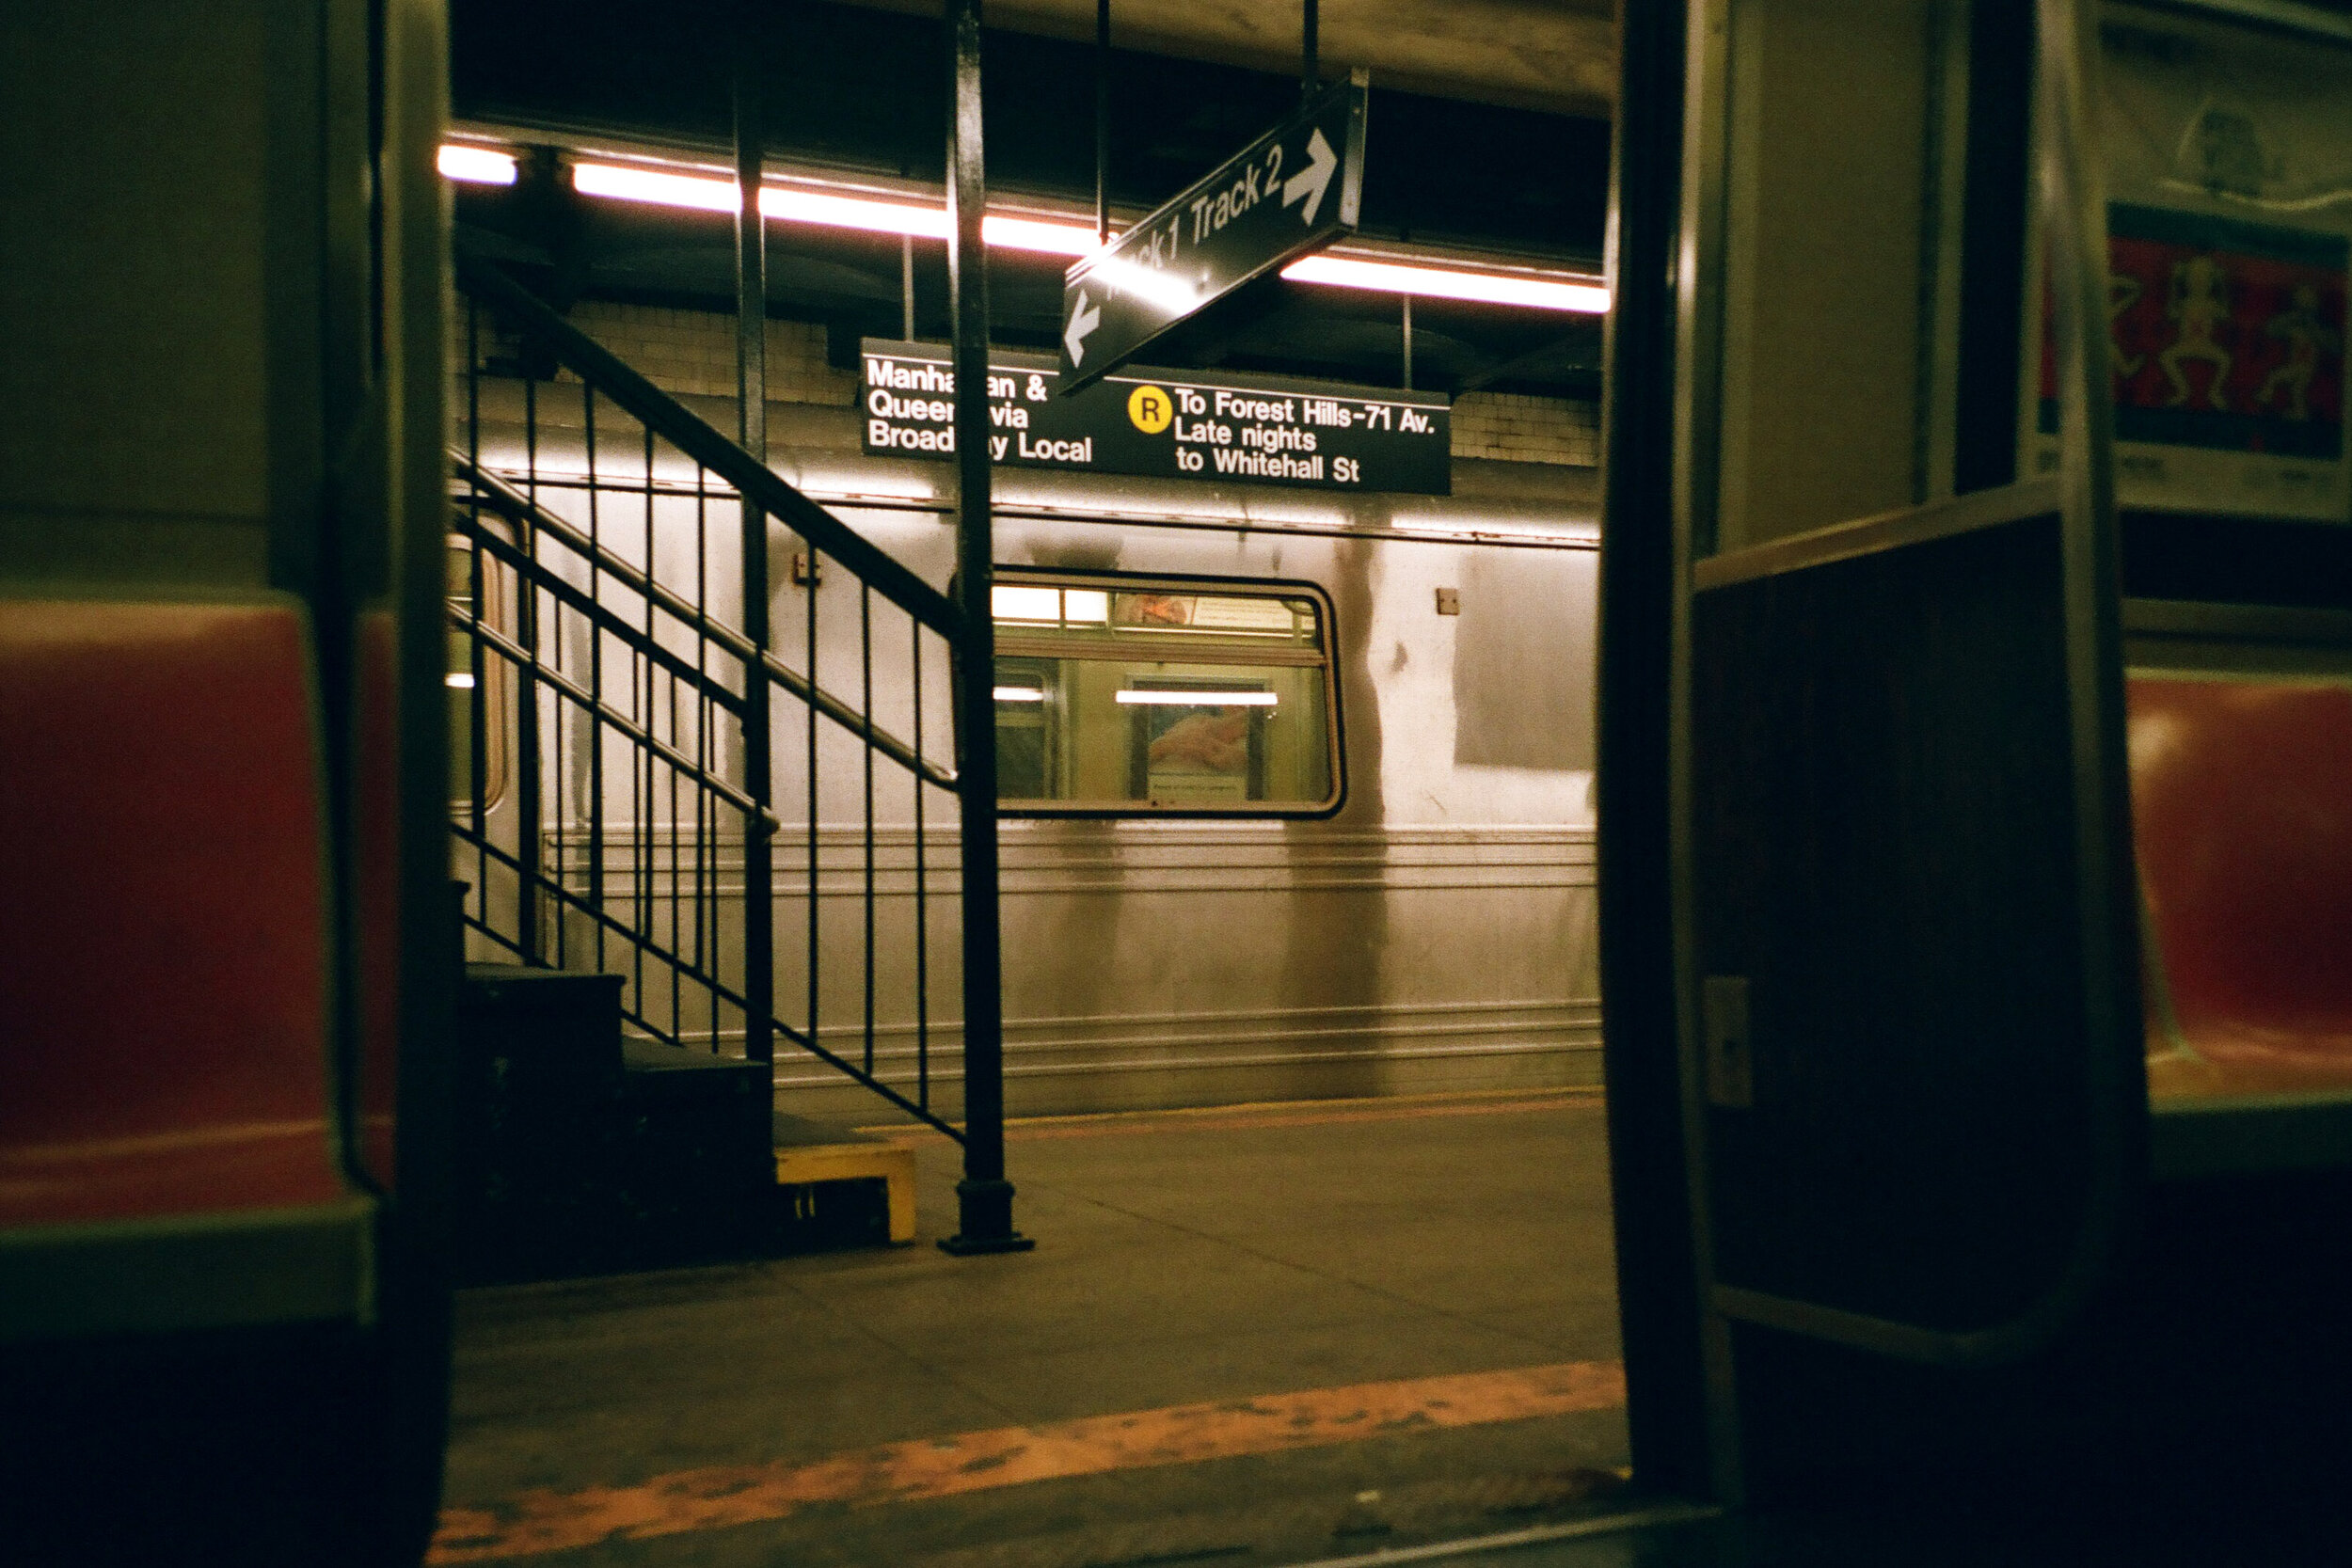
Konica Big Mini 2021 Photos at Night and in Low Light
It’s amazing what the Big Mini can accomplish in low light. With a steady hand and patience, you’ll get some sharp and well-exposed photos.
Konica Big Mini 201 in Close-Up Mode
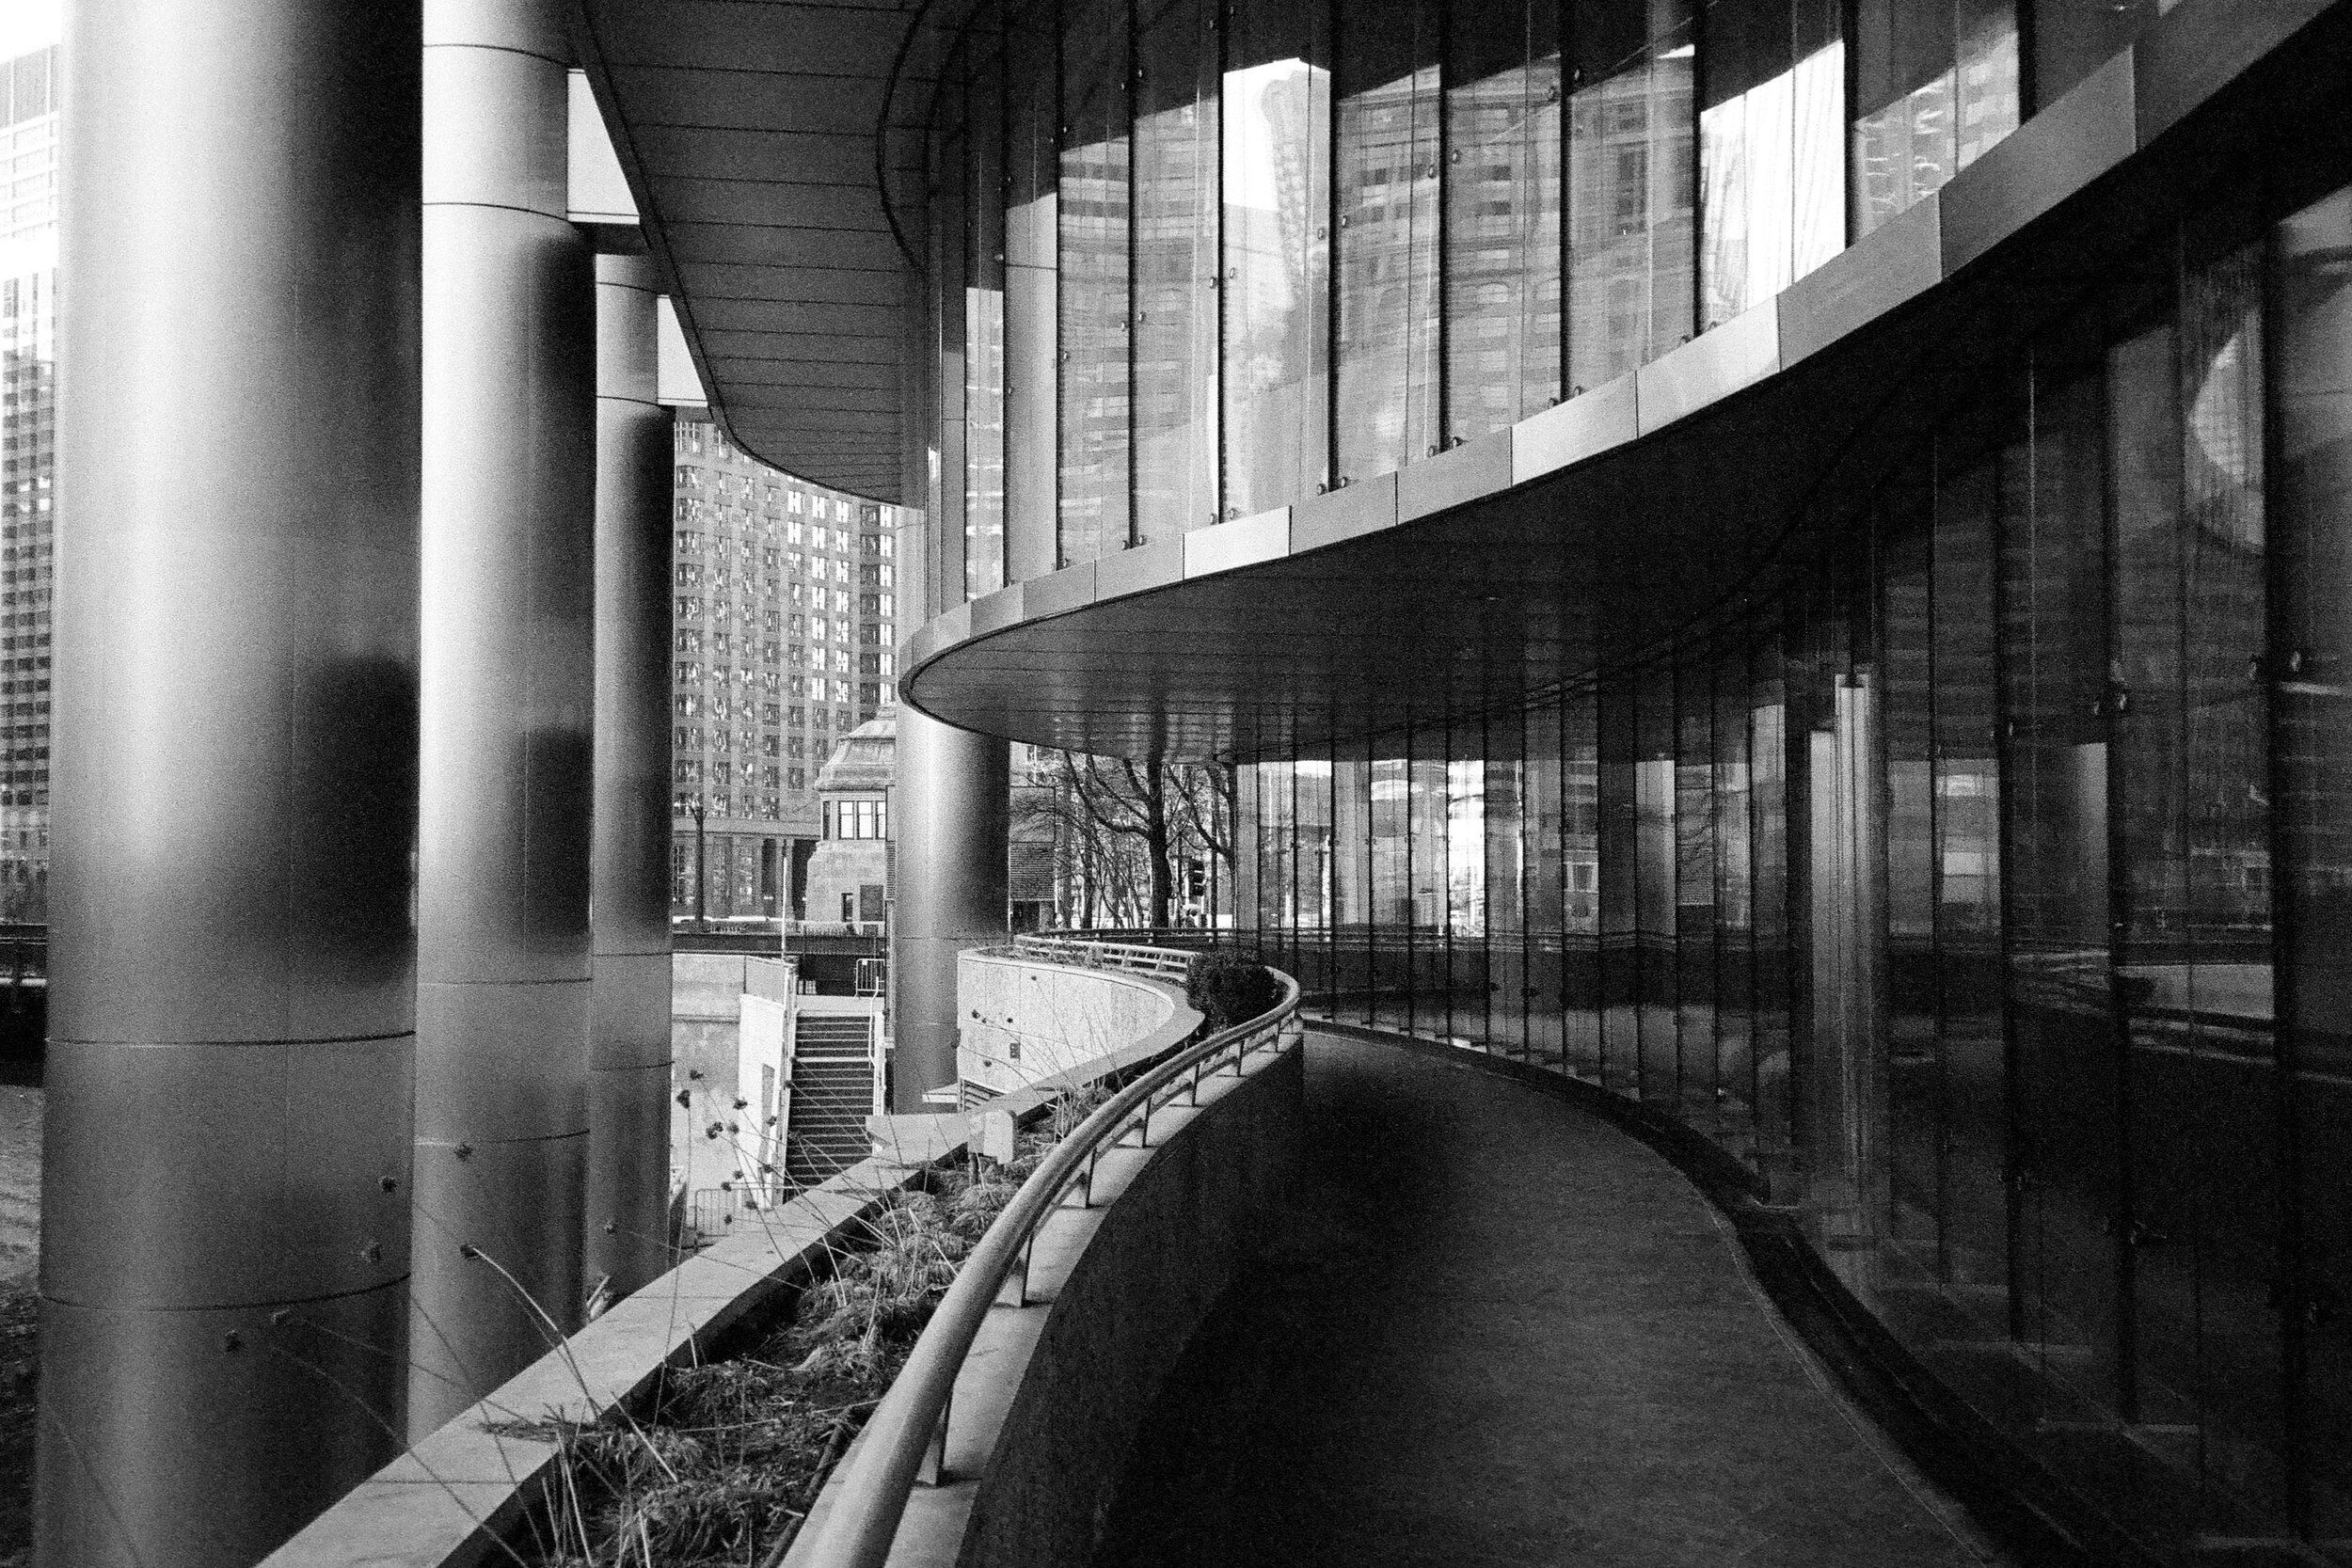
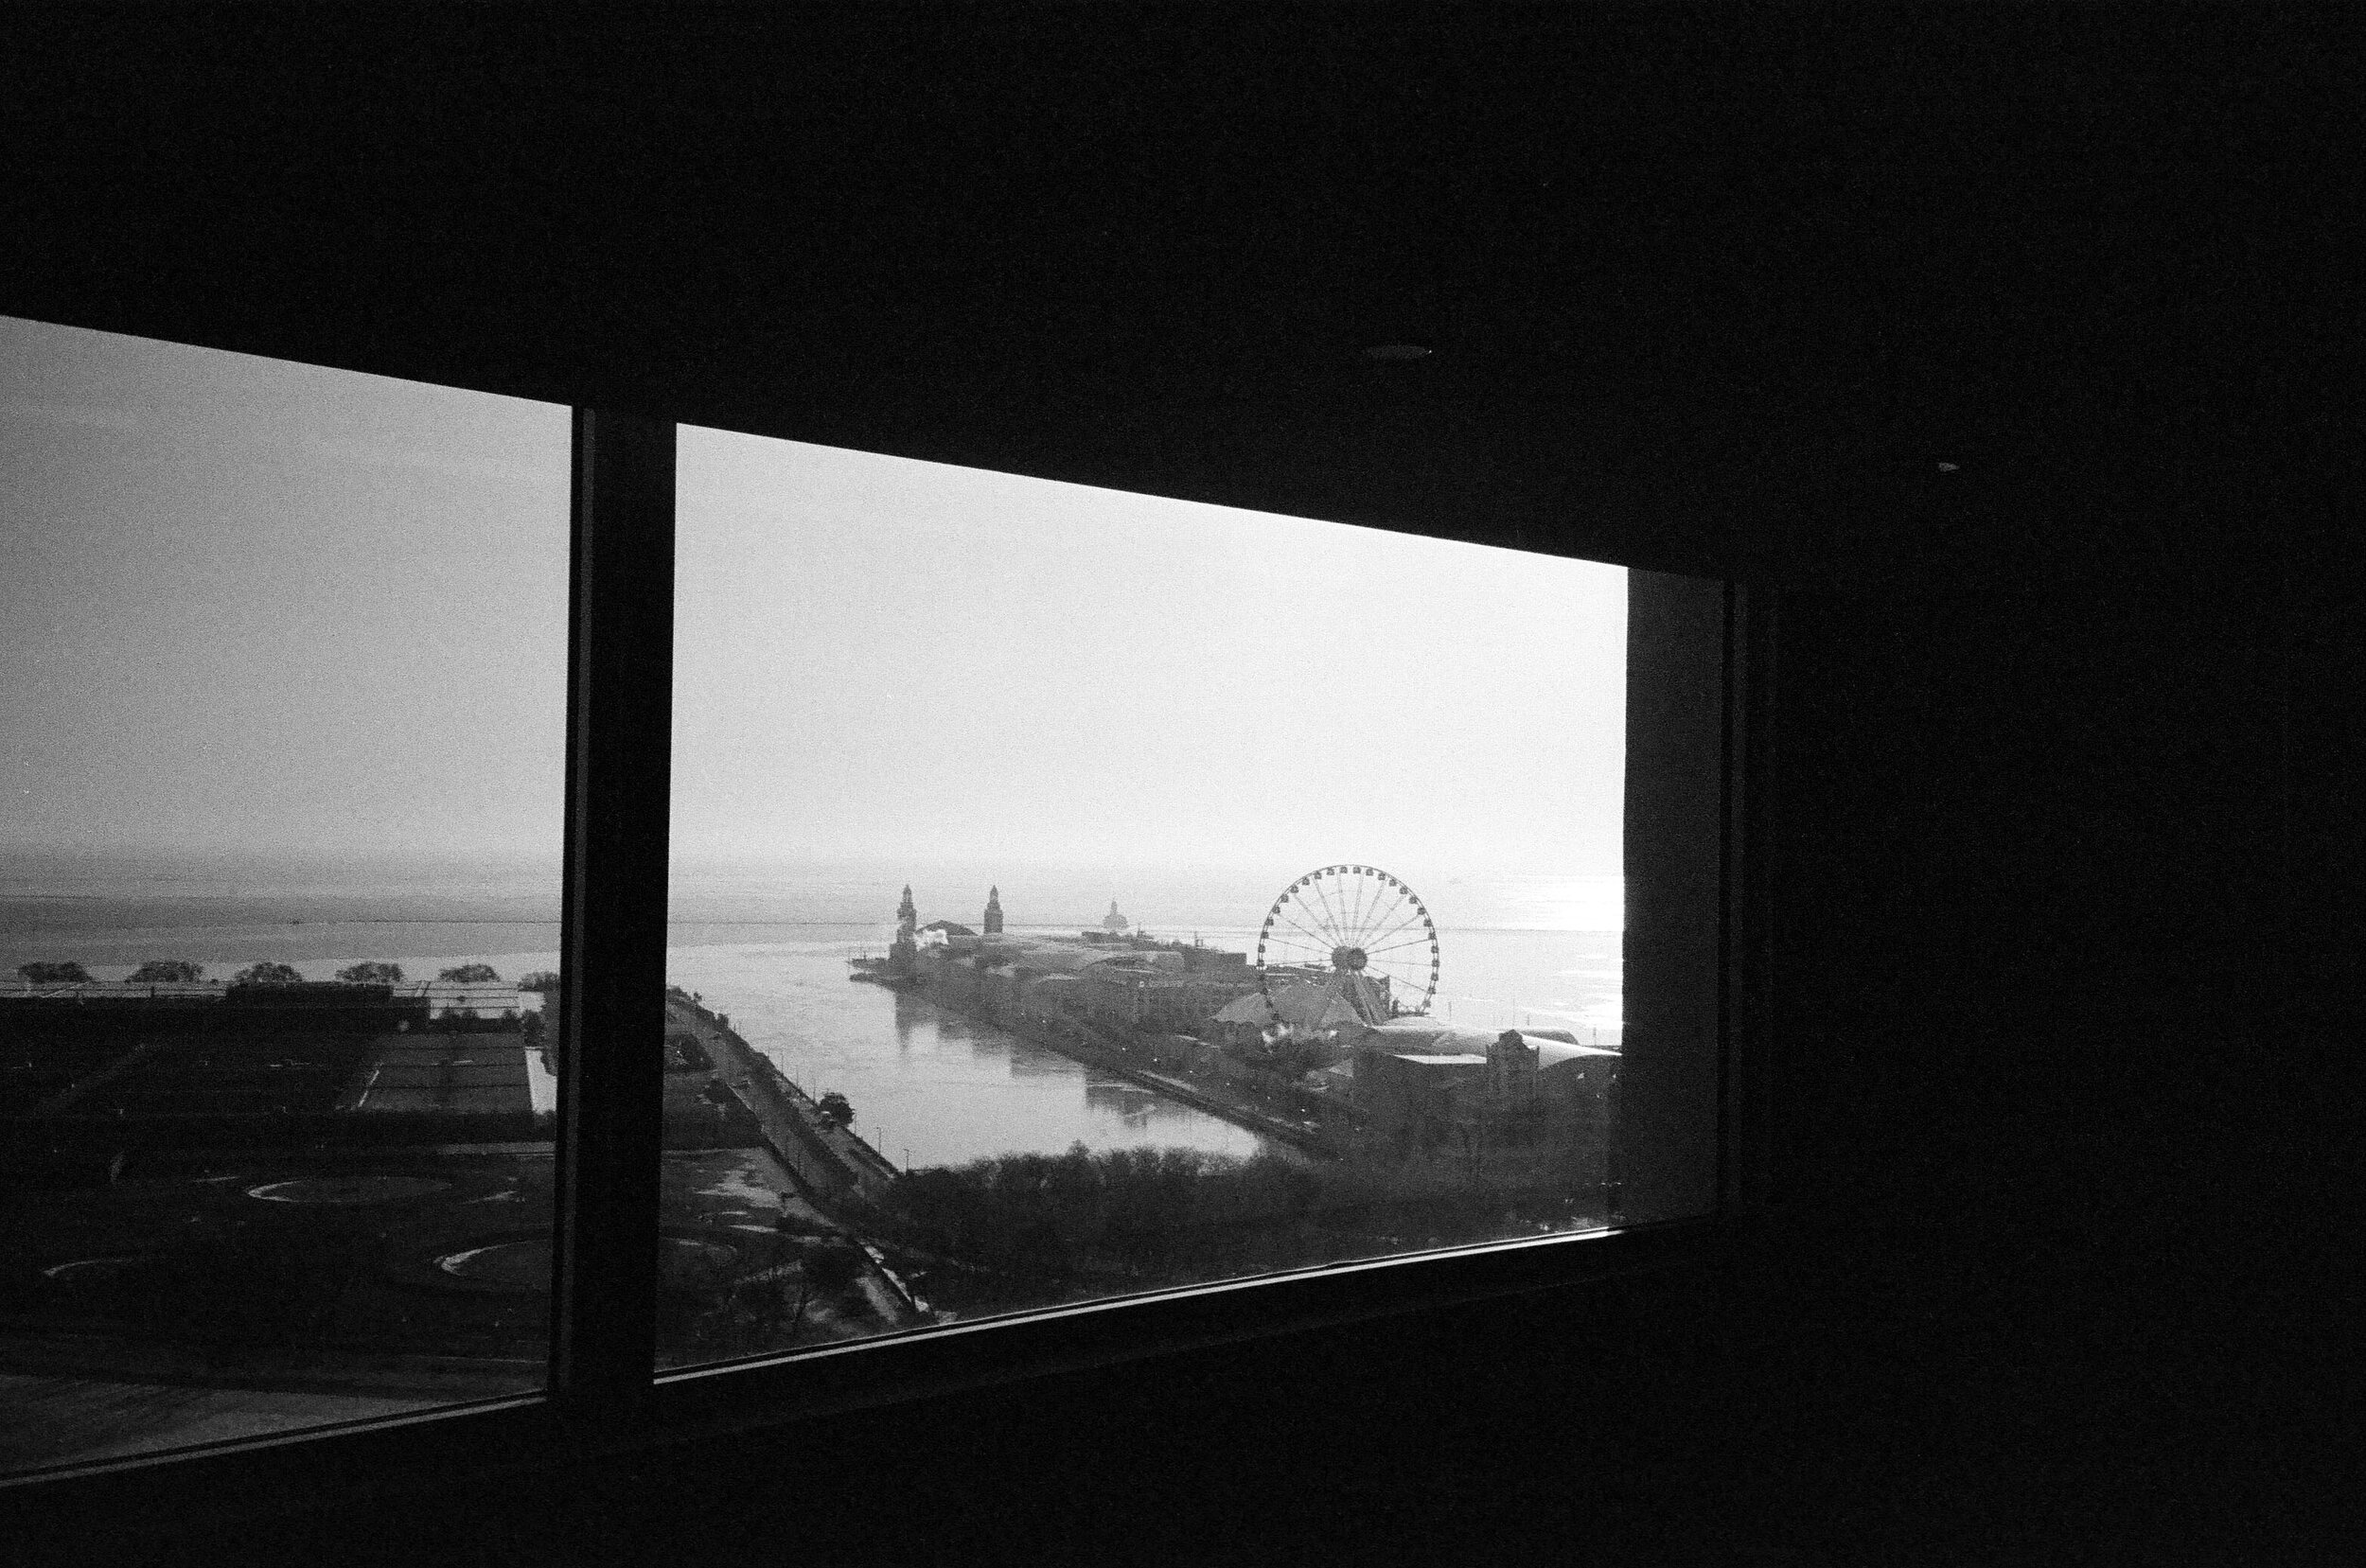
Konica Big Mini 201 with Black and White Film
Should I Buy a Konica Big Mini BM 201?
So there you have it… everything you could possibly want to know about the Konica Big Mini 201. Now, the only question left is: should I buy one? A film photography renaissance has inflated prices for these cameras beyond what many deem reasonable. The Big Mini can be found on eBay for about $180 USD. That’s a bit much but certainly cheaper than competitors like the Yashica T3.
You should also be aware that these cameras have been around for decades and are difficult to service. The electrical mechanism wasn’t meant to last very long (the date setting only goes up to 2019 after all). So, be sure that you get a well-maintained camera, or have a place to get it serviced.
Let’s Be Friends
Follow me on Instagram where I post film photos from my travels around the world, plus studio work. If you have any questions or comments about anything you’ve read here, you can reach me there.

